

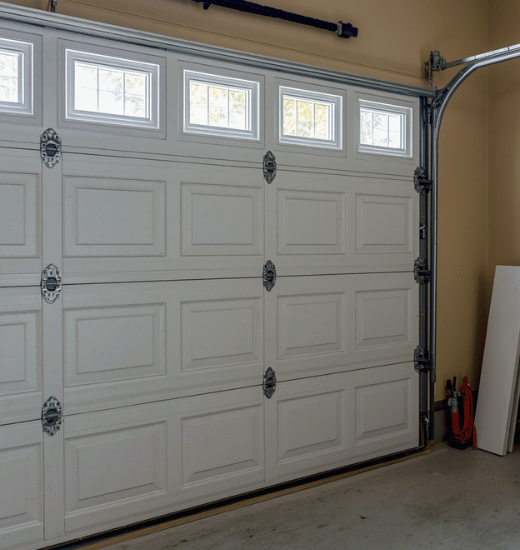
As temperatures drop, your garage can quickly become one of the coldest areas of your home. Cold air may enter around the sides, water can seep underneath the door, and worn hardware may become noisy or difficult to operate.
The good news is that you usually do not need to replace the entire garage door to prepare it for winter. Learning how to winterize a garage door without replacing it starts with inspecting the existing door, sealing obvious gaps, protecting moving parts, and improving insulation where necessary.
These improvements are manageable for many homeowners and can make the garage more comfortable while protecting stored tools, vehicles, and household items.
Start With a Garage Door Inspection
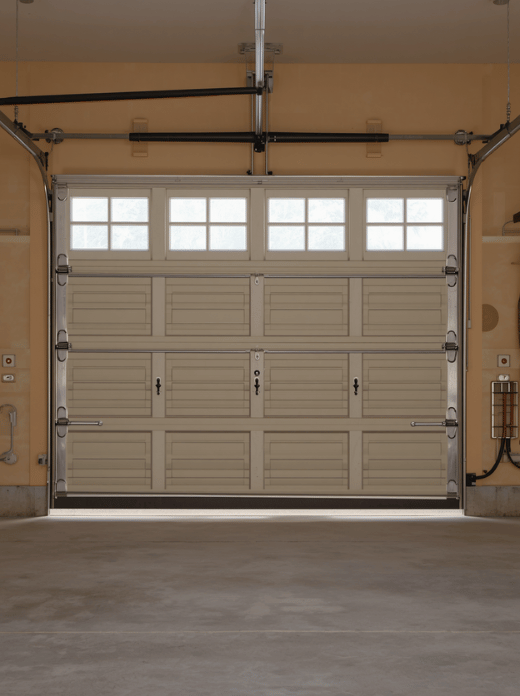
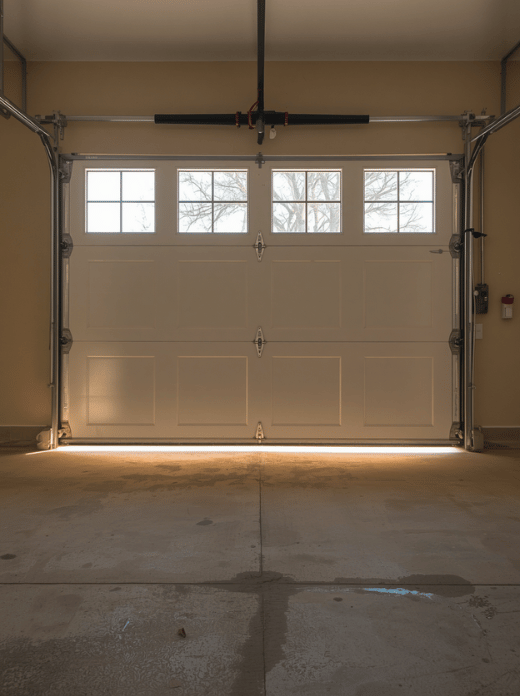
Close the garage door and inspect it from inside during daylight. Look for narrow lines of light around the edges or underneath the door. These gaps often reveal where cold air, dust, rain, insects, and small pests are getting inside.
Check the following areas:
- The bottom seal
- Side weatherstripping
- The top seal
- The floor beneath the door
- Door panels and hinges
- Springs, rollers, and tracks
- The interior insulation
Also open and close the door several times. Listen for scraping, grinding, rattling, or sudden jerking. A door that is difficult to operate may need mechanical attention before you add insulation or new seals.
Do not work on garage door springs or cables unless you are trained to do so. These components are under significant tension and can cause serious injury.
Replace a Damaged Bottom Seal
The bottom seal is one of the most important parts of winterizing a garage door. It presses against the floor when the door closes and helps keep out wind, rain, leaves, insects, and cold air.
A bottom seal may need replacement if it is:
- Cracked or split
- Flattened and no longer flexible
- Missing sections
- Pulling away from the door
- Letting in visible daylight
- Leaving water underneath the door after rain
Measure the width of the garage door before purchasing a replacement seal. Garage doors use different styles, so compare the existing seal and its track before choosing a new one.
To replace it:
- Raise the garage door to a comfortable working height.
- Slide or pull the old seal from its channel.
- Clean dirt and debris from the track.
- Apply a small amount of silicone spray if the channel is tight.
- Slide the new seal into place.
- Trim the ends neatly with a utility knife.
- Close the door and check that the seal contacts the floor evenly.
The seal should touch the floor without being crushed excessively. If the concrete is uneven, a threshold seal may provide a better fit.
Add a Garage Door Threshold Seal
How to Winterize a Garage Door Without Replacing It
A threshold seal attaches to the garage floor rather than the door itself. It is especially useful when rainwater enters beneath the door or when the concrete floor is slightly uneven.
A threshold seal can help:
- Reduce drafts
- Block wind-driven rain
- Prevent leaves from blowing inside
- Improve the contact between the door and floor
- Keep insects and small pests out
Clean and dry the floor before installation. Position the threshold so the closed door rests near the raised center portion without preventing the door from closing completely.
Use the manufacturer’s adhesive or sealant and allow it to cure as directed. After installation, test the automatic opener several times. The door should close normally without reversing or straining.
Inspect the Side and Top Weatherstripping
The flexible strips along the sides and top of the garage door form a seal against the frame. Over time, they may become brittle, bent, or compressed.
Replace weatherstripping when it no longer presses gently against the closed door. If there are only small gaps, you may be able to adjust the existing trim rather than replacing it.
When installing new side or top seals:
- Remove loose nails or screws carefully.
- Clean the frame before attaching the new material.
- Keep the strip straight from top to bottom.
- Avoid stretching the weatherstripping during installation.
- Fasten it securely but do not compress it too tightly.
A proper seal should contact the door evenly while still allowing the door to move freely.
Seal Stationary Gaps Around the Frame
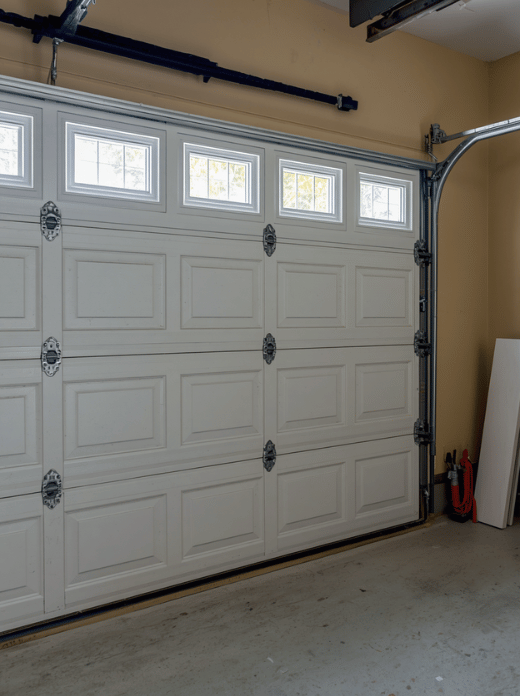
Some drafts come from gaps between the garage door frame and the surrounding wall, not from the moving door itself. Inspect corners and joints for cracked caulk or visible openings.
For small stationary gaps, use an exterior-grade caulk suitable for the surrounding material. Remove loose, cracked caulk first and clean the surface. Apply a continuous bead, then smooth it before it skins over.
Do not caulk moving joints or areas where the door must travel. Seal only fixed gaps around the frame.
Add Insulation to Garage Door Panels
If your garage door panels are thin and uninsulated, adding a compatible insulation kit may help reduce temperature swings. Insulation can also make the door feel less cold and may reduce outside noise.
Common options include:
| Insulation type | Best for | Important consideration |
|---|---|---|
| Rigid foam panels | Lightweight garage doors | Must be cut accurately |
| Reflective insulation | Doors with limited panel depth | Works best with an air space |
| Fiberglass kits | Compatible framed doors | Must be covered and protected |
| Factory-style inserts | Doors with designed panel cavities | Usually gives the neatest appearance |
Measure each panel separately because dimensions may vary slightly. Cut insulation carefully so it fits without bowing or pressing against the door hardware.
Do not add excessive weight. A garage door opener and spring system are balanced for a specific door weight. Heavy modifications may affect operation and shorten the life of the opener.
Lubricate the Moving Parts
Cold weather can make old lubricant thicker and expose noisy or stiff components. Use a garage-door lubricant intended for rollers, hinges, and springs.
Apply a light amount to:
- Hinges
- Metal rollers
- Spring coils
- Bearings
- Pivot points
Avoid coating the tracks with heavy grease. The tracks should remain clean so the rollers can move smoothly. Wipe away excess lubricant to prevent dirt from sticking to the hardware.
Never lubricate nylon rollers if the manufacturer specifically says they do not require it. Inspect the rollers for cracks or excessive wear while working.
Check the Automatic Opener
After replacing seals or adding insulation, test the garage door opener. Place a small piece of wood where the door closes and test the opener’s reversal function according to the manufacturer’s instructions.
Also check whether the door is balanced. Disconnect the opener only if you know how to do so safely, then manually lift the door partway. It should remain reasonably stable rather than dropping or shooting upward.
If the door feels unusually heavy, crooked, or difficult to lift, stop using it and arrange for qualified repair. Winterizing should improve the door’s performance, not create additional strain.
Improve the Garage’s Overall Winter Protection
A sealed garage door works best when the rest of the space is also reasonably protected. Consider these additional improvements:
- Seal gaps around windows.
- Add weatherstripping to the garage entry door.
- Insulate exposed water pipes.
- Keep stored items off the concrete floor.
- Clean leaves and snow away from the door.
- Make sure gutters direct water away from the garage.
- Improve ventilation if condensation regularly forms.
Avoid blocking required vents or using unvented fuel-burning heaters inside the garage. Never run a vehicle in an enclosed garage, even with the door open.
A Simple Winterization Checklist
Use this checklist before the first serious cold snap:
- Inspect the bottom seal for cracks and flattening.
- Replace damaged side and top weatherstripping.
- Install a threshold seal if water enters beneath the door.
- Seal fixed gaps around the frame.
- Add lightweight panel insulation if appropriate.
- Lubricate hinges, rollers, springs, and pivot points.
- Test the automatic opener’s safety reversal.
- Remove leaves, ice, and debris from the door’s path.
- Check the garage entry door for drafts.
- Keep combustible materials away from heaters and appliances.
Final Thoughts
Knowing how to winterize a garage door without replacing it can help you solve several common problems before they become expensive repairs. A new bottom seal, properly fitted weatherstripping, careful caulking, and routine lubrication may be enough to make a noticeable difference.
Work slowly, avoid modifying the spring system, and test the door after every major change. The goal is not to make the garage perfectly warm. It is to create a tighter, drier, safer buffer between the outdoors and the rest of your home.
Last modified: October 11, 2026
