

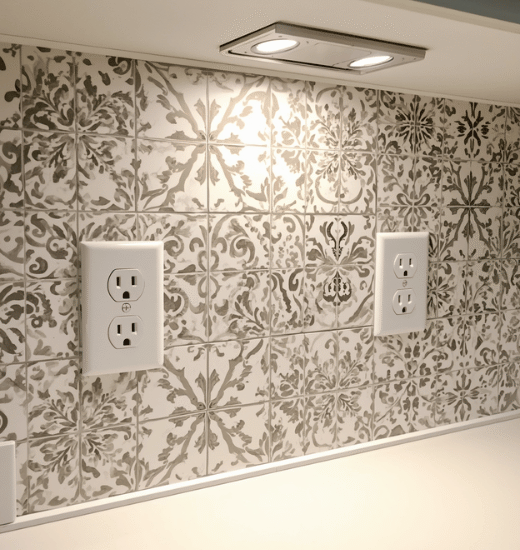
Peel-and-stick backsplash tiles are a popular way to update a kitchen without mixing mortar, spreading grout, or committing to a major renovation. The easiest parts of the project are usually the wide, uninterrupted sections of wall. The difficult part is working around electrical outlets and switches.
Learning how to install peel and stick backsplash around outlets is mostly a matter of careful planning. The goal is to create an opening that is large enough for the outlet box and cover plate, but not so large that unfinished wall shows around the edges.
With the right tools and a slow approach, most homeowners can handle this detail successfully.
Gather the Right Tools
Prepare everything before removing the tile backing. You will likely need:
- Tape measure
- Pencil
- Straightedge or ruler
- Level
- Utility knife with a sharp blade
- Small scissors
- Cardboard for templates
- Cleaning cloth
- Degreasing cleaner
- Screwdriver
- Non-contact voltage tester
- Fine-grit sandpaper
- Optional cutting mat
The exact cutting tool depends on the backsplash material. Flexible vinyl can often be trimmed with a sharp utility knife or scissors. Thicker rigid tiles may need several careful scoring passes.
Keep extra blades available. A dull blade can tear flexible material, chip rigid material, and create uneven corners.
Turn Off Power Before Removing Covers
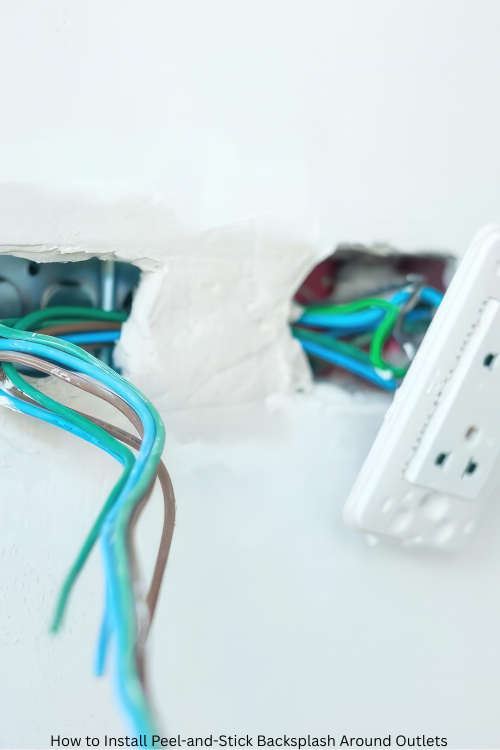
Electrical outlets and switches require extra care. Turn off the circuit at the breaker before removing the cover plates. Use a non-contact voltage tester to verify that the outlet is not energized.
Do not rely only on the position of the breaker handle or a room light being off. Test the outlet before touching the cover screws.
If you cannot identify the correct breaker, the tester gives an unexpected reading, or the outlet appears damaged, stop and have the electrical issue handled by a qualified professional. Backsplash installation should not involve changing wiring or modifying the electrical box.
Once power is confirmed off, remove the cover plate and set its screws aside in a small container.
Prepare the Wall Carefully
Peel-and-stick products depend heavily on surface preparation. Grease, dust, loose paint, and textured walls can prevent the adhesive from bonding securely.
Clean the wall with a suitable degreaser, especially around the range and cooking area. Wipe away residue with a clean cloth and allow the surface to dry completely.
Inspect the wall for:
- Loose paint
- Nail holes
- Grease buildup
- Heavy texture
- Moisture damage
- Raised seams
- Crumbling drywall
Fill small holes and sand rough spots smooth. If the wall has heavy texture, the tiles may not sit flat. Some products require a smoother surface or a compatible primer, so check the manufacturer’s installation instructions before beginning.
Do not apply adhesive backsplash over damp drywall or active water damage.
Plan the Layout Before Peeling Anything
The outlet should not be the first detail you solve after placing several rows of tile. Dry-fit the backsplash sheets against the wall and plan where the seams will land.
A good layout should:
- Keep the pattern level
- Avoid tiny slivers at corners
- Minimize awkward cuts
- Keep the outlet opening away from tile seams when possible
- Place the most visible pattern areas symmetrically
Use a level to mark a straight starting line. Countertops are not always perfectly level, so using the countertop as your only guide may cause the entire installation to drift.
Place the tile temporarily against the wall without exposing the adhesive. Look at the pattern from across the room before committing.
Measure the Outlet Opening
The safest way to learn how to install peel and stick backsplash around outlets is to measure the actual obstruction rather than guessing from the cover plate.
The cover plate is larger than the electrical box. The tile needs to fit around the box, while the plate will hide the small gap around the edge.
Measure:
- Distance from the nearest tile edge to the outlet box
- Width of the outlet box
- Height of the outlet box
- Location of the box on the wall
- Any nearby seams or corners
Write the measurements down. Measure twice before cutting.
For a more accurate result, make a cardboard template the same size as the outlet opening. Hold the template over the wall and adjust it until it fits around the box. This gives you an inexpensive way to test the shape before cutting your actual backsplash.
Use a Template for Difficult Cuts
How to Install Peel-and-Stick Backsplash Around Outlets
A cardboard template is especially helpful when the outlet is near a corner or falls across a faux grout line.
To make one:
- Cut a piece of cardboard roughly larger than the outlet.
- Mark the tile edges on the cardboard.
- Transfer the outlet box position.
- Cut out the opening.
- Place the template against the wall.
- Adjust until it fits neatly around the box.
- Trace the opening onto the backsplash.
If the tile has a repeating pattern, also mark where the simulated grout lines should meet. A technically accurate opening can still look poor if the pattern is visibly misaligned.
Cut Flexible Peel-and-Stick Tile
Flexible tile is usually easiest to cut from the decorative side with a sharp blade. Use a straightedge for long cuts and make several light passes rather than trying to force the blade through in one motion.
For an outlet opening:
- Transfer the template to the back of the tile.
- Mark the cut lines clearly.
- Score the opening with the blade.
- Make the corner cuts carefully.
- Remove the center section.
- Test-fit the tile before exposing the adhesive.
Avoid cutting the opening excessively large. The cover plate should hide the edges, but an oversized cut may remain visible if the plate is not perfectly centered.
Cut Rigid or Thick Tile in Sections
Rigid sheets can crack if you try to bend them around a small opening. Instead, cut the material in manageable sections.
Depending on the product, you may be able to:
- Score repeatedly with a utility knife
- Use fine-tooth scissors for thin plastic
- Cut individual faux-tile pieces along simulated grout lines
- Use a manufacturer-approved saw or cutting tool
Never assume every peel-and-stick product cuts the same way. Test a scrap piece first.
If the opening crosses several individual tile shapes, separating the small pieces along their intended seams can make the cut easier and less noticeable.
Install the Tile Around the Outlet
After the cut has been test-fitted, peel away only a small section of the backing. Position the tile carefully and press the exposed portion into place.
Continue slowly:
- Align the top or side edge.
- Press the tile gradually from one direction to the other.
- Smooth the surface with a clean cloth or squeegee.
- Remove the backing in small sections.
- Press firmly around the outlet opening.
- Check the pattern before moving to the next sheet.
Do not stretch flexible tile while installing it. Stretching can cause the pattern to shrink back later and create gaps at the seams.
If the tile shifts, do not repeatedly pull it off and reapply it. Adhesive strength may be reduced, and the material can become distorted.
Handle Outlet Depth Correctly
Adding backsplash increases the wall thickness slightly. In some installations, the outlet or switch may sit too far back relative to the finished surface.
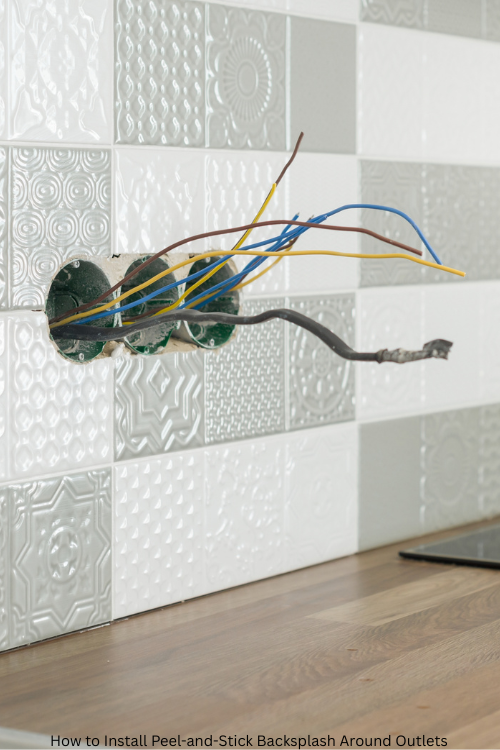
Do not use the cover plate to force an outlet forward or cover an unsafe gap. Electrical boxes and devices must remain properly supported. If the finished tile changes how the outlet sits, use an appropriate electrical box extender or have an electrician inspect the installation.
The outlet cover should sit flat against the backsplash. A crooked or floating cover plate is a sign that the opening, device position, or box depth needs attention.
Finish Corners and Edges
The area around the outlet is only one part of a professional-looking installation. Finish exposed edges with the trim recommended for your product.
Possible finishing options include:
- Matching edge strips
- Tile trim
- Caulk approved for the backsplash material
- Carefully cut return pieces
- Manufacturer-specific corner accessories
At the countertop, leave the small movement gap recommended by the product instructions. A thin bead of suitable kitchen-and-bath caulk can protect the joint from splashes, but do not use caulk to hide large cutting mistakes.
Common Mistakes to Avoid
These problems make backsplash installation look uneven:
Cutting before planning the layout
An outlet opening may be accurate but still land in an unattractive position. Dry-fit the surrounding sheets first.
Measuring the cover plate instead of the box
The cover plate hides the finished edge. Measuring only the plate can lead to an unnecessarily large opening.
Working on a greasy wall
Adhesive will not bond reliably to cooking residue. Clean and dry the wall thoroughly.
Using a dull blade
A dull blade drags through the material and creates ragged corners.
Removing all backing at once
Exposing the entire adhesive surface makes alignment difficult. Work gradually.
Forgetting power safety
Never remove an outlet cover or handle the device without turning off and testing the circuit.
Ignoring heat exposure
Not every peel-and-stick product is suitable directly behind a range or near high heat. Check the product’s limitations and use a different material where required.
Quick Planning Table
| Project stage | Main goal | Helpful tool |
|---|---|---|
| Wall preparation | Remove grease and smooth rough areas | Degreaser and sandpaper |
| Layout | Keep rows level and seams attractive | Level and straightedge |
| Outlet measurement | Create an accurate opening | Tape measure and cardboard |
| Cutting | Avoid chips and ragged edges | Sharp utility knife |
| Installation | Prevent bubbles and crooked seams | Squeegee or clean cloth |
| Finishing | Hide edges and protect joints | Trim or suitable caulk |
Restore the Cover Plates
Allow the backsplash adhesive to settle according to the product instructions. Reinstall the cover plates only after the tile is firmly positioned and the opening is clean.
The plate should cover the cut edge without pressing the backsplash loose. If the plate rocks, sits crooked, or leaves a visible gap, correct the underlying issue instead of tightening the screws excessively.
Restore power only after the covers are installed and the work area is clear.
Final Checklist
Before considering the job complete, check that:
- The pattern is level
- The outlet opening is clean and not oversized
- The cover plate sits flat
- No adhesive is exposed
- The tile is firmly pressed around the opening
- The wall is dry
- The product is appropriate for the installation area
- The circuit was turned off during electrical work
- Any outlet-depth issue has been corrected safely
The key to how to install peel and stick backsplash around outlets is patience. Measure the box, create a template, test-fit the cut, and expose the adhesive only after the piece is ready. Most visible mistakes happen when a homeowner rushes the outlet cut or tries to make the tile fit after the backing has already been removed. A careful layout and clean template can turn one of the most frustrating parts of the project into a manageable finishing detail.
Last modified: October 6, 2026
