

You do not need a large garden to grow your own garlic. A balcony, patio, porch, or sunny doorstep can provide enough space for a container crop. Fall is the ideal time to start because garlic needs a long growing season and a period of cool weather before it forms large bulbs.
Growing garlic in containers is simple, but success depends on choosing the right pot, using well-draining soil, planting cloves correctly, and protecting the container from severe winter conditions. With a little preparation this fall, you can harvest fresh garlic bulbs next summer.
Choose the Right Garlic for Container Growing
Begin with garlic intended for planting rather than ordinary grocery-store garlic. Some supermarket bulbs may have been treated to prevent sprouting, and they may not be suited to your local climate.
There are two main types:
Hardneck garlic
Hardneck varieties produce fewer but larger cloves. They are usually better suited to colder climates and produce edible flower stalks called scapes in late spring.
Softneck garlic
Softneck varieties generally produce more cloves per bulb, store well, and perform better in milder regions. They are also the type commonly used for garlic braids.
Choose a variety recommended for your growing zone. If you live in a cold area, a hardy hardneck variety is often the safer choice. Garden centers, seed catalogs, and local growers are usually better sources than grocery stores.
Pick a Container With Good Drainage
Garlic does not need an extremely deep pot, but it does need enough room for its roots and bulbs to develop. Use a container at least 8 to 10 inches deep with drainage holes in the bottom. A wider container allows you to grow several cloves together.
A 12-inch pot can hold a few cloves, while a long planter or grow bag can accommodate a larger crop. Leave enough room between cloves so the bulbs do not compete for water and nutrients.
The container should also be durable enough to remain outdoors through winter. Thin ceramic pots may crack when wet soil freezes and expands. Plastic, thick resin, wood, and sturdy fabric grow bags are generally more forgiving.
Do not place rocks or gravel in the bottom of the container to improve drainage. They reduce the amount of usable soil and do not solve drainage problems. The important features are drainage holes and a loose, well-draining growing mix.
Use a Loose, Fertile Potting Mix
Avoid filling the container with heavy garden soil. Soil from the ground can compact inside a pot, hold too much water, and restrict root growth.
Instead, use a quality potting mix amended with mature compost. A suitable blend should:
- Hold moisture without becoming soggy
- Drain freely after watering
- Contain enough organic matter for steady growth
- Remain loose around developing bulbs
Garlic grows best in soil that is fertile and well drained. A soil pH between approximately 6.0 and 7.0 is suitable for most garlic varieties. If your potting mix already includes fertilizer, additional feeding may not be necessary at planting time.
Fill the container almost to the top, leaving about an inch of space so water does not immediately run over the rim.
When to Plant Garlic in Containers
The best planting time depends on your climate. In many regions, garlic is planted in fall several weeks before the ground normally freezes. This gives the cloves time to grow roots before winter while limiting excessive top growth.
A useful rule is to plant after the summer heat has passed but before the soil remains frozen. In warmer climates, planting may take place later in the fall or even during winter. In colder regions, planting too late can prevent strong root development.
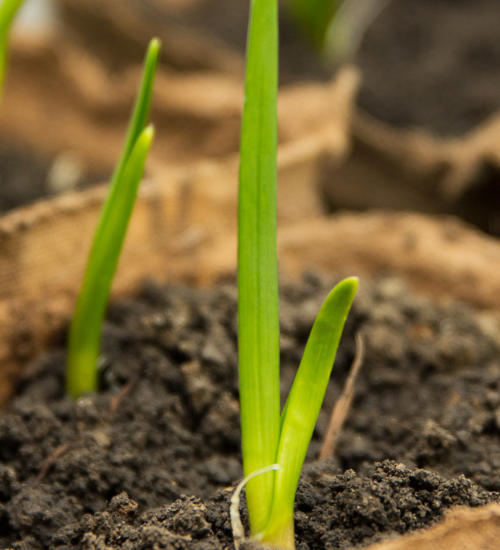
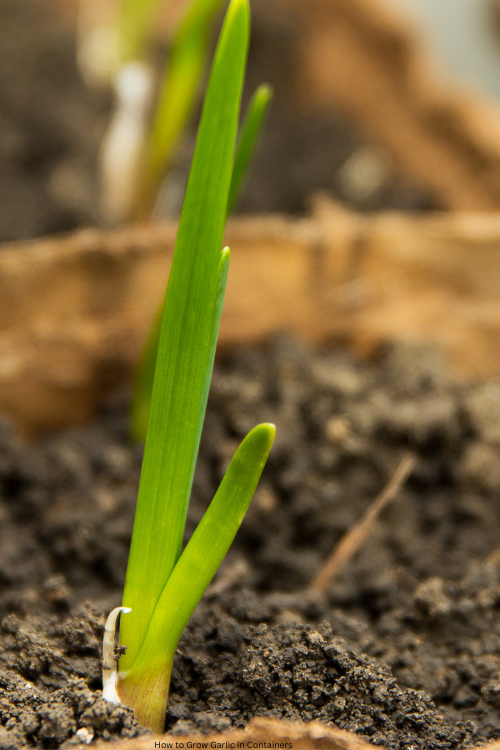
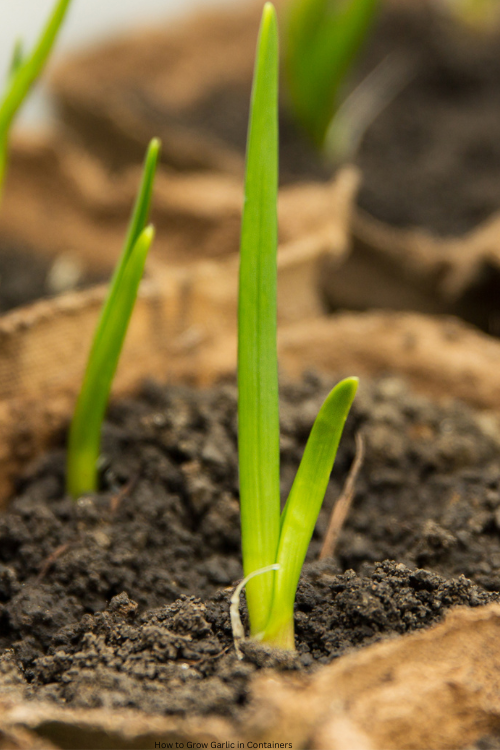
Garlic planted in fall may produce a few green shoots before winter. That is not necessarily a problem. The plants may slow down or stop growing during the coldest period and resume growth in spring.
How to Plant Garlic Cloves
Separate the garlic bulb into individual cloves shortly before planting. Keep the papery skin attached to each clove.
Follow these steps:
- Water the potting mix lightly before planting if it is very dry.
- Make holes about 2 to 3 inches deep.
- Space the holes approximately 4 to 6 inches apart.
- Place each clove with the pointed end facing upward.
- Cover the cloves completely with potting mix.
- Water gently until excess water drains from the bottom.
- Add a light layer of mulch to protect the soil surface.
Planting the cloves upside down will not always kill them, but it can force the shoots to grow around the clove. Correct orientation encourages straighter growth and makes it easier for the bulb to develop.
Add Winter Protection
Containers are more exposed to cold than garden beds because their roots are surrounded by air on all sides. Even garlic varieties that tolerate freezing weather can suffer when a pot repeatedly freezes and thaws.
Place the container in a sheltered location near a wall, fence, or covered porch. Avoid positioning it beside a heat source or in a place where roof runoff will keep the soil saturated.
A layer of straw, shredded leaves, or clean mulch can help insulate the soil. Do not pack the mulch tightly against emerging shoots. The goal is to buffer temperature changes while still allowing air circulation.
In areas with severe winters, move the container into an unheated garage, cold frame, or sheltered shed after the plants have established roots. The garlic still needs cold weather, so a warm indoor room is not an appropriate winter location.
Check the pot occasionally during winter. Water only when the soil is beginning to dry. Cold, wet soil is more dangerous than cold, slightly dry soil because constant saturation can cause cloves to rot.
Spring Care for Container Garlic
How to Grow Garlic in Containers
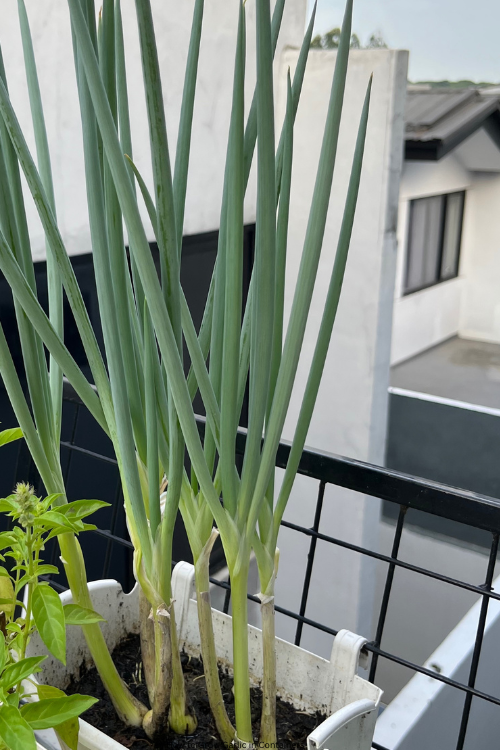
When temperatures begin to rise, move the container back into a location with full sun. Garlic generally needs at least six hours of direct sunlight for strong growth and bulb development.
Begin watering more regularly as the plant resumes active growth. Water deeply enough to moisten the entire root zone, then allow excess water to drain. Do not keep the soil constantly wet.
Container garlic may need more frequent watering than garlic planted in the ground because pots dry out faster. However, watering on a strict calendar is less reliable than checking the soil. If the top inch feels dry and the container feels noticeably lighter, it is usually time to water.
Feed the plants in early spring with a balanced vegetable fertilizer or a light side-dressing of compost. Avoid applying large amounts of nitrogen late in the season because it can encourage leaves instead of mature bulbs.
Keep weeds out of the container. Even a few weeds can compete with garlic in a limited root zone.
When to Harvest Garlic
Garlic is usually ready to harvest in early or midsummer, although timing varies by climate and variety.
Watch the leaves rather than relying only on a calendar. When several of the lower leaves turn yellow or brown while the upper leaves remain green, the bulbs may be mature.
Stop watering shortly before harvest if the plant is naturally beginning to die back. Excess moisture near harvest can increase the risk of rotting and make curing more difficult.
To harvest:
- Loosen the potting mix around the bulb with a hand tool.
- Lift the bulb gently instead of pulling hard on the leaves.
- Brush away loose soil without washing the bulb.
- Move the garlic to a dry, shaded, well-ventilated location.
Do not leave harvested bulbs in direct sunlight for long periods.
Cure the Bulbs Before Storing
Curing allows the outer layers to dry and helps garlic store longer. Hang the plants or place them in a single layer somewhere dry and airy for two to four weeks.
The bulbs are ready for storage when:
- The outer skin feels dry and papery
- The neck is no longer soft or moist
- The roots and leaves have dried
Trim the roots and cut the stem after curing. Store the bulbs in a cool, dry, dark place with good airflow. Avoid sealed plastic bags, which trap moisture and encourage mold.
Save the largest, healthiest bulbs for planting next fall. Over time, using locally adapted planting stock can improve your results.
Common Container Garlic Problems
Small bulbs
Small bulbs may result from inadequate sunlight, overcrowding, poor soil, or planting too late. Make sure each clove has enough space and receives strong light.
Yellow leaves too early
Yellowing can be caused by overwatering, poor drainage, nutrient problems, or natural maturity. Check the soil moisture before adding fertilizer.
Rotten cloves
Rot usually develops when the mix stays too wet. Confirm that the container has open drainage holes and use a loose potting mix.
Green shoots damaged by frost
Light frost damage is often temporary. Protect the container from repeated freezing and thawing, and avoid removing damaged leaves unless they are completely dead.
Final Thoughts
Growing garlic in containers is an excellent fall gardening project for small spaces. Choose healthy planting garlic, use a container with drainage holes, plant the cloves point-side up, and give them a sunny location when spring arrives.
The process takes patience because garlic planted in autumn will not produce a mature bulb immediately. But with steady care, one fall planting can provide a flavorful summer harvest from a surprisingly small space.
Last modified: October 25, 2026
