

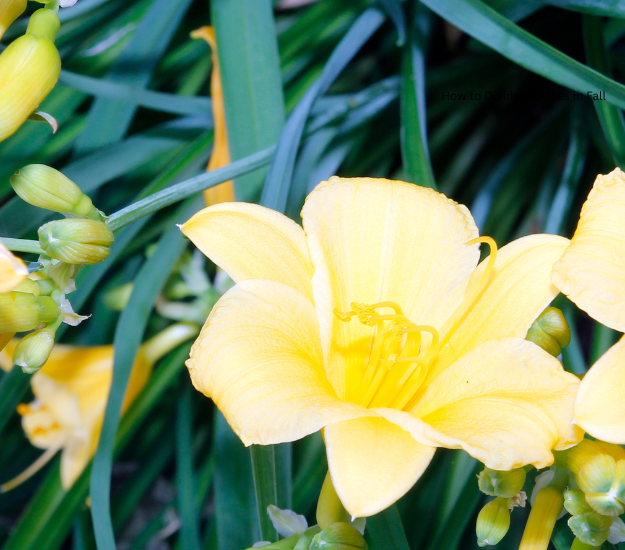
A daylily clump can look full and healthy for years, then gradually produce fewer flowers or crowd its neighbors. Dividing it gives you a chance to refresh the planting, move part of it to another spot, or share rooted sections with someone else. It is a manageable job, but timing and gentle handling matter: daylilies need intact roots and enough time to settle into the soil before the ground freezes.
This guide explains how to divide daylilies in fall, how to tell whether a clump is ready, and what to do after replanting. If fall weather in your area turns cold early, use the timing guidance below rather than waiting for a particular calendar date.
Is your daylily ready to divide?
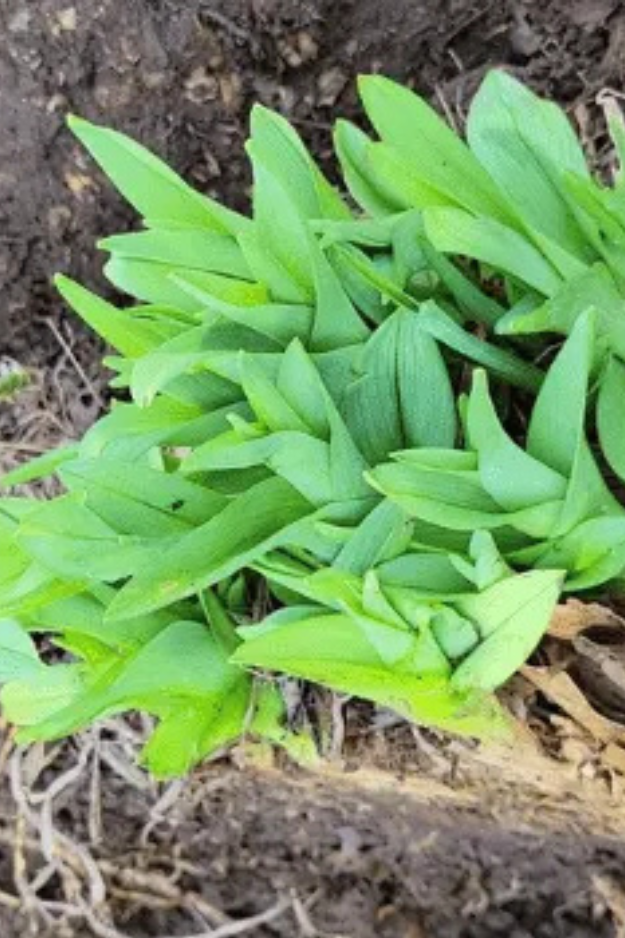
How to Divide Daylilies in Fall
Not every daylily needs to be split on a schedule. Consider dividing when a clump has outgrown its space, the center looks crowded, neighboring plants are being overtaken, or flowering has declined despite otherwise suitable growing conditions. A lack of flowers can have other causes, including shade or recent transplanting, so division is not an instant fix for every bloom problem.
Daylilies grow in fans: clusters of strap-shaped leaves attached to a crown and roots. When you lift a mature clump, you can separate it into smaller sections, each with its own fan or fans and a useful amount of healthy root. For a strong start, aim for divisions with two or three fans and a good root system rather than tiny scraps. When can I divide daylilies? – Yard and Garden
When to divide daylilies in fall
Early spring, as new growth begins, and late summer are both suitable windows in many climates. For a fall division, work after the main flowering period but while the soil is still workable and mild weather remains. The earlier the division is replanted, the more opportunity it has to establish roots before winter.
Local conditions matter more than a fixed date. In a region with an early hard freeze, a late-fall project may leave little settling-in time; consider dividing in spring instead. Choose a cool, cloudy day if possible. Hot sun and dry wind can stress freshly lifted roots and foliage.
Gather tools and prepare the new spot
You will need a spade or garden fork, a clean sharp knife for dense clumps, gloves, water, and a bucket or tarp if you want to keep soil off the path. Clean soil from the tools before starting. If you use a blade on diseased plant material, clean it before moving to another plant.
Choose the new planting location before lifting the clump. Daylilies generally do best in a spot suited to their variety, with enough light and room for mature foliage. Loosen the soil and remove persistent weeds. If you are improving the bed with compost, mix it into the planting area rather than putting a concentrated layer directly against the roots.
Water the original clump the day before if the soil is dry. Moist soil is easier to work than powder-dry ground, but the bed should not be waterlogged.
How to divide daylilies in fall: step by step
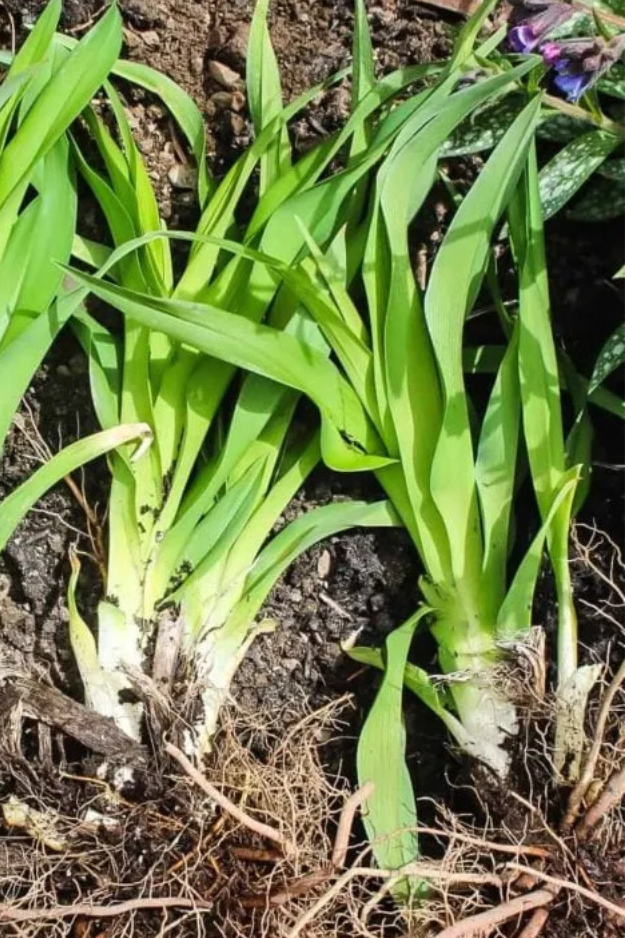
- Shorten the foliage. For a late-summer or fall division, cut the leaves back to roughly 6 to 8 inches. This makes the plant easier to handle and reduces the amount of foliage supported while the roots recover. When can I divide daylilies? – Yard and Garden
- Loosen the perimeter. Push a spade or fork into the ground around the clump, leaving enough distance from the outside leaves to avoid slicing through too many roots.
- Lift the clump. Work the tool beneath the root mass and lever it up carefully. If the clump is large, loosen it from more than one side. Avoid pulling hard on the leaves; they can separate from the crown while the roots remain in the ground.
- Expose the crowns. Shake away loose soil or rinse it gently if the clump is too dense to see. You are looking for natural gaps between fans and crowns.
- Separate into manageable pieces. Try pulling the clump apart by hand first. For a dense mass, use a clean, sharp knife to cut between groups of fans. Keep several healthy fans with roots on each substantial division.
- Trim damaged material. Remove roots that are clearly broken, mushy, or dead, but keep as much firm, healthy root as you can. Do not reduce every division to a tiny, bare-root piece.
- Keep roots from drying. If you cannot replant immediately, place divisions in shade and cover the roots with a damp cloth or return them to moist soil temporarily. Do not leave them exposed to sun and wind.
Some roots will break during the process, especially in an old, tightly packed clump. That does not mean every division has failed. Prioritize healthy crowns and roots, make clean cuts where needed, and replant promptly.
Replant at the right depth
Dig a hole wide enough to spread the roots without bending them sharply. Set the division in place so its crown, the point where the leaves and roots meet, is about 1 inch below the soil surface. Backfill around the roots, firm gently with your hands, and water thoroughly to settle the soil. Iowa State Extension recommends this crown depth and prompt replanting after division. When can I divide daylilies? – Yard and Garden
Space divisions according to the mature size of the variety. If the plant label is available, use its spacing guidance. When replanting in the original bed, avoid packing divisions together so tightly that the same overcrowding returns in a year or two.
Care for newly divided daylilies
Keep the soil evenly moist while the divisions establish, checking it regularly instead of watering by the calendar. If rain has already kept the bed moist, more water may not be needed. A light layer of mulch can help reduce moisture loss, but keep it from piling directly against the crown.
Do not judge success only by the next season’s flowers. Recently divided plants may take time to settle, and Iowa State Extension notes that divided daylilies may not bloom well for one or two years. When can I divide daylilies? – Yard and Garden Give them a full growing season to rebuild before deciding the division failed.
Common mistakes to avoid
- Waiting until the ground is about to freeze: roots need time to settle into the bed. If fall is almost over, spring may be the better choice.
- Making too many tiny divisions: small pieces with little root may take longer to establish.
- Planting the crown too deep: deep planting can make establishment more difficult. Keep it near the recommended depth.
- Leaving roots exposed: sunlight and dry air can dry a lifted plant quickly.
- Overwatering after planting: aim for consistently moist soil, not a saturated planting hole.
- Expecting immediate flowering: a recently divided clump may need a season or two to regain its display.
Frequently asked questions
Can I divide daylilies in spring instead?
Yes. Early spring, as new growth begins, is another commonly recommended time. Choose the window that gives the plant comfortable conditions to recover. When can I divide daylilies? – Yard and Garden
Do I have to wash the roots?
No. Shaking away loose soil is often enough. Rinsing can help when a clump is so dense that you cannot see where its fans separate.
How many fans should each division have?
Aim for two or three fans with a healthy root system where possible. A smaller division can grow, but it may need more time to become established. When can I divide daylilies?
Dividing daylilies is mostly a matter of choosing a sensible window, protecting the roots, and replanting each piece at the right depth. With a little patience after the move, one crowded clump can become several healthier plantings around the garden.
Last modified: October 20, 2026
