

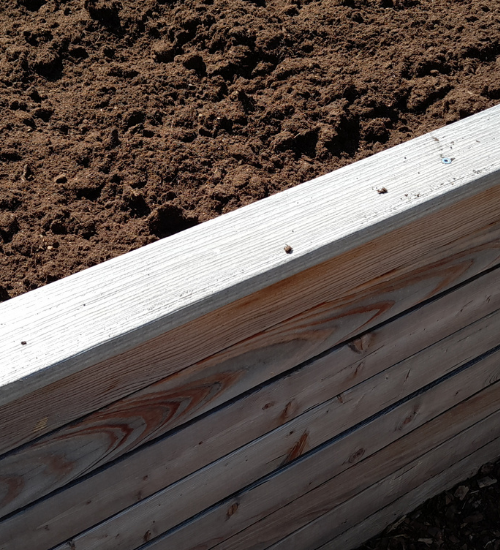
A raised bed may look finished when the last tomatoes and peppers are gone, but the work you do in fall can make next year’s garden much easier. Bare soil can lose moisture, wash away during heavy rain, and become compacted by snow and freezing weather. A few simple tasks now will protect the bed and give you healthier soil when planting season returns.
Preparing a raised bed for winter does not mean stripping it completely bare or digging everything over. In most gardens, the best approach is to remove diseased plant material, leave healthy roots in place, add suitable organic matter, and cover the soil with mulch or a winter crop. The right method depends on your climate, the condition of the bed, and how early you expect to plant in spring.
1. Remove Finished and Diseased Plants
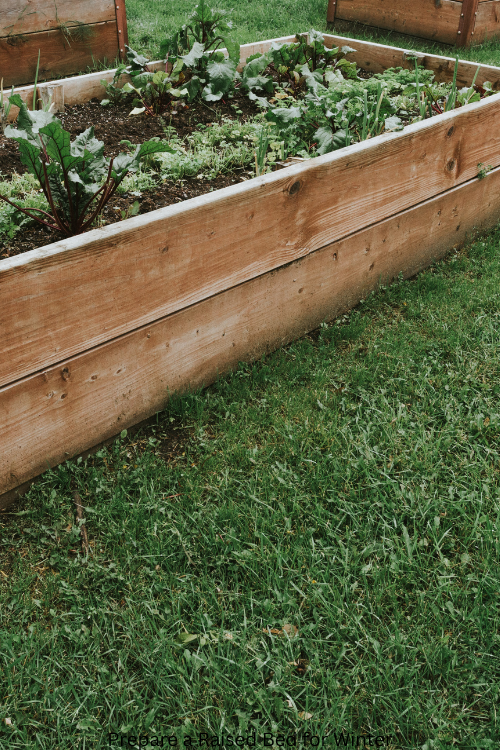
Prepare a Raised Bed for Winter
Start by pulling up annual crops that have stopped producing. Remove old tomato, cucumber, squash, bean, and pepper plants, along with weeds that have gone to seed.
Healthy plant debris can sometimes be chopped and composted. However, plants showing signs of serious disease should not be added to a home compost pile. Fungal spores, insect eggs, and other problems may survive and return to the garden next year.
Remove plants with:
- Black or brown lesions on stems
- Powdery mildew covering much of the foliage
- Severe wilting from an unknown cause
- Rotten fruit or roots
- Heavy insect infestations
- Signs of viral disease, such as unusual mottling or distorted growth
Do not leave diseased leaves lying on the bed. Clearing them reduces the amount of infected material exposed to next season’s plants.
Healthy roots can often remain in the soil. Cut large stems at soil level instead of disturbing the root system. As smaller roots decay, they contribute organic matter and leave channels that improve soil structure.
2. Pull Out Weeds Before They Set Seed
Fall weeds are easy to overlook because the garden is no longer being harvested every day. Unfortunately, one mature weed can drop hundreds or thousands of seeds into the bed.
Pull annual weeds while the soil is slightly moist. For larger perennial weeds, remove as much of the root system as possible. Avoid leaving pieces of roots behind if the plant spreads aggressively from fragments.
If the bed is heavily weedy, cover the surface with plain cardboard or several layers of newspaper, then add compost and mulch on top. Sheet mulching blocks light and helps suppress existing weeds while organic materials break down. Sheet mulching and lasagna composting with cardboard
Avoid glossy cardboard, heavily printed paper, or cardboard coated with plastic. Remove tape and labels before using boxes in a garden bed.
3. Test the Soil Before Adding Amendments
Fall is a useful time to test your raised-bed soil. A soil test can show pH, phosphorus, potassium, and other nutrient levels. This helps prevent the common mistake of adding random fertilizers or minerals that the soil does not need.
Take several small samples from different parts of the bed and mix them in a clean container. Follow the instructions provided by your local soil-testing laboratory.
Do not assume that more compost or fertilizer always means better soil. Excess nutrients can damage plants, pollute runoff, or create nutrient imbalances. Apply lime, fertilizer, or other amendments only when a soil test or reliable local recommendation supports their use.
For general maintenance, a thin surface layer of finished compost is usually safer than a heavy application of fertilizer. Extension guidance commonly recommends applying roughly one-quarter inch to one inch of compost to established garden beds, depending on soil condition and crop needs. How to use compost in gardens and landscapes – OSU Extension Service
4. Add Finished Compost to the Surface
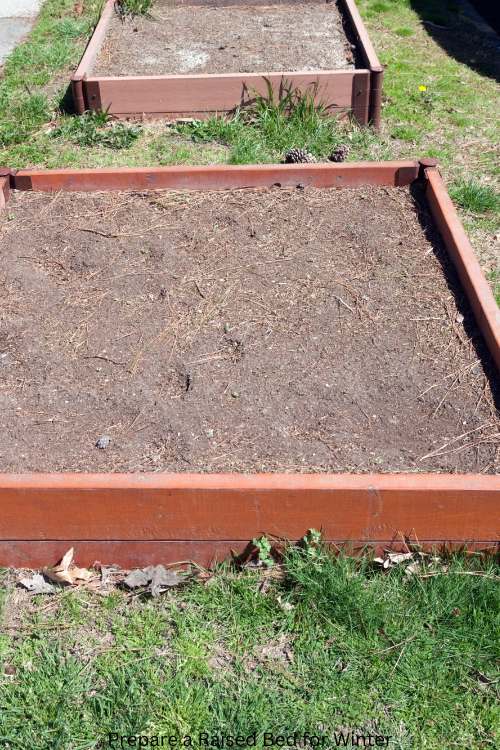
Spread finished compost over the bed after removing crops and weeds. You do not need to mix it deeply into the soil.
Leaving compost on the surface allows rain, earthworms, and soil organisms to move nutrients downward naturally. Deep digging can disturb soil structure and bring buried weed seeds to the surface.
Good finished compost should:
- Smell earthy rather than sour
- Be dark and crumbly
- Contain few recognizable food scraps
- Feel cool rather than hot
- Break apart easily in your hand
Never use fresh manure directly before growing vegetables. It can contain excessive nitrogen, damage plant roots, and introduce pathogens. Use well-aged or properly composted material instead.
5. Avoid Walking on the Soil
Raised beds are often narrow, which makes them easy to step into while cleaning. Try to stay outside the bed whenever possible.
Walking on garden soil compresses air spaces and reduces drainage. Wet soil is especially vulnerable to compaction. If you need regular access, install stepping stones or create permanent paths between beds.
One advantage of raised beds is that they can be managed without disturbing the growing area. Keeping foot traffic off the soil preserves the loose structure that vegetable roots need.
6. Choose the Right Winter Cover
Bare soil is rarely the best option. You can protect it with organic mulch, a living cover crop, or a combination of both.
Organic mulch
Suitable materials include:
- Shredded leaves
- Clean straw
- Compost
- Pine needles
- Aged wood chips for pathways
- Chopped, disease-free plant material
A layer of organic mulch helps reduce erosion, moderate temperature changes, and suppress winter weeds. Mulch also adds organic matter as it decomposes.
For many garden situations, two to four inches is a practical range. Keep mulch away from the crowns of perennial plants and do not bury plants that need air circulation. Gardening with Mulches – OSU Extension Service
Shred leaves before adding them if possible. Whole leaves can form a dense, wet mat that blocks air and water. Shredded leaves break down more evenly and are less likely to blow away.
Cover crops
Cover crops are living plants grown during a period when the bed would otherwise be empty. Depending on your climate, options may include:
- Winter rye
- Oats
- Field peas
- Crimson clover
- Hairy vetch
- Buckwheat for earlier fall planting
Cover crops can protect soil from rain, reduce erosion, and capture nutrients. However, they require planning. Some are difficult to remove in spring, and a vigorous crop can compete with vegetables if it is not terminated early.
For a small home bed, a thick layer of shredded leaves or straw is often easier. Cover crops are most useful when you have enough time to plant them and a plan for cutting or removing them before spring crops go in.
7. Protect Perennial Herbs and Vegetables
Some plants should remain in the bed through winter. Perennial herbs such as chives, oregano, thyme, and sage may return the following year depending on your climate.
After the ground begins to cool, apply a light mulch around, not directly over, the crowns. A thick layer applied too early can trap moisture and encourage rot.
Garlic, overwintering onions, and some cool-season vegetables may also benefit from mulch. The purpose is not to keep the soil warm all winter. Instead, mulch helps reduce repeated freezing and thawing that can push plants out of the ground.
If your bed contains perennial vegetables such as asparagus or rhubarb, follow the care requirements for your climate. Some plants should be cut back after frost, while others are better left standing until late winter.
8. Check the Raised Bed Structure
Winter preparation is also a good time to inspect the bed itself.
Look for:
- Rotting boards
- Loose screws or nails
- Bulging sides
- Cracked bricks
- Standing water
- Soil spilling from corners
- Damaged landscape fabric or hardware cloth
Repair wood before winter moisture makes the damage worse. If the bed has settled, add soil or compost gradually rather than filling it with a thick layer of untested material.
Do not line the bottom of a raised bed with plastic. It can interfere with drainage. Hardware cloth may be useful under beds where burrowing animals are a problem, but water must still be able to move freely through the soil.
9. Make a Spring Planting Plan
Before putting away your garden tools, write down what grew in each bed. Crop rotation is easier when you have a simple record.
Avoid planting the same plant family in the same bed year after year when possible. For example, rotate tomatoes, peppers, eggplants, and potatoes away from the same location. Rotate peas and beans separately from cabbage-family crops and root vegetables.
Record:
- Which crops performed well
- Which plants had disease or pest problems
- Where compost was added
- Which varieties you want to repeat
- What you want to plant next spring
A basic sketch can save time when spring arrives and prevent accidental repetition.
What Not to Do Before Winter
Several common fall habits can create problems.
Do not till wet soil
Tilling wet soil can destroy its structure and create hard clods. Wait until the soil is dry enough to crumble before doing any digging.
Do not leave thick, matted leaves
Leaves are useful mulch, but a dense layer can stay wet and exclude air. Shred them or mix them with straw and compost.
Do not add diseased plants to ordinary compost
Home compost piles may not become hot enough or remain hot long enough to destroy every pathogen.
Do not overfertilize
Adding fertilizer without a soil test can create nutrient problems rather than solve them.
Do not cover the entire bed with impermeable plastic
Plastic can limit water movement and interfere with soil life. If you need a temporary weed barrier, use breathable materials or a carefully managed sheet-mulching system.
A Simple Winter Preparation Schedule
If you want a straightforward checklist, use this order:
- Harvest remaining vegetables.
- Remove diseased plants and fallen fruit.
- Pull weeds before they produce seeds.
- Cut healthy plants at soil level.
- Test the soil.
- Add finished compost if needed.
- Repair the bed frame and drainage.
- Plant a cover crop or add two to four inches of mulch.
- Record the season’s results and plan next year’s rotation.
You do not have to complete every task on the same day. In colder regions, finish cleanup before the ground freezes. In mild climates, you may continue growing greens and herbs through much of winter.
Conclusion
The best way to prepare a raised bed for winter is to protect the soil rather than leave it exposed. Remove unhealthy plant material, control weeds, apply amendments carefully, and cover the surface with mulch or a suitable cover crop. Then inspect the bed structure and make a simple plan for spring.
A few hours of fall maintenance can reduce erosion, limit weeds, protect soil life, and give your next garden a stronger starting point.
Last modified: October 15, 2026
