
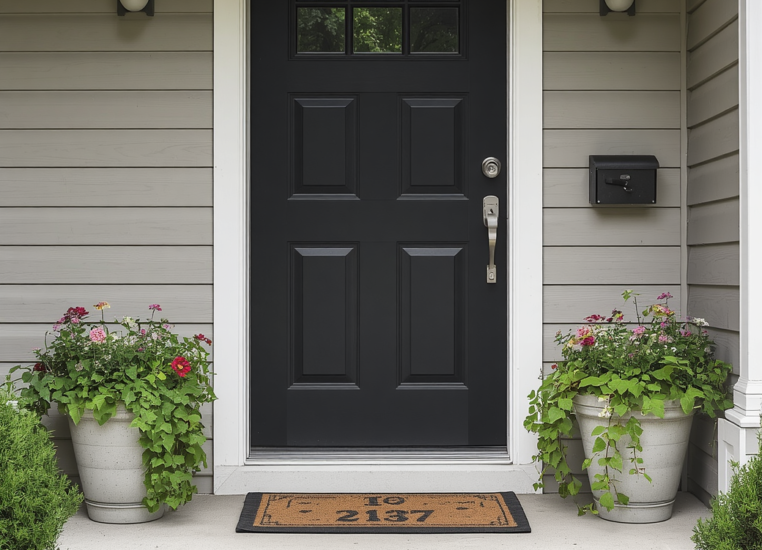
Your front yard is the first thing people see when they pull up to your home. A neglected, overgrown lawn and bare flowerbeds signal “I don’t care.” A thoughtfully landscaped front yard says “I’ve got my life together.” The good news: you don’t need a landscaping degree or a contractor’s budget to make it happen.
Most homeowners overcomplicate their front yards. They chase magazine-perfect designs and end up with projects that cost thousands and require constant maintenance. This post cuts through that. You’ll get nine practical landscaping ideas you can execute yourself, most in a single weekend, with plants and materials you can pick up at any local nursery or garden center.
9 Simple Landscaping Front Yard Ideas with Cost
1. Define Your Entrance with a Mulch Border
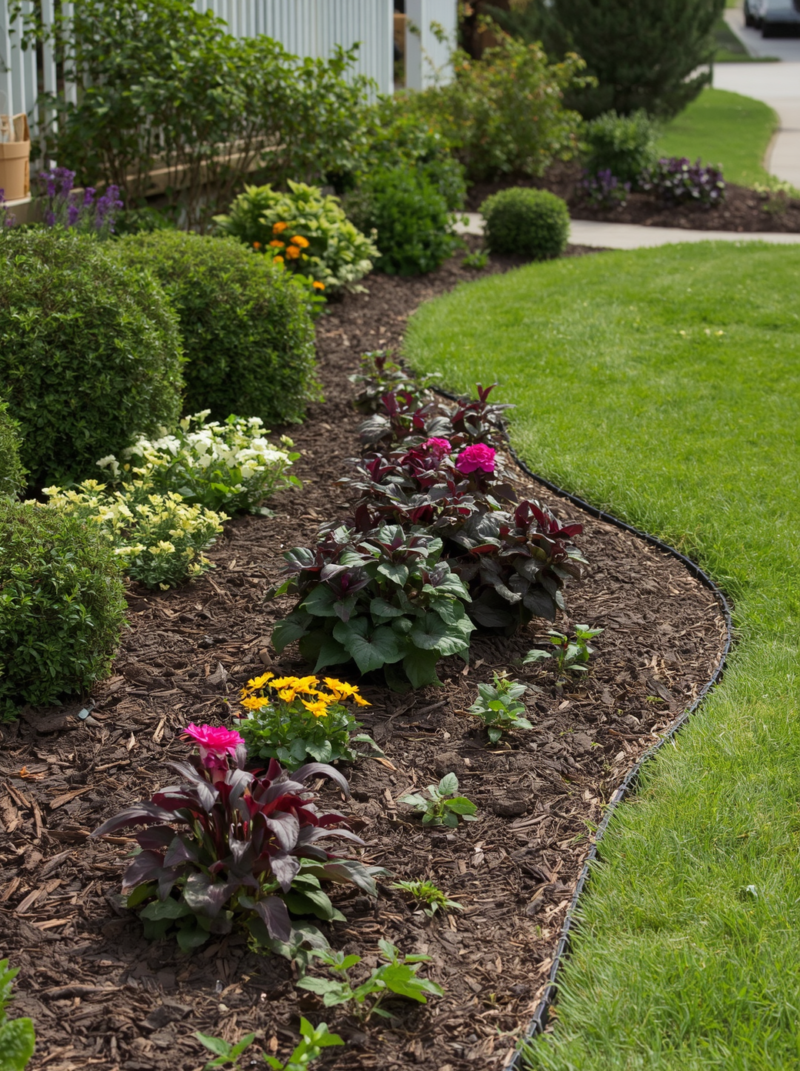
The quickest win in front yard landscaping is creating a clean border around your flowerbed. Mulch does this instantly.
What you’ll do:
- Clear existing weeds and dead plants from your planting beds.
- Edge the border with either landscape edging (plastic or metal stakes) or by hand with a spade.
- Spread 2-3 inches of mulch (cedar, hardwood, or pine bark all work) evenly across the bed.
Why it works: Mulch creates visual separation between your lawn and plantings. It stops weeds before they start. It keeps soil moist so your plants don’t dry out between watering. A freshly mulched bed looks maintained, even if nothing else in your yard is polished yet.
Budget: $20-50 depending on bed size. Mulch costs $3-6 per cubic yard.
Maintenance: Refresh mulch every 18 months. Rake it occasionally to break up compaction.
2. Plant a Focal Point Tree
Simple Landscaping Front Yard
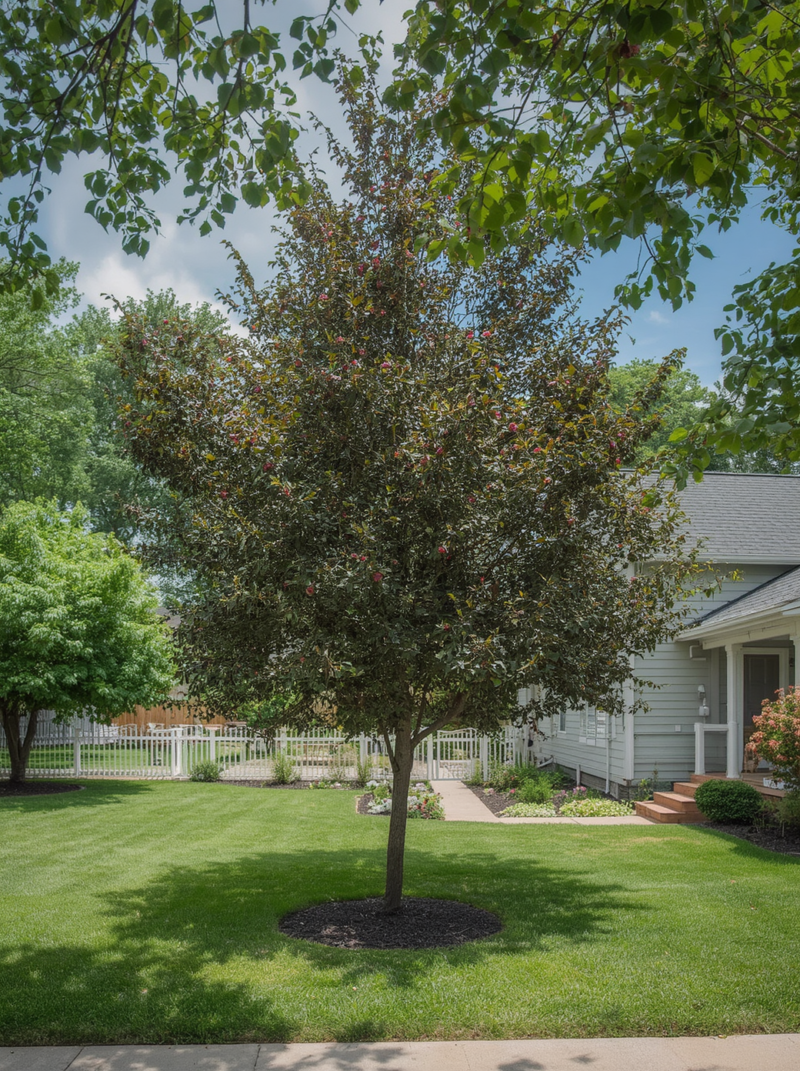
A single tree in the right spot transforms your front yard from “empty” to “intentional.”
Where to place it:
- Off-center in your front yard, not dead center (asymmetry looks more natural).
- At least 10 feet from your house and driveway.
- Where it won’t eventually shade out the rest of your plantings if you want sunlight there later.
Trees that work in most climates:
| Tree | Height | Sun/Shade | Why Pick It |
|---|---|---|---|
| Redbud | 20-30 ft | Part sun | Purple spring flowers, fast growing |
| Dogwood | 15-25 ft | Part shade | White/pink flowers, red winter berries |
| Japanese Maple | 15-25 ft | Part sun/shade | Delicate foliage, fall color, slow growth |
| Serviceberry | 15-25 ft | Part sun | Early spring flowers, berries for birds |
| Crabapple | 20-30 ft | Full sun | Spring flowers, small fruit, winter interest |
What you’ll do:
- Dig a hole as deep as the root ball and 2-3 times as wide.
- Plant in fall or early spring when the tree is dormant.
- Water deeply twice a week for the first month, then weekly for the first year.
Budget: $30-150 depending on tree size. Buy a 6-8 foot tree; it grows faster than a tiny sapling and looks better sooner.
3. Add Foundation Plantings to Hide the Base of Your House
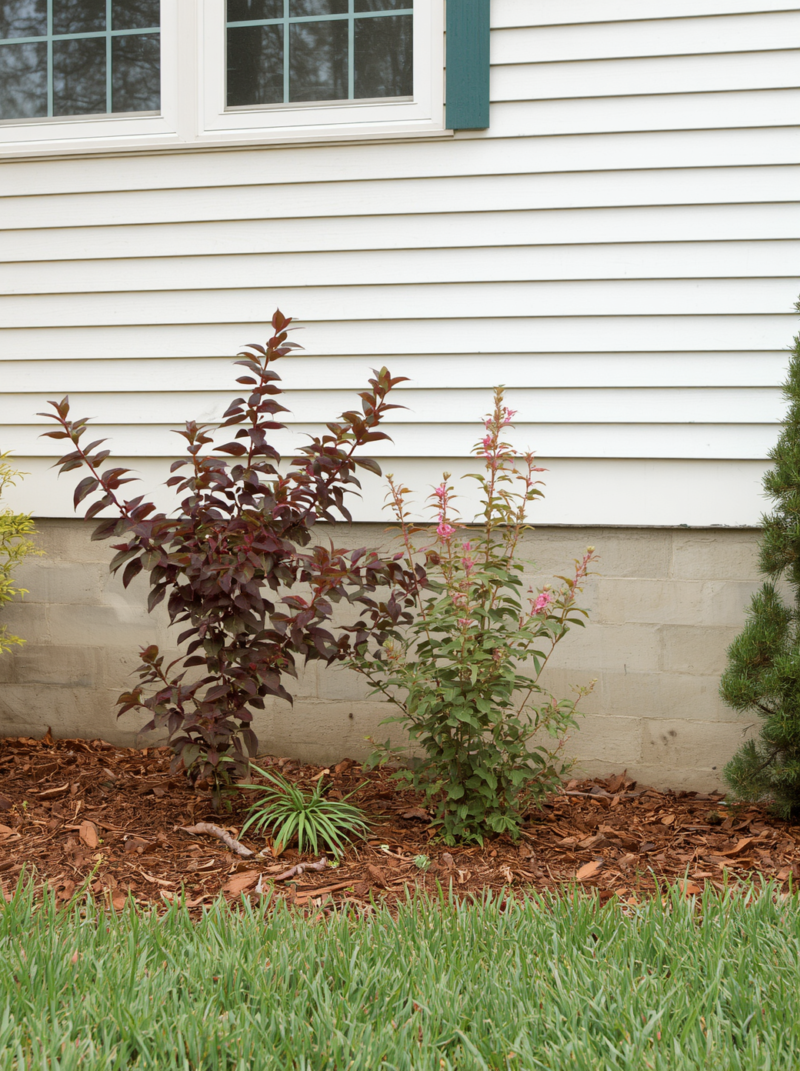
The exposed foundation of a house looks bare. Plants solve this.
The simple formula:
- Choose plants that max out at 2-4 feet tall (so they don’t block windows).
- Space them 2-3 feet apart so they fill in over time.
- Plant in clusters of 3 or 5 (odd numbers look more natural than pairs).
Easy shrubs for most yards:
- Boxwood: Dense, green year-round, tolerates part shade and sun.
- Hydrangea: Big flowers (pink, blue, or white depending on soil pH), blooms mid-summer.
- Dwarf Euonymus: Compact, no flowers but excellent structure.
- Serviceberry shrub form: Spring flowers, fall berries, grows 6-12 feet tall.
- Photinia: Red new growth (great color accent), evergreen.
What you’ll do:
- Prepare soil along your foundation by removing grass and loosening the ground.
- Dig planting holes, space them out, and plant.
- Mulch around the new plants to suppress weeds.
Budget: $15-40 per shrub. Three shrubs = $45-120 total.
4. Create a Defined Lawn Edge
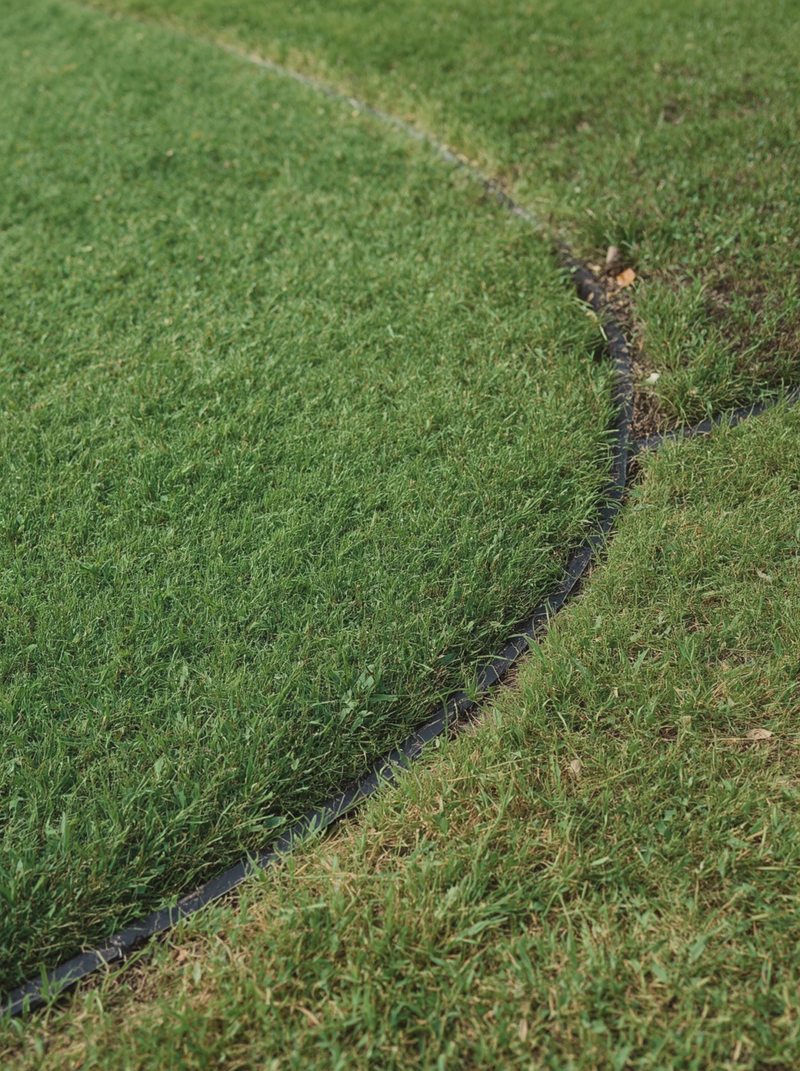
A ragged lawn edge makes even a maintained yard look sloppy. A sharp edge looks professional.
Tools you need:
- Half-moon edger (also called a lawn edger).
- String line or garden hose to mark a straight path.
What you’ll do:
- Lay out your line along the perimeter where lawn meets planting bed.
- Push the half-moon edger straight down, step on the crossbar, and roll it forward.
- Remove the grass strip and compost or discard it.
- Repeat along all edges.
The payoff: A clean edge takes 30 minutes for most residential lots and looks sharp for weeks. Do it monthly in growing season.
Budget: $20-30 for a tool you’ll use forever.
5. Plant Colorful Perennials in Drifts
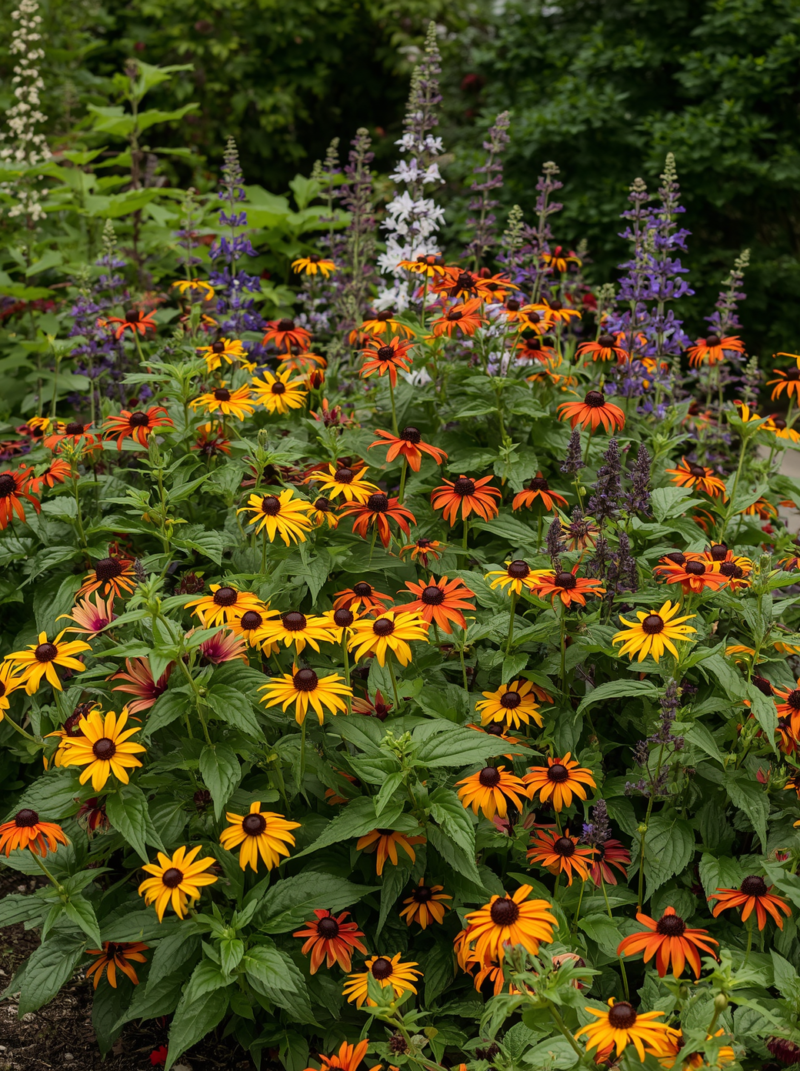
Annuals die every year. Perennials come back, spread, and get cheaper over time.
High-impact perennials for front yards:
| Plant | Color | Height | Sun/Shade | Bloom Time |
|---|---|---|---|---|
| Black-eyed Susan | Yellow with dark center | 18-30 inches | Full sun | June-September |
| Coneflower | Pink, purple, white, orange | 24-36 inches | Full sun | July-October |
| Salvia | Blue, purple, red | 12-24 inches | Full sun | June-September |
| Daylily | Yellow, orange, pink, red | 12-36 inches | Full sun/part shade | June-August |
| Bee Balm | Red, pink, purple | 24-36 inches | Full sun/part shade | July-September |
| Catmint | Blue-purple | 18-24 inches | Full sun | May-September |
What you’ll do:
- Choose 2-3 perennial varieties for your space.
- Plant them in groups of 3, 5, or 7 (drifts, not scattered).
- Space according to mature width (not their current size as transplants).
- Water well for the first month.
Why drifts work: A single flower looks lonely. Five of the same flower in a cluster looks intentional and bold.
Budget: $4-8 per plant. Fifteen plants (three drifts of five) = $60-120.
6. Add a Gravel or Stone Pathway to Your Door
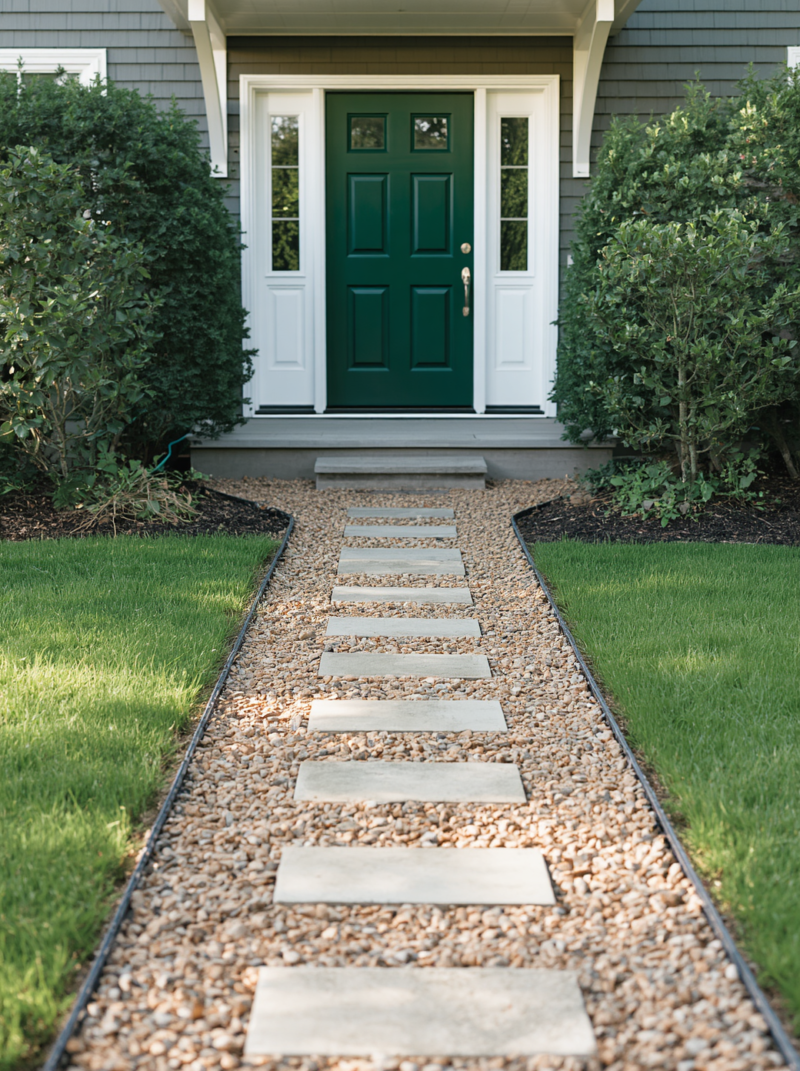
A path invites people to walk where you want them to walk and breaks up a large lawn.
Material options:
- Gravel: Cheapest ($30-50 per cubic yard), needs refreshing every 2-3 years, crunches underfoot.
- Pea gravel: Smooth, more expensive than crushed gravel, washable.
- Stone chips: More expensive, holds up longer, neater look.
- Pavers: Most expensive ($200-500 for a standard path), permanent, no maintenance.
What you’ll do:
- Lay out your path with a garden hose or spray paint.
- Remove grass from the path area.
- Lay landscape fabric to suppress weeds.
- Spread your chosen material 2-3 inches deep.
- Edge with metal or plastic edging to contain the material.
Budget: $50-200 depending on length and material choice.
7. Refresh Your Mailbox and Entrance Area
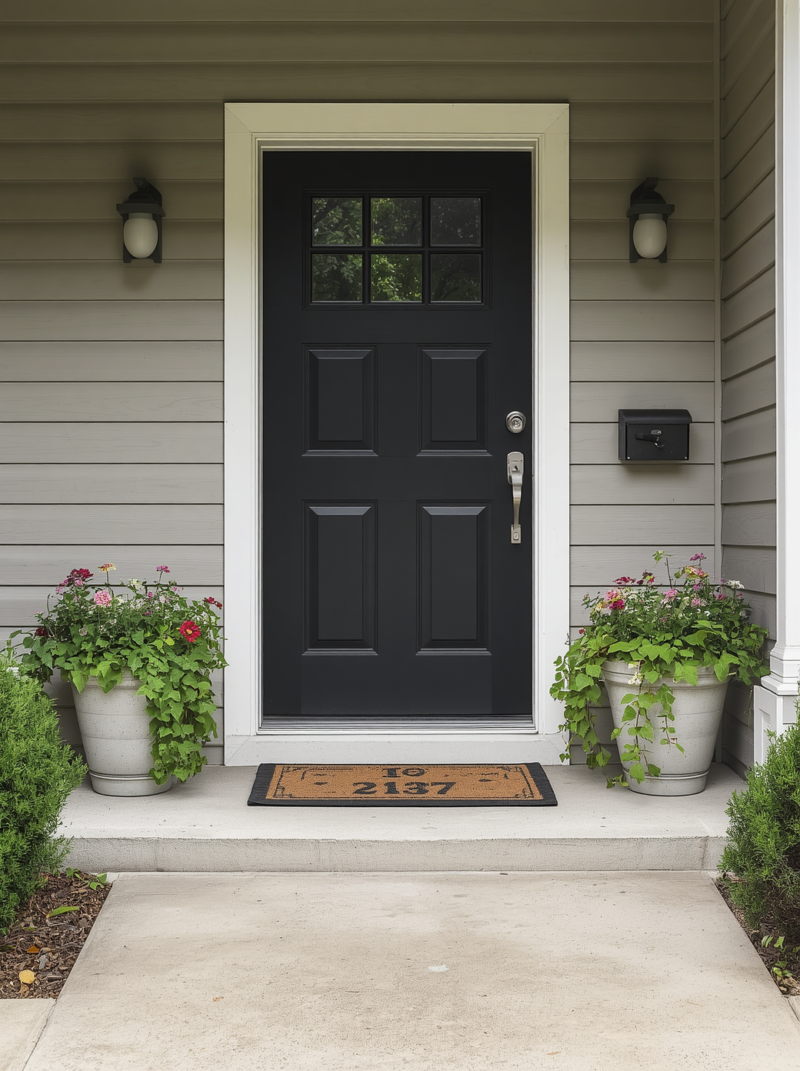
People notice your mailbox. A fresh one signals “someone cares here.”
Simple upgrades:
- New mailbox: $30-80. Standard metal, rustic wood, or modern styles at hardware stores.
- Planters on either side: Two matching pots ($20-40 total) with trailing ivy or seasonal flowers frame your entrance.
- House numbers: Replace faded numbers with new ones ($15-40). Pick a style that matches your home’s aesthetic.
- Lighting: A solar post light or lantern near your mailbox ($25-60) looks welcoming and improves safety.
What you’ll do:
- Unscrew the old mailbox, screw on the new one.
- Place pots on either side and plant them.
- Swap the house numbers (usually a few screws).
- Install the light (most solar lights need no installation – just stake them in the ground).
Budget: $90-220 for all upgrades. Start with just the mailbox and add the rest later.
8. Install Low-Voltage Landscape Lighting
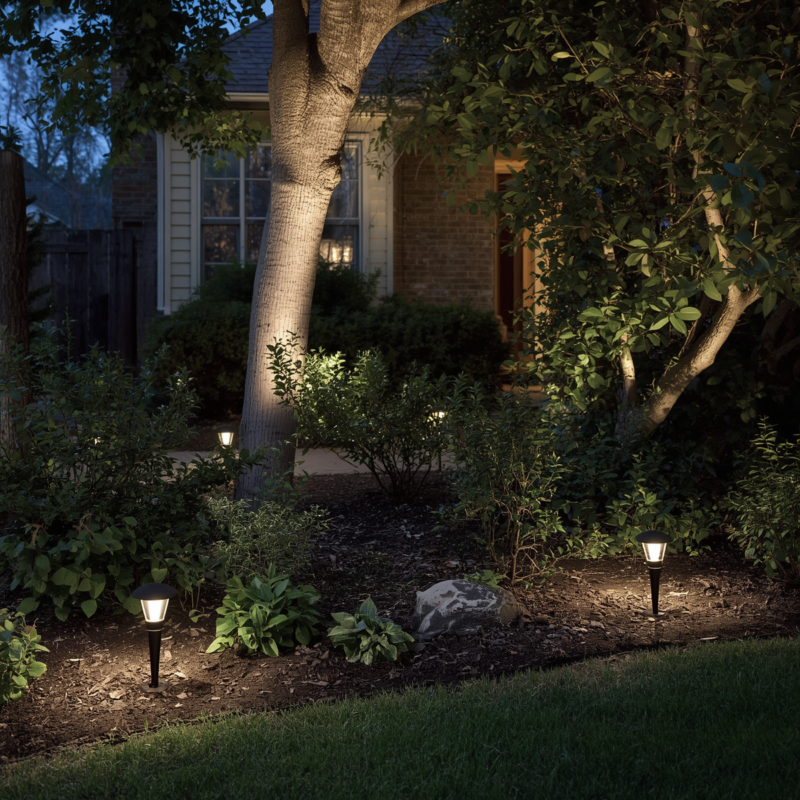
Lighting makes your front yard visible at night and adds drama to your plantings.
Light types:
- Path lights: Short stakes with small bulbs, line walkways and beds. $8-15 each.
- Uplights: Aimed at trees or shrubs to backlight foliage. $10-20 each.
- Spotlights: Highlight architectural features or focal points. $12-25 each.
What you’ll do:
- Run a low-voltage wire (usually 12-volt) from a transformer near an outlet.
- Stake lights into the ground along the wire.
- The transformer plugs into a regular outlet and includes a timer.
Why low-voltage: Safe, runs on 12 volts instead of house current, easy DIY install, uses minimal electricity.
Budget: $80-200 for a basic setup (transformer + 6-10 lights).
9. Add Seasonal Interest with Containers and Planters
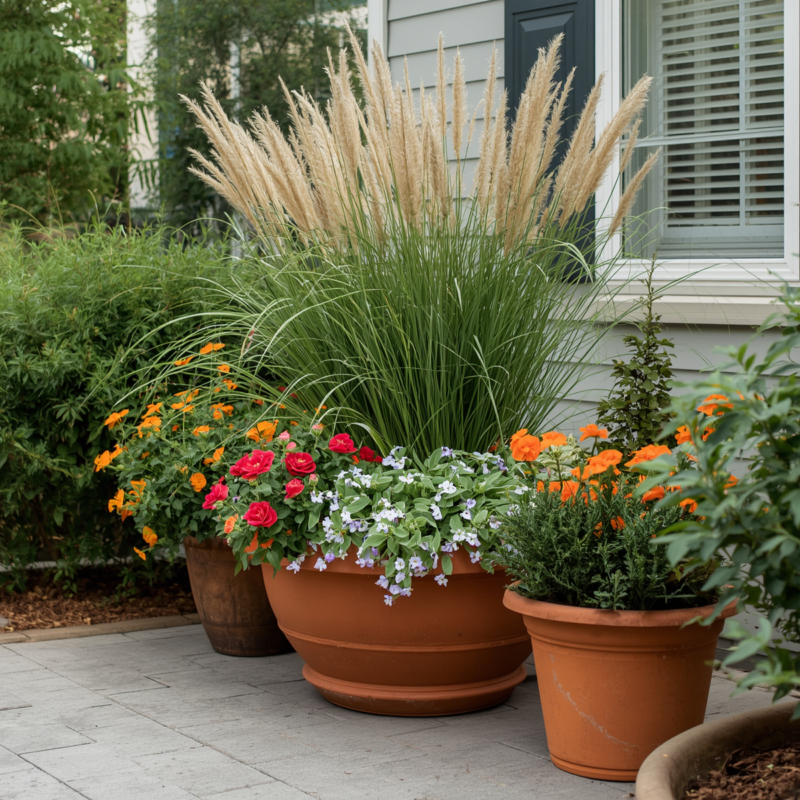
Containers let you add color, change it seasonally, and move plants around to find what works.
Best container combinations:
- Spring: Tulips, hyacinths, pansies.
- Summer: Impatiens, begonias, marigolds, dusty miller.
- Fall: Ornamental cabbage, mums, ornamental grasses.
- Winter: Evergreen branches, ornamental grasses, winter pansies (in mild climates).
Container sizing:
- Pair a large planter (18+ inches) with 1-2 smaller ones.
- A single large pot makes more impact than three small scattered ones.
- Use odd numbers (one big, or three medium grouped together).
What you’ll do:
- Fill containers with quality potting soil (not garden soil).
- Plant 4-6 plants per 18-inch container for a full look.
- Place containers to frame your entrance or flank your mailbox.
- Water containers daily in heat (they dry out faster than ground beds).
Budget: $50-150 depending on container size and plant choice.
Implementation Timeline: Turn Your Yard Around in 4 Weeks
Week 1: Edge your lawn and mulch existing beds. Add the focal point tree. Install the mailbox upgrade.
Week 2: Plant foundation shrubs and perennials. Lay out the pathway.
Week 3: Add containers and plants them. Install basic landscape lighting.
Week 4: Refresh and fill in gaps. Step back and adjust spacing based on what looks right.
The Bottom Line
You don’t need a landscape architect or a contractor to transform your front yard. You need a plan, one weekend of work, and plants that earn their place by looking good without fussing.
Start with one or two of these ideas. Mulch a bed. Plant a tree. Edge your lawn. A small, completed project beats a sprawling vision that never gets done.
Your front yard reflects your home. Make it say what you want it to say.
Last modified: July 26, 2026
