

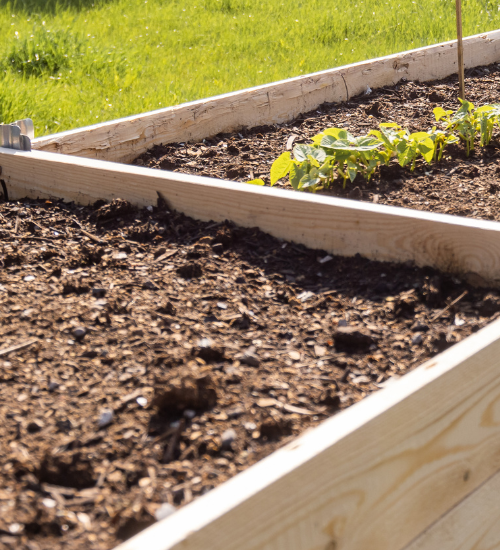
When the final tomatoes are picked and the bean vines begin to fade, it is tempting to leave the garden alone until spring. A raised bed may look finished for the year, but a little fall preparation can protect the soil, reduce pest problems, and make next season’s planting much easier.
The best winter preparation does not mean stripping the bed completely bare. Healthy gardens benefit from a thoughtful combination of cleanup, compost, mulch, cover crops, and protection from winter weather. Here is how to prepare a raised bed garden for winter without creating unnecessary work.
How to Prepare a Raised Bed Garden for Winter
1. Remove Diseased Plants First
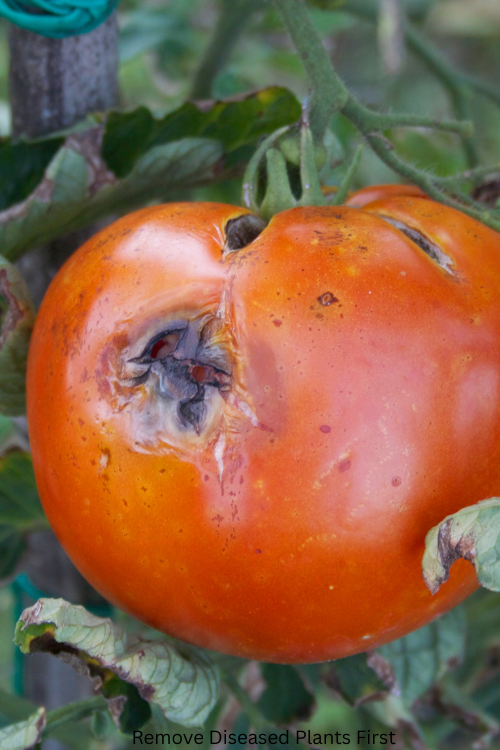
Begin by inspecting every plant still growing in the bed. Pull out plants that are clearly diseased, severely infested, or producing poorly.
Look for:
- White powdery growth on leaves
- Black or brown spots spreading across foliage
- Soft, rotting stems
- Wilted plants with damaged roots
- Plants covered with persistent insect infestations
- Fruit or vegetables showing advanced rot
Do not place diseased plant material in a home compost pile unless the pile reaches temperatures high enough to destroy pathogens. A backyard compost pile often does not heat evenly or remain hot long enough to make this safe.
Healthy annual plants can usually be chopped into smaller pieces and added to the compost pile. Remove thick stems, mature seed heads, and anything that may spread aggressively throughout the garden.
2. Harvest Remaining Vegetables
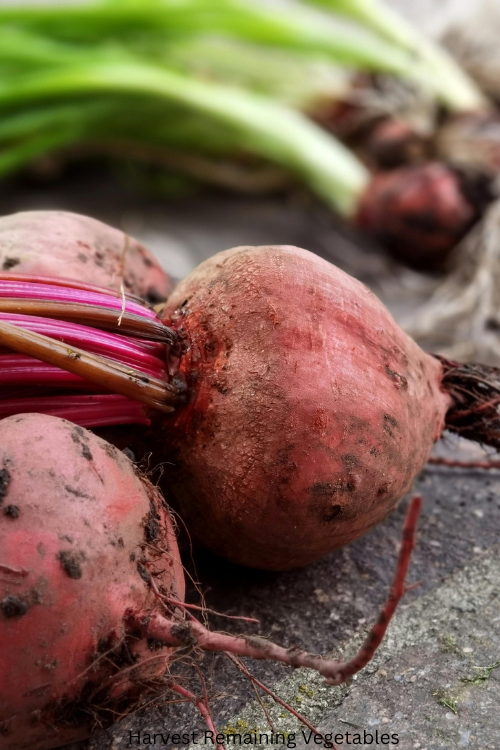
Before cleaning up, look carefully beneath leaves and around the base of plants. Fall gardens often contain more produce than expected.
Depending on your climate, you may still be able to harvest:
- Carrots
- Beets
- Kale
- Swiss chard
- Brussels sprouts
- Cabbage
- Winter squash
- Green onions
- Parsnips
- Fall herbs
Root crops such as carrots and parsnips can often remain in the soil during cool weather. A layer of mulch can help prevent the ground from freezing too quickly, allowing you to harvest them later.
Pick mature peppers, tomatoes, and squash before a hard freeze. Even partially ripe tomatoes can finish coloring indoors when placed in a warm location away from direct sunlight.
3. Pull Weeds Before They Set Seed
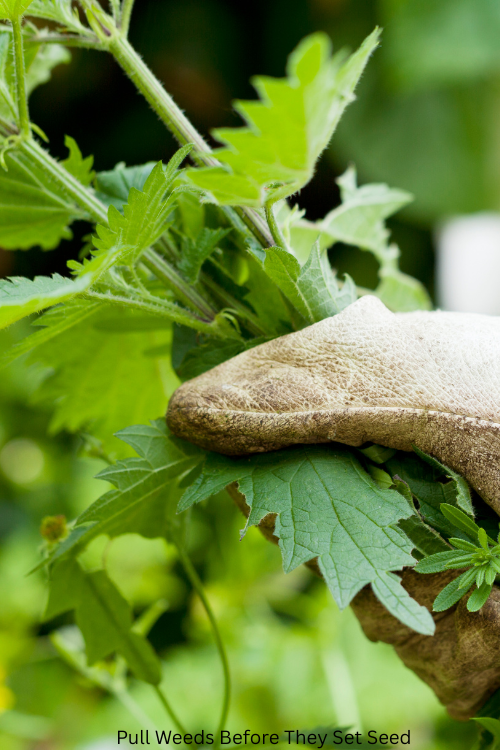
Fall is an excellent time to remove weeds from raised beds. Many weeds that appear harmless in October can drop hundreds or thousands of seeds before winter.
Pull weeds while the soil is slightly moist, but avoid working the bed when it is wet and sticky. Walking on saturated soil or digging through it can compact the growing area and damage its structure.
For shallow-rooted weeds, hand pulling may be enough. For larger weeds, use a hori hori knife or narrow garden trowel to remove as much of the root as possible.
Do not leave mature weeds on top of the bed. Some can continue developing seeds even after they are pulled.
4. Test the Soil Before Adding Amendments
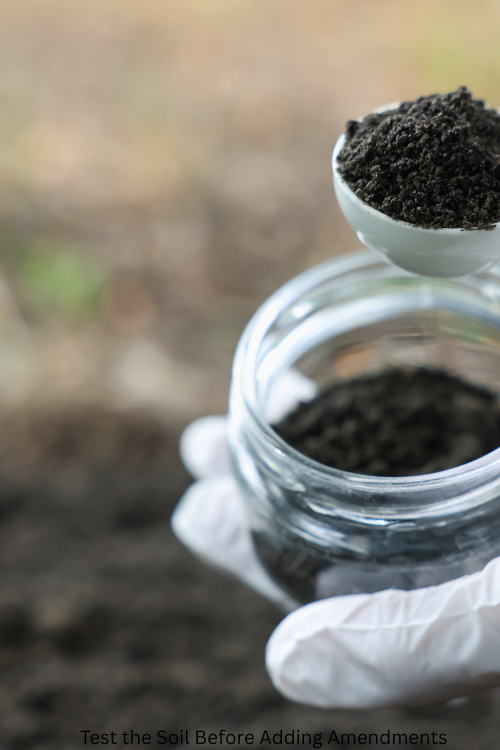
A raised bed does not automatically remain fertile just because it contains rich soil. Every season, vegetables remove nutrients, and repeated watering can move some nutrients deeper into the bed.
A basic soil test can help you decide whether the bed needs lime, sulfur, compost, or a specific nutrient. Avoid adding fertilizer simply because it is fall. Applying nutrients without knowing what the soil lacks can create imbalances and may encourage nutrient runoff.
Most home vegetable gardens benefit from adding finished compost, but compost should complement, not replace, a soil test.
If the soil level has dropped noticeably, add a few inches of finished compost or a quality soil blend. Do not fill the bed with raw manure, fresh wood chips, or unfinished compost. These materials can harm roots, tie up nitrogen, or introduce weed seeds.
5. Add Finished Compost
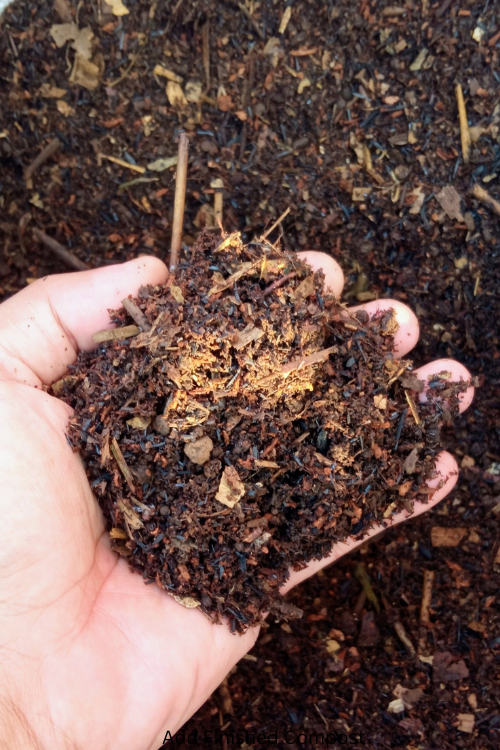
Spread a layer of finished compost across the bed after removing spent crops and weeds. A modest layer is usually enough; there is no need to bury the bed under a huge mound of organic material.
Finished compost should be:
- Dark and crumbly
- Earthy-smelling
- Mostly broken down
- Free from obvious food scraps
- Cool rather than warm in the center
You can leave the compost on the surface for winter weather to work gradually into the soil. If the bed is empty and the soil is not wet, lightly rake it into the top few inches.
Avoid aggressive digging. Turning the entire bed over can disturb soil layers, expose weed seeds, and damage beneficial organisms. Lightly incorporating compost is usually all that is needed.
6. Plant a Fall Cover Crop
An empty raised bed is vulnerable to erosion, nutrient loss, and weed growth. A cover crop can keep living roots in the soil and protect the surface through winter.
Common cover crops for home gardens include:
- Oats
- Winter rye
- Winter wheat
- Crimson clover
- Hairy vetch
- Field peas
The right choice depends on planting date, climate, and how easily you want to clear the bed in spring. Oats are useful when planted early enough because they usually die during winter and leave a layer of residue. Winter rye and some other grains can survive winter and resume growth in spring. Cover crop selection for vegetable growers | UMN Extension
Cover crops can help reduce erosion, add organic matter, improve soil structure, and capture nutrients that might otherwise wash away. However, they still require management. A vigorous cover crop may need to be cut down or terminated before spring vegetables are planted. Cover crops | UMN Extension
If you are planting a cover crop late in the season, choose one suited to your local conditions and follow the seed packet’s recommended planting window.
7. Use Mulch on Bare Soil
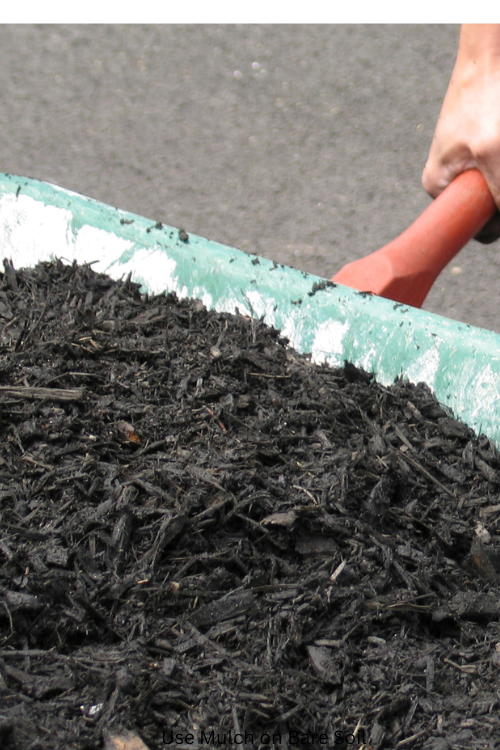
If you are not planting a cover crop, protect the soil with mulch. Mulch helps regulate soil temperature, reduce erosion, suppress weeds, and conserve moisture.
Good choices include:
- Chopped leaves
- Weed-free straw
- Shredded bark
- Finished compost
- Pine needles
- Disease-free garden debris
Chop whole leaves with a mower or leaf shredder before using them. Thick layers of unshredded leaves can mat together, block water, and create a soggy surface.
Apply enough mulch to cover the soil without burying the crowns of perennial plants. Around overwintering vegetables, a few inches may be helpful. In wet climates, avoid creating a dense, permanently soggy layer.
Mulch should be kept away from the stems of plants and the sides of wooden beds to reduce rot and pest hiding places.
8. Protect the Raised Bed Structure
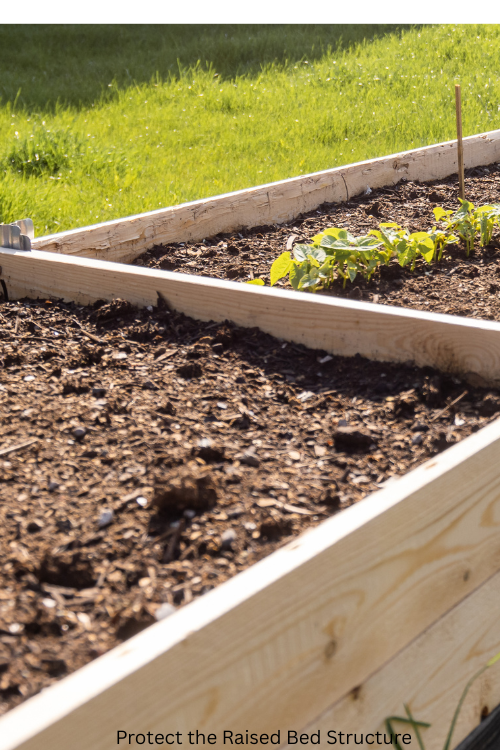
The soil receives most of the attention, but the frame also needs inspection before winter.
Check for:
- Loose screws or brackets
- Rotting boards
- Bowing sides
- Gaps where soil is escaping
- Damaged weed barrier
- Poor drainage
- Standing water after rain
Repair small problems before freezing weather makes them worse. If the bed is made from untreated wood, avoid coating it with products that may leach unwanted chemicals into the soil. Use materials designed for garden construction and food-growing areas.
Do not cover the entire bed with plastic and seal it tightly for winter. Plastic can trap moisture, encourage rot, and create poor airflow. If you need a temporary cover, use breathable fabric or a properly supported low tunnel.
9. Leave Some Plants and Stems for Wildlife
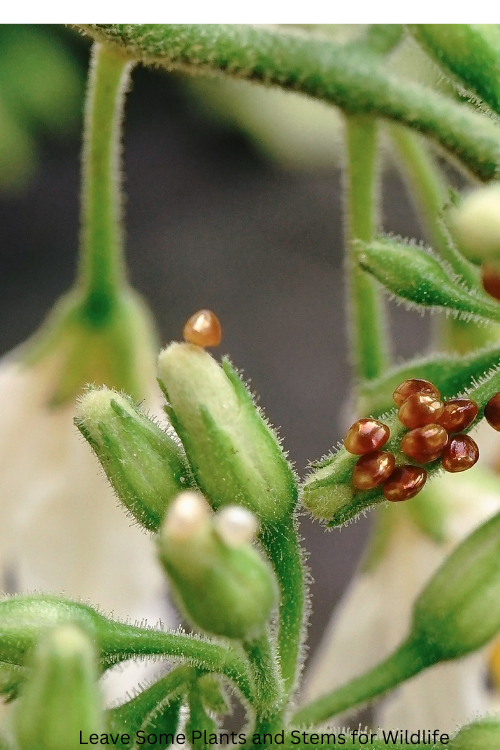
A complete fall cleanup is not always the most beneficial approach. Some seed heads and hollow stems provide food or shelter for insects and birds during winter.
You may choose to leave:
- Healthy ornamental flower stems
- Native perennial seed heads
- Hollow plant stalks
- A small pile of clean leaves
- Undisturbed areas beneath shrubs
Remove anything diseased or invasive, but do not feel obligated to make every part of the garden perfectly bare. A little winter habitat can support beneficial insects that help control pests the following year. Penn State Extension also recommends sustainable fall practices such as leaving selected plant material and using “chop and drop” methods where appropriate. Ready, Set, Rest: Fall Gardening – Penn State Extension
What Not to Do in a Raised Bed Before Winter
A few common fall habits can create problems:
Do not work waterlogged soil
Wet soil is easily compacted. If the soil sticks heavily to your boots or tools, wait for a drier day.
Do not add fresh manure directly before planting
Fresh manure can burn roots, introduce weed seeds, and create food-safety concerns. Use well-aged manure or finished compost instead.
Do not leave diseased debris in place
Plant diseases can survive in infected leaves, stems, and fruit. Remove questionable material from the bed.
Do not over-fertilize
More fertilizer is not always better. Apply amendments based on a soil test and the needs of your future crops.
Do not bury mulch against plant crowns
Dense mulch touching plant stems can promote rot and provide shelter for rodents and slugs.
A Simple Fall Checklist
Use this quick checklist before winter arrives:
- Harvest mature vegetables.
- Remove diseased plants.
- Pull weeds before they produce seeds.
- Add finished compost if needed.
- Plant a suitable cover crop or apply mulch.
- Check the bed frame and drainage.
- Protect overwintering crops.
- Label perennial plants and garlic locations.
- Leave selected healthy stems for wildlife.
- Record what worked and what failed this season.
Final Thoughts
Preparing a raised bed garden for winter is less about doing more work and more about doing the right work. Remove disease, protect the soil, replenish organic matter, and avoid unnecessary disturbance.
A covered, well-maintained raised bed will be less weedy, less eroded, and easier to plant when spring returns. Even a simple layer of compost and chopped leaves can make a meaningful difference by protecting the soil during the months when the garden is resting.
Last modified: October 12, 2026
