

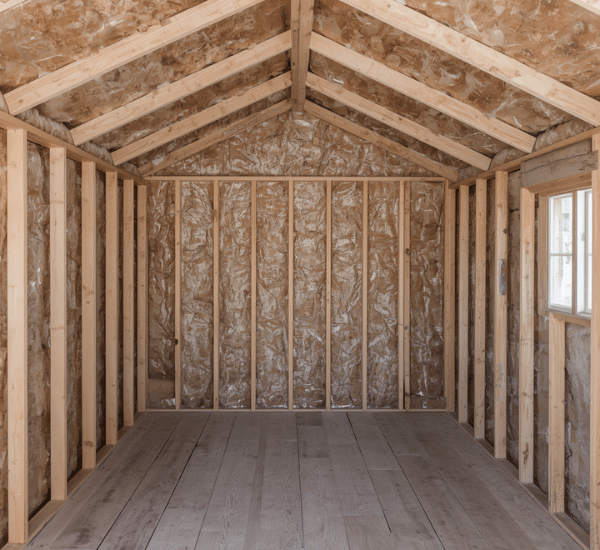
A shed floor is easy to overlook until winter arrives. Even when the walls and roof are in decent condition, cold can travel through the floor and make the entire building feel damp and uncomfortable.
If your shed is used as a workshop, hobby room, potting area, or organized storage space, insulating the floor can make it more useful throughout the year. Learning how to insulate a shed floor for winter begins with identifying the type of floor you have and solving moisture problems before adding insulation.
The best approach depends on whether your shed sits on timber joists, a concrete slab, or an existing floor that cannot easily be removed.
Check for Moisture Before Adding Insulation
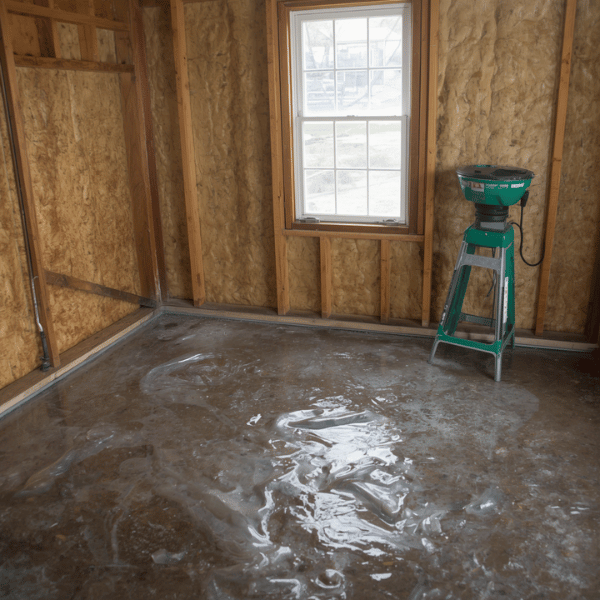
Insulation should not be used to hide a damp floor. Moisture trapped beneath insulation can encourage rot, mold, unpleasant odors, and damage to stored belongings.
Inspect the shed for:
- Standing water
- Damp patches
- Soft or springy boards
- Rot around the edges
- Musty smells
- Water entering beneath the walls
- Condensation on metal tools or surfaces
Check the outside as well. Make sure roof runoff drains away from the shed and that soil does not sit higher than the floor. If the shed is raised, look underneath for poor drainage, blocked airflow, or puddles.
Repair leaks and improve drainage before starting the insulation project.
Identify Your Shed Floor Type
Most sheds have one of three floor arrangements:
- A raised timber floor supported by joists
- A concrete slab
- A timber floor sitting close to the ground
The construction determines where the insulation should go.
For a raised timber floor, insulation usually fits between the joists or beneath the floorboards. For a concrete slab, insulation is typically installed above the concrete before adding a finished floor. A low timber floor may require extra attention to ventilation and moisture protection.
Do not seal a timber floor against damp ground without first confirming that water can escape and air can circulate underneath.
Option One: Insulate Between Raised-Floor Joists
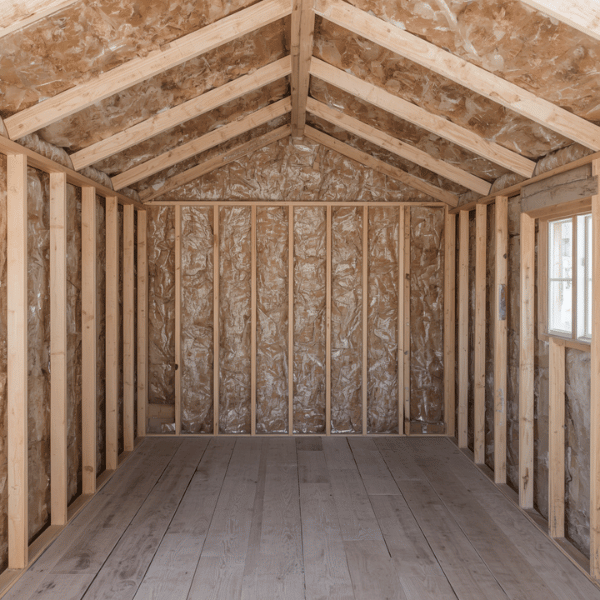
Insulate Between Raised-Floor Joists
If you can access the underside of the shed, insulating between the joists is often an effective approach. This method keeps the existing floorboards in place and leaves the interior floor height unchanged.
Suitable materials may include:
- Rigid foam board
- Mineral wool or fiberglass batts
- Foil-faced insulation
- Closed-cell insulation panels
Measure the distance between the joists and the depth available. Cut the insulation to fit snugly without forcing it into place. Large gaps reduce performance, but compressed insulation may also work less effectively.
Support the insulation so it cannot fall out. Depending on the design, you might use:
- Timber battens
- Wire supports
- Insulation netting
- Exterior-rated screws with large washers
- Thin protective boards
The insulation should be protected from rodents, moisture, and physical damage. If the shed is exposed to wind underneath, add a suitable covering that still allows the structure to remain dry.
Option Two: Add Insulation Above a Timber Floor
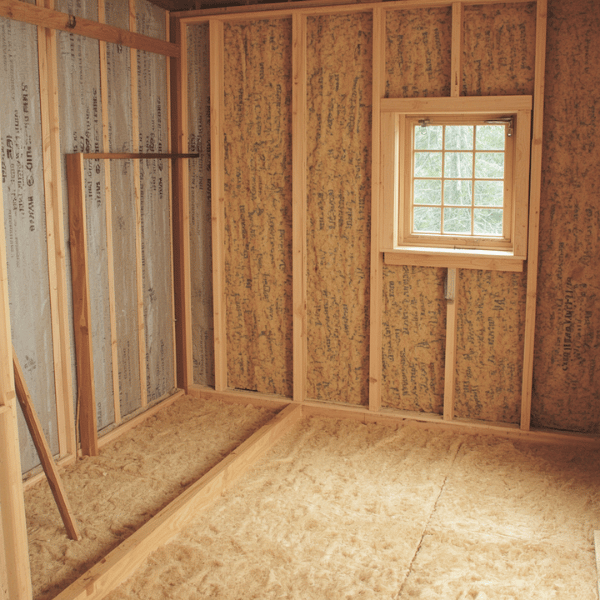
When the underside is inaccessible, you can insulate from inside the shed. This usually requires adding a new layer over the existing boards.
A typical build-up may include:
- Existing floorboards
- Rigid insulation panels
- Sealed panel joints
- A sturdy subfloor
- Finished flooring
Rigid foam board is often convenient because it is easy to cut and provides a flat surface for a new subfloor. Use panels designed for floor applications and follow the manufacturer’s installation instructions.
Make sure the added layers will not interfere with doors. Raising the floor even slightly may require trimming the bottom of the door or adjusting the threshold.
Option Three: Insulate a Concrete Shed Floor
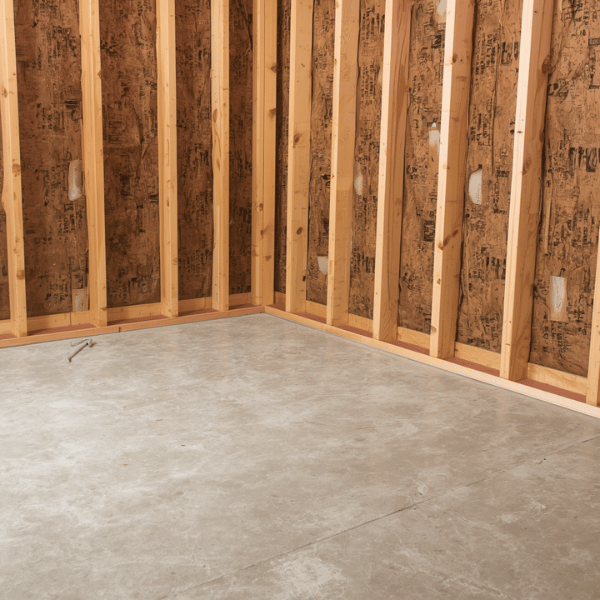
Concrete floors feel especially cold because they draw heat away from anything touching them. If your shed sits on a slab, clean and inspect the concrete before installation.
The surface should be:
- Dry
- Solid
- Free from loose dust
- Reasonably level
- Clear of cracks that allow water entry
For minor uneven areas, use an appropriate floor-leveling product. Significant cracks or moisture problems should be addressed before covering the slab.
You can install rigid insulation over the concrete, followed by a suitable subfloor or floating floor system. Leave the required expansion space around the edges and avoid trapping visible moisture beneath the new flooring.
Compare Common Shed Floor Insulation Materials
| Material | Advantages | Limitations |
|---|---|---|
| Rigid foam board | Lightweight and easy to cut | Needs careful sealing and protection |
| Mineral wool | Fits irregular spaces and resists heat | Requires support and protective covering |
| Fiberglass batts | Familiar and widely available | Performs poorly if wet or compressed |
| Cork underlayment | Useful for mild cold and sound reduction | Usually not enough by itself for severe exposure |
| Closed-cell panels | Good moisture resistance | Can cost more than basic options |
Choose a material based on the floor design, moisture exposure, available depth, and intended use of the shed.
Seal Gaps Without Trapping Water
Small gaps around insulation panels can allow cold air to move through the floor assembly. Cut panels carefully and seal compatible joints with the recommended tape or sealant.
Pay attention to:
- Panel-to-panel seams
- Gaps around pipes or cables
- The perimeter near the walls
- Corners
- Openings around supports
However, do not block drainage paths or ventilation openings beneath a raised shed. A sealed interior floor should not prevent the structure from drying.
Add a Durable Subfloor
Insulation should not usually be the final walking surface. Add a rigid subfloor to protect it from tools, furniture, moisture, and foot traffic.
Possible subfloor materials include:
- Exterior-rated plywood
- Tongue-and-groove flooring panels
- Cement-based boards where appropriate
- Manufacturer-approved flooring systems
Stagger seams between layers when possible. Fasten the subfloor securely, but avoid driving screws into hidden pipes, cables, or structural members you cannot identify.
For a workshop shed, leave enough strength beneath heavy benches or equipment. Soft flooring may feel comfortable but can become damaged under concentrated weight.
Choose a Suitable Finished Floor
The finished surface should match the way you use the shed.
For storage, a sealed plywood floor may be enough. For a workshop, rubber tiles or durable vinyl may make standing more comfortable. For a potting shed, choose a surface that is easy to sweep and not easily damaged by water.
Avoid installing materials that require a consistently heated, tightly controlled indoor environment if your shed remains unheated. Seasonal temperature and humidity changes can affect wood flooring and adhesives.
Protect the Floor From Future Moisture
After insulating, keep moisture from returning through regular maintenance:
- Keep soil and mulch below the shed floor level.
- Direct downspouts away from the building.
- Repair roof leaks promptly.
- Use weatherstripping around the door.
- Store items on shelves or raised pallets.
- Avoid placing wet tools directly on the floor.
- Keep vents clear.
- Inspect the floor at least once each year.
If the shed is used as a workshop, be careful with heaters and extension cords. Use equipment according to its instructions and never operate fuel-burning appliances in an unventilated space.
Common Mistakes to Avoid
When learning how to insulate a shed floor for winter, several mistakes can reduce the value of the project.
Ignoring water problems
Insulation will not correct flooding, leaks, or rising damp. Solve the source first.
Leaving large gaps
Loose-fitting panels create cold paths. Measure twice and cut carefully.
Compressing soft insulation
Insulation that is packed tightly into a shallow cavity may lose effectiveness. Use the correct thickness for the available space.
Forgetting door clearance
A new floor can prevent the door from opening or closing properly. Measure the finished height in advance.
Blocking underfloor ventilation
Raised sheds need airflow below them to help keep timber dry. Do not cover vents or close off the entire underside without a moisture-control plan.
Using indoor-only materials
Some flooring and adhesives are not designed for fluctuating temperatures or damp conditions. Check product labeling before installation.
A Practical Project Checklist
Before beginning, gather:
- Tape measure
- Straightedge
- Utility knife or saw
- Safety glasses
- Gloves
- Dust mask when required
- Insulation material
- Approved tape or sealant
- Support battens or fasteners
- Subfloor panels
- Flooring material
- Door-clearance measurements
Work in manageable sections and keep the shed dry throughout the project.
Final Thoughts
Learning how to insulate a shed floor for winter is less about adding the thickest possible material and more about creating a dry, protected, continuous floor assembly. Start with drainage and moisture control, choose insulation that suits the construction, seal unnecessary gaps, and protect everything with a durable subfloor.
A properly insulated floor will not turn an unheated shed into a living room, but it can make the space less harsh, more comfortable to work in, and safer for storing tools and materials during cold weather.
Last modified: October 12, 2026
