

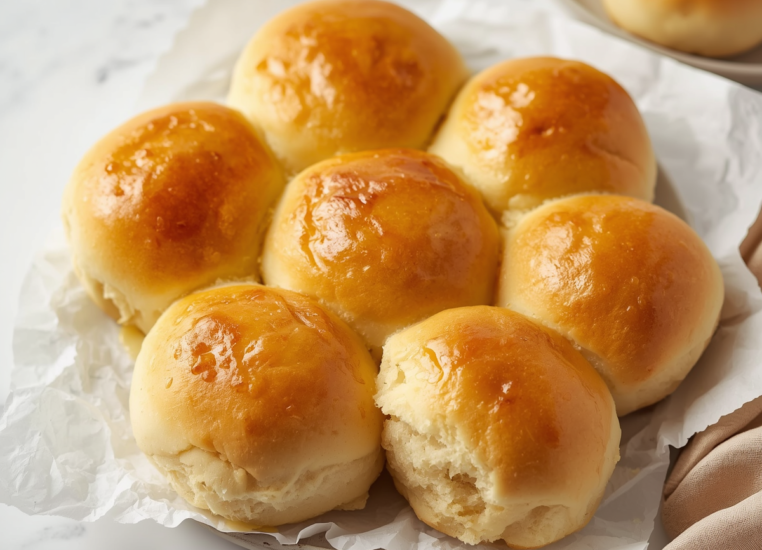
There’s something truly comforting about the smell of freshly baked bread filling the kitchen. I am always drawn to recipes that make the house smell warm and inviting, and these Homemade Honey Butter Rolls do exactly that. They’re soft, fluffy, and slightly sweet with a golden buttery glaze that melts in your mouth.
I love making these rolls because they’re simple enough for a weeknight dinner but special enough for holidays or family gatherings. The honey adds a gentle sweetness that pairs beautifully with the buttery flavor. However, what I love most is how versatile they are. You can serve them with soup, roasted chicken, or even as a sweet breakfast roll with jam.
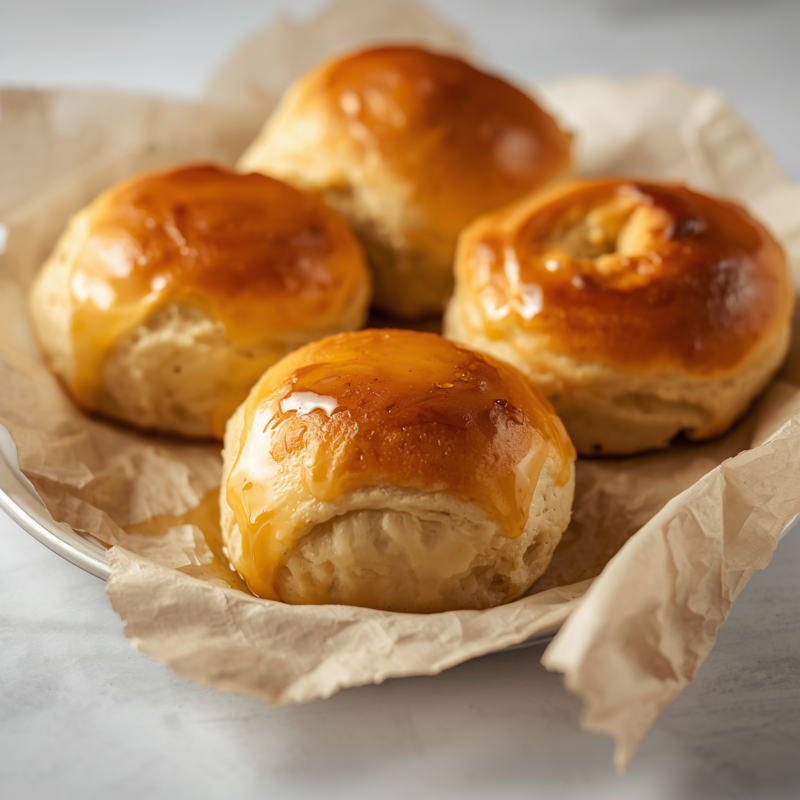
Ingredients for Homemade Honey Butter Rolls
|
Ingredient |
Amount |
Purpose / Explanation |
|---|---|---|
|
All-purpose flour |
4 cups (plus extra for kneading) |
The main ingredient that forms the dough |
|
Warm milk (about 110°F) |
1 cup |
Helps activate the yeast and makes the dough soft |
|
Active dry yeast |
2 ¼ teaspoons (1 packet) |
Makes the dough rise and become fluffy |
|
Honey |
¼ cup |
Adds sweetness and helps the rolls brown |
|
Unsalted butter (melted) |
¼ cup |
Adds richness and flavor |
|
Egg |
1 large |
Helps bind the dough and adds softness |
|
Salt |
1 teaspoon |
Balances the sweetness and enhances flavor |
|
Sugar |
2 tablespoons |
Feeds the yeast and adds a touch of sweetness |
|
Butter (for brushing) |
3 tablespoons |
Used to brush the tops after baking |
|
Honey (for glaze) |
2 tablespoons |
Mixed with butter for a shiny finish |
Step-by-Step Instructions for Homemade Honey Butter Rolls
Step 1: Activate the Yeast
In a small bowl, combine the warm milk, sugar, and yeast. Stir gently and let it sit for about 5 to 10 minutes until it becomes foamy. This step is called “proofing” the yeast. It means you’re checking to make sure the yeast is alive and active. If it doesn’t foam, the yeast might be old, and you’ll need to start over.
Step 2: Mix the Wet Ingredients
In a large mixing bowl, whisk together the melted butter, honey, and egg. Once the yeast mixture is ready, pour it into the bowl and stir until everything is combined.
Step 3: Add the Dry Ingredients
Add the flour and salt gradually, one cup at a time, mixing after each addition. The dough will start to come together and pull away from the sides of the bowl. When it becomes too thick to stir, use your hands or a stand mixer with a dough hook.
Step 4: Knead the Dough
Turn the dough out onto a lightly floured surface and knead for about 8 to 10 minutes. Kneading means pressing and folding the dough repeatedly to make it smooth and stretchy. This helps develop gluten, which gives the rolls their soft, chewy texture.
If the dough feels sticky, sprinkle a little more flour, but don’t add too much or the rolls will become dense. The dough should be soft and slightly tacky but not sticky.
Step 5: Let the Dough Rise
Place the dough in a greased bowl and cover it with a clean kitchen towel or plastic wrap. Let it rise in a warm place for about 1 to 1½ hours, or until it doubles in size.
This step is called “proofing.” It allows the yeast to create air bubbles, which make the rolls light and fluffy.
Step 6: Shape the Rolls
Once the dough has risen, punch it down gently to release the air. Divide it into 12 to 15 equal pieces. Roll each piece into a smooth ball by tucking the edges underneath.
Place the rolls in a greased baking dish or on a parchment-lined baking sheet, leaving a little space between each one so they have room to rise again.
Step 7: Second Rise
Cover the rolls again and let them rise for another 30 to 45 minutes. They should puff up and almost double in size.
Step 8: Bake the Rolls
Preheat your oven to 375°F (190°C). Bake the rolls for 15 to 18 minutes, or until they’re golden brown on top.
Step 9: Make the Honey Butter Glaze
While the rolls are baking, melt 3 tablespoons of butter and mix it with 2 tablespoons of honey. Stir until smooth.
Step 10: Brush and Serve
As soon as the rolls come out of the oven, brush them generously with the honey butter glaze. The warm rolls will soak up the glaze, making them shiny and flavorful.
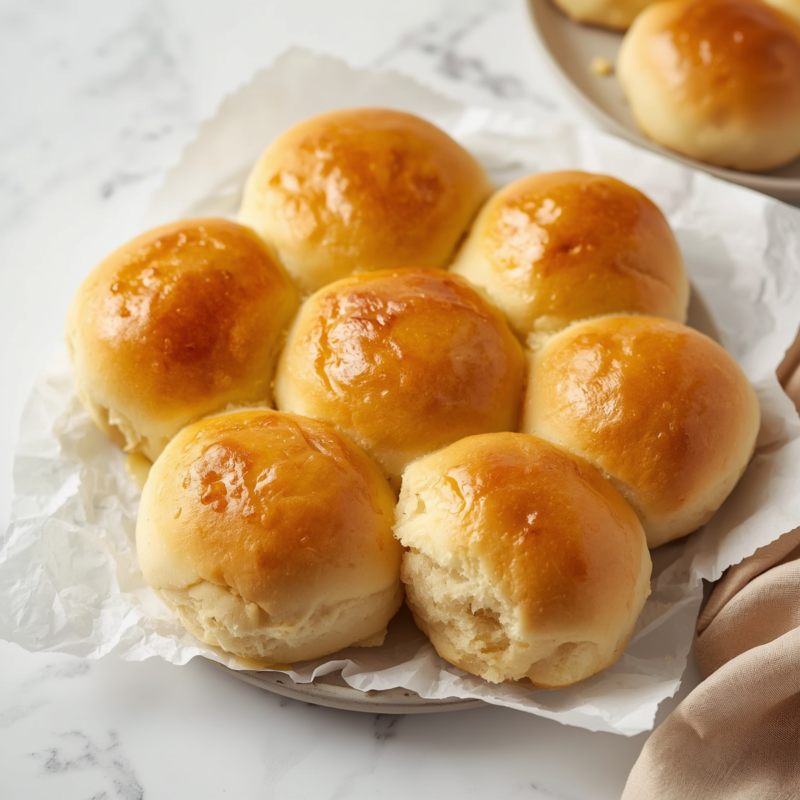
Serve warm and enjoy the soft, buttery goodness.
Tips for Perfect Homemade Honey Butter Rolls
- Use warm milk, not hot: If the milk is too hot, it can kill the yeast. Warm milk should feel like bath water.
- Don’t rush the rise: Letting the dough rise fully makes the rolls soft and fluffy.
- Use real butter: It gives the best flavor and texture.
- Brush while warm: The honey butter glaze melts into the rolls better when they’re hot.
- Store properly: Keep leftovers in an airtight container at room temperature for up to 3 days.
Common Mistakes and How to Avoid Them
- Dough not rising: Make sure your yeast is fresh and the milk is warm, not hot.
- Rolls too dense: This happens if you add too much flour or don’t let the dough rise enough.
- Burnt tops: If your oven runs hot, cover the rolls with foil halfway through baking.
- Dry rolls: Brush with extra honey butter after baking to keep them moist.
Variations of Homemade Honey Butter Rolls
- Garlic Honey Butter Rolls: Add minced garlic to the glaze for a savory twist.
- Cinnamon Honey Butter Rolls: Sprinkle cinnamon sugar on top before baking for a sweet version.
- Whole Wheat Honey Butter Rolls: Replace half the flour with whole wheat flour for a heartier texture.
- Stuffed Honey Butter Rolls: Add a small cube of cheese or a bit of jam inside each roll before baking.
Serving Ideas
These rolls go with almost anything. I love serving them with:
- Roasted chicken or turkey
- Creamy soups like potato or tomato
- Breakfast spreads like jam or butter
- Holiday dinners with ham or beef roast
They’re also perfect for making mini sandwiches the next day.
Frequently Asked Questions
1. Can I use instant yeast instead of active dry yeast?
Yes, you can. Skip the proofing step and mix it directly with the flour.
2. Can I make the dough ahead of time?
Yes, you can refrigerate the dough overnight after the first rise. Let it come to room temperature before shaping.
3. Can I use plant-based milk?
Yes, almond or oat milk works fine, but the flavor will be slightly different.
4. Can I make them smaller or larger?
Absolutely. Just adjust the baking time accordingly.
Final Thoughts on Homemade Honey Butter Rolls
These Homemade Honey Butter Rolls are soft, golden, and full of flavor. I am always amazed at how something so simple can taste so comforting. Because they’re easy to make and go with almost any meal, they’ve become a staple in my kitchen.
However, the best part is watching everyone’s faces light up when they take that first bite. The warm, buttery sweetness is irresistible. Therefore, if you’re looking for a recipe that’s both easy and impressive, this one is it.
Nonetheless, be warned: once you make these rolls, you’ll be asked to bake them again and again. And honestly, that’s not a bad thing at all.
Last modified: July 10, 2026
