

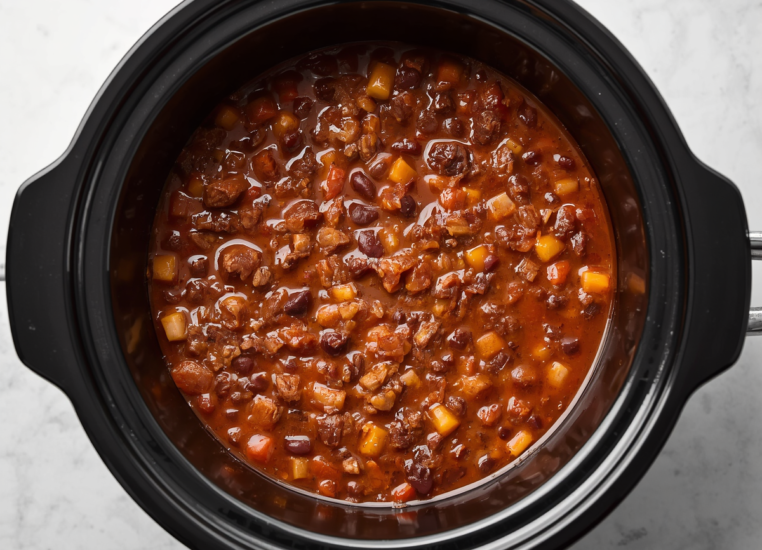
Crockpot chili is the weeknight dinner that cooks itself.
You spend 15 minutes prepping ingredients, set the timer, and eight hours later you have a pot of rich, deeply flavored chili ready to serve.
This recipe feeds a crowd, stores well, and costs less than $15 to make from pantry staples and affordable ground beef.
Why Crockpot Chili Recipe Is Easy to Cook
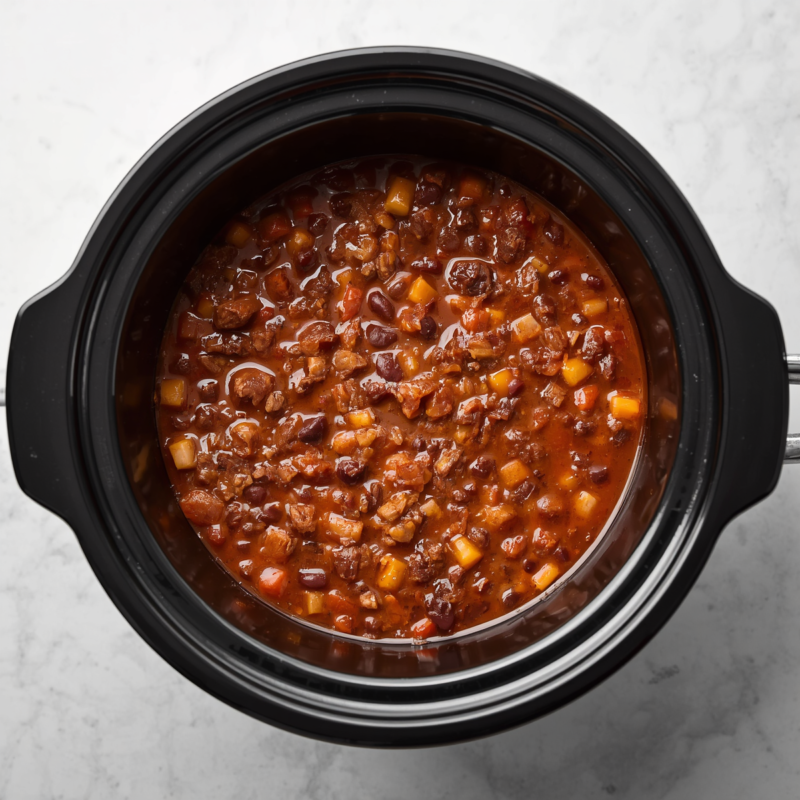
A slow cooker does the work traditional stovetop chili demands. The low, steady heat coaxes flavor from dried spices without scorching the bottom. Ground beef browns and releases fat that flavors the sauce.
Beans absorb the surrounding liquid without turning mushy. The result is chili that tastes like it simmered for hours, because it did, with minimal oversight on your part.
Most crockpot chilis finish in 6–8 hours on low, which fits a typical workday. You can prep it in the morning, come home to the smell of chili filling your kitchen, and serve it within minutes.
Ingredients You Need
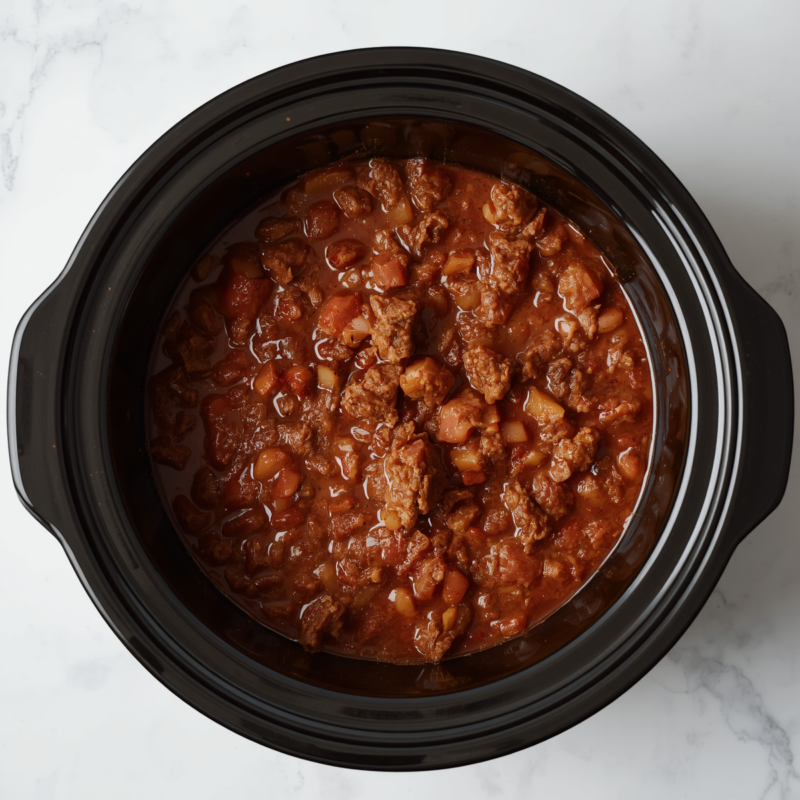
For the Base (Serves 8–10)
- 2 tablespoons olive oil
- 2 pounds ground beef (80/20 blend works best)
- 1 large onion, diced (about 2 cups)
- 4 garlic cloves, minced
- 3 tablespoons chili powder
- 2 tablespoons ground cumin
- 1 tablespoon smoked paprika
- 2 teaspoons oregano
- 1 teaspoon cayenne pepper (reduce to ½ teaspoon if you prefer mild)
- Salt and black pepper to taste
- 1 tablespoon tomato paste
- 2 cans (28 ounces each) crushed tomatoes
- 1 can (15 ounces) tomato sauce
- 2 cans (15 ounces each) kidney beans, drained and rinsed
- 1 can (15 ounces) black beans, drained and rinsed
- 1 cup low-sodium beef broth
- 2 tablespoons apple cider vinegar
- 1 tablespoon brown sugar
Step-by-Step Instructions
Step 1: Brown the Meat (10 minutes)
Heat 1 tablespoon of olive oil in a large skillet over medium-high heat. Add the ground beef in batches, breaking it apart with a wooden spoon as it cooks. Don’t crowd the pan, this prevents browning. Once the beef is fully cooked and no longer pink, transfer it to a paper towel-lined plate to drain excess fat. Set aside.
Why this matters: Browning the meat adds depth and color. Raw ground beef won’t develop the same savory flavor in the slow cooker alone.
Step 2: Cook the Aromatics (5 minutes)
In the same skillet (with residual oil), add diced onion and cook over medium heat until softened, about 4 minutes. Add minced garlic and cook for another minute until fragrant.
Step 3: Toast the Spices (2 minutes)
Add chili powder, cumin, smoked paprika, oregano, and cayenne pepper to the skillet with the onion and garlic. Stir constantly for 30–60 seconds. This toasting process releases the essential oils in the spices and intensifies their flavor. You’ll smell the difference immediately.
Add tomato paste and stir for another minute.
Step 4: Build the Base in the Crockpot
Transfer the browned beef and spiced onion mixture to your crockpot. Add crushed tomatoes, tomato sauce, kidney beans, black beans, and beef broth. Stir well to distribute all ingredients evenly.
Step 5: Cook Low and Slow (6–8 hours)
Cover the crockpot and set to low for 6–8 hours. Resist the urge to lift the lid, each time you do, you add 15–20 minutes to the cooking time. After 4 hours, you can give it a quick stir if you want, but it’s not necessary.
Signs it’s done: The chili should smell deeply savory, the liquid should coat the beans and meat, and there should be no visible pink in the beef.
Step 6: Season and Finish (5 minutes)
Turn the crockpot to warm setting (or turn it off). Add apple cider vinegar and brown sugar. Stir well. Taste and adjust: add more salt if needed, more cayenne for heat, or more cumin for earthiness.
The vinegar brightens the flavors and cuts the richness of the beef. The brown sugar balances the acidity of the tomatoes without adding a sweet taste, it just rounds the flavors together.
Let the chili rest for 10 minutes before serving.
Ingredient Substitutions and Variations
| Ingredient | Substitute | Notes |
|---|---|---|
| Ground beef | Ground turkey or chicken | Reduce fat, add 1 more tbsp olive oil to the skillet |
| Ground beef | Diced beef chuck | Increases cooking time to 8–10 hours; more tender result |
| Kidney beans | Pinto beans or cannellini beans | Same texture; different flavor profile |
| Kidney beans | Omit (vegetarian version) | Use 1 can chickpeas and 1 can black beans instead |
| Crushed tomatoes | Diced tomatoes | Use 3 cans instead of 2; slightly chunkier texture |
| Beef broth | Chicken broth or water | Water works; beef broth adds deeper flavor |
| Apple cider vinegar | Red wine vinegar or lime juice | Lime juice makes it brighter; red wine adds richness |
| Brown sugar | Honey | Use 2 teaspoons instead of 1 tablespoon |
Customizing Heat Level
The recipe as written (with 1 teaspoon cayenne) is moderately spiced, noticeable heat but not overwhelming.
Mild version: Use ½ teaspoon cayenne and add 1 diced poblano pepper in step 2 (adds flavor without heat).
Medium version: Use 1 teaspoon cayenne as written.
Hot version: Use 2 teaspoons cayenne, add 1 diced jalapeño in step 2, and include ½ teaspoon chipotle powder in the spice blend.
Extra hot version: Add hot sauce at serving time (Tabasco, Frank’s, or your favorite brand).
Storage and Make-Ahead Options
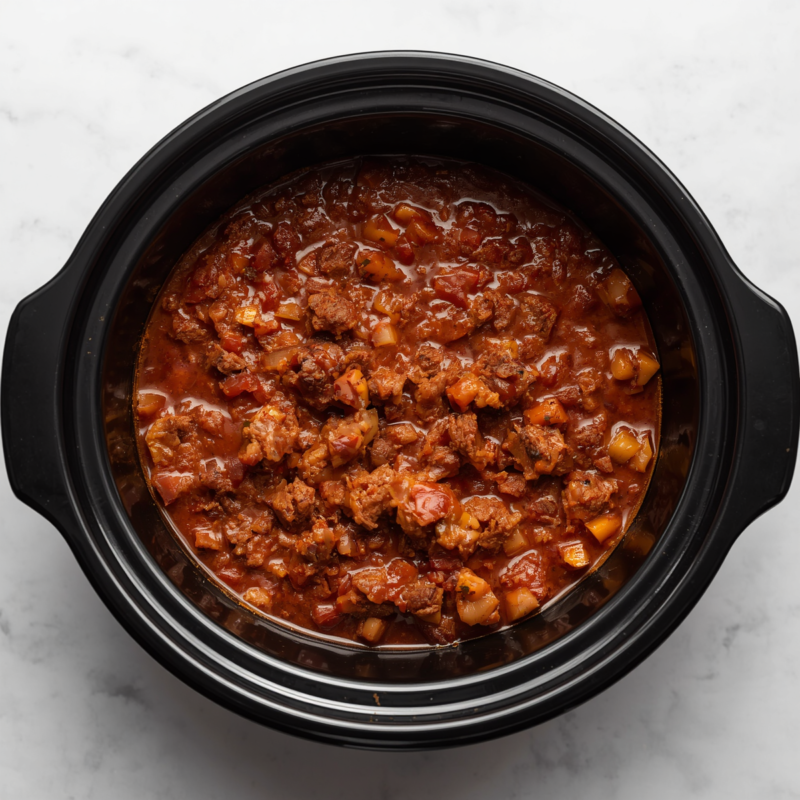
Refrigerator: Transfer cooled chili to airtight containers. It keeps for 3–4 days. Reheat on low in the crockpot (30–45 minutes) or on the stovetop over medium heat (10–15 minutes), stirring occasionally.
Freezer: Portion cooled chili into quart-sized freezer bags or containers. Label with the date. It freezes well for up to 3 months. Thaw overnight in the refrigerator before reheating, or reheat from frozen on low in the crockpot (2–3 hours).
Make-ahead without cooking: Prepare the browned beef and sautéed onions the night before and store in the refrigerator. In the morning, transfer to the crockpot along with all other ingredients and proceed with step 5. This saves you time on busy mornings.
Prep-only method: Mix all dry ingredients (chili powder, cumin, paprika, oregano, cayenne, salt, pepper) in a small jar or ziplock bag. Brown beef and onions the morning of cooking. At crockpot time, combine everything. This eliminates the spice-toasting step but saves 20 minutes if you’re rushing.
Serving Suggestions
Serve chili in bowls with toppings of your choice. Classic toppings include shredded cheddar cheese, diced onion, sour cream, and fresh cilantro. Here are other options:
- Crispy accompaniments: Cornbread, jalapeño cornbread, fritos or tortilla chips, oyster crackers
- Fresh toppings: Diced red onion, sliced jalapeños, chopped cilantro, lime wedges
- Creamy additions: Sour cream, Greek yogurt, queso fresco, shredded cheddar or Monterey Jack
- Extras: Diced avocado, crispy bacon bits, caramelized onions, sliced green onions
Chili over rice or pasta: Serve over white rice, brown rice, or egg noodles for a heartier meal. Use about ¾ cup chili per serving over 1 cup cooked grains.
Chili mac and cheese: Combine 2 cups cooked elbow pasta with 2 cups chili and top with shredded cheddar. Bake at 350°F for 15 minutes until the cheese melts.
Walking tacos: Layer chili inside a bag of Fritos or Doritos and eat with a fork straight from the bag.
Troubleshooting Common Issues
| Problem | Cause | Fix |
|---|---|---|
| Chili is too thin | Not enough cooking time or too much liquid | Cook for extra 1–2 hours; or mix 1 tbsp cornstarch with 2 tbsp water and stir in during last 30 minutes |
| Chili is too thick | Too little liquid | Stir in ½ cup beef broth at a time until you reach desired consistency |
| Chili tastes bland | Underseasononed or spices not toasted | Add 1 tsp chili powder, taste, and repeat. Always toast spices in the skillet first next time |
| Meat is tough or stringy | Browned too long or cooked too hot | Ensure you use 80/20 ground beef; avoid extended browning. Simmer on low, not high |
| Beans are mushy | Cooked too long | Use canned beans (not dried, which require precooking). If using dried, add them in the last 2 hours |
| Chili tastes like it’s missing something | Needs acid and sweetness balance | Add 1 tbsp apple cider vinegar and ½ tbsp brown sugar, stir, and taste again |
Nutrition Information (per serving, serves 10)
| Nutrient | Amount |
|---|---|
| Calories | 380 |
| Protein | 28g |
| Fat | 18g |
| Carbohydrates | 32g |
| Fiber | 7g |
| Sodium | 980mg |
(Note: Sodium content varies based on broth and canned goods used. Using no-salt-added broth and low-sodium beans reduces this by 30–40%.)
Why Crockpot Chili Beats Stovetop
Traditional chili requires constant attention: stirring to prevent sticking, adjusting heat, watching for when the liquid reduces enough. Crockpot chili eliminates these steps. You can’t scorch it. You can’t boil off the liquid. You can’t undercook the beans. The low, steady heat does the work while you’re at work, running errands, or enjoying your day.
The flavor is also superior. Eight hours of moist heat breaks down connective tissue in the beef, releasing collagen that becomes gelatin and thickens the sauce naturally. The beans absorb liquid gradually, becoming creamy without falling apart. Spices have time to meld together rather than sitting as separate flavors.
Crockpot Size Considerations
4-quart crockpot: This recipe fits comfortably. Fill it about ¾ full, which is ideal for heat distribution.
5-6 quart crockpot: Same recipe works. It will reach doneness in 6–7 hours instead of 7–8 because the height-to-width ratio allows heat to circulate more efficiently.
Smaller than 4 quarts: Reduce all ingredients by 25%. Cook time remains 6–8 hours on low.
Making Chili Without a Crockpot
If you don’t have a slow cooker, you can make this on the stovetop:
- Follow steps 1–3 as written.
- Transfer browned beef and sautéed onion mixture to a large Dutch oven or heavy pot.
- Add all remaining ingredients except vinegar and brown sugar.
- Bring to a boil, then reduce heat to low. Cover and simmer for 1.5–2 hours, stirring every 20 minutes.
- In the last 10 minutes, add vinegar and brown sugar. Taste and adjust seasonings.
The flavor develops faster on the stovetop, but there’s a risk of scorching if the heat isn’t set low enough. Stir more frequently than with a crockpot.
Final Notes
This chili tastes better the next day. The flavors continue to blend and deepen, so don’t hesitate to make it a day ahead. In fact, many people consider day-two chili superior to the first serving.
Invite friends over, set out toppings, and let everyone build their own bowl. Chili is one of the few dishes where variations in toppings feel intentional rather than accommodating picky eaters.
The recipe costs approximately $12–15 to make (depending on your location and beef prices) and yields 8–10 servings, bringing the per-serving cost to $1.50–2.00. For a homemade meal that tastes like you’ve been cooking all day, that’s an unbeatable value.
Last modified: July 20, 2026
