

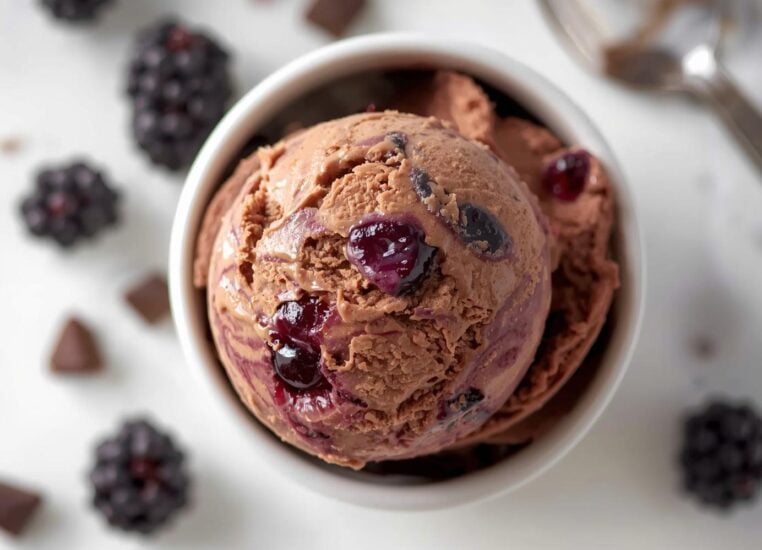
Blackberry and chocolate work together. The tartness of the berry cuts through the richness of chocolate. This ice cream does both without tasting like a compromise. You need an ice cream maker. Beyond that, the ingredients are simple and the technique is forgiving.
Why This Recipe Works For Everyone
Fresh blackberries break down into a sauce as they freeze. You get pockets of berry flavor and texture instead of a uniform purple base. The chocolate doesn’t overpower the fruit. The custard base keeps everything smooth and creamy.
This tastes like you spent hours making it. The actual work is 20 minutes of cooking, then waiting for the machine to freeze it. Most recipes claim to be “no churn” but taste icy and thin. This one uses a proper custard because a proper custard tastes better.
Ingredients
For the custard base:
- 1½ cups heavy cream
- 1 cup whole milk
- 1 vanilla bean (split and scraped) or 1½ teaspoons vanilla extract
- 5 egg yolks
- ¾ cup granulated sugar
- Pinch of salt
For the chocolate and blackberry layers:
- 4 ounces dark chocolate (60-70% cocoa), chopped
- 2 tablespoons unsalted butter
- 2 cups fresh blackberries
- ¼ cup granulated sugar
- 1 tablespoon lemon juice
- ¼ teaspoon salt
Instructions
Homemade Black Berry Chocolate Ice Cream
Make the Custard Base
Combine cream and milk in a heavy-bottomed saucepan. If using a vanilla bean, add it now split lengthwise and scrape the seeds into the liquid, then add the pod. Heat over medium until steam rises from the surface and small bubbles form around the edges. Don’t boil.
While the cream heats, whisk egg yolks with sugar in a separate bowl for 2-3 minutes until pale and slightly thickened. Add a pinch of salt.
Once the cream is hot, remove from heat. Slowly add the hot cream to the egg yolks while whisking constantly. This is tempering – you’re raising the temperature of the yolks without scrambling them. Pour slowly and whisk fast. Add about a third of the cream first, whisk well, then add the rest.
Return the mixture to the saucepan. Heat over medium, stirring constantly with a wooden spoon or whisk, until the mixture coats the back of the spoon. You should be able to draw a line through the coating with your finger and it should stay. This takes 3-5 minutes. Don’t let it boil or you’ll have scrambled eggs.
Remove from heat. Strain through a fine-mesh sieve to remove any cooked egg bits and the vanilla pod. If using vanilla extract instead of a bean, add it now.
Chill the custard completely. This takes at least 2 hours in the refrigerator or 30 minutes in an ice bath.
Prepare the Blackberry Sauce
Combine fresh blackberries with sugar, lemon juice, and salt in a saucepan. Heat over medium, stirring occasionally, for 8-10 minutes until the berries break down and release their juice. The mixture should look like jam.
Press the berries through a fine-mesh sieve to remove seeds if you prefer a smoother texture. Leave them in if you want texture in the final ice cream. Both work.
Cool the blackberry sauce to room temperature, then refrigerate until cold.
Prepare the Chocolate
Chop dark chocolate into small pieces. Heat butter in a small saucepan over low heat. Once melted, add the chocolate and stir constantly until smooth. Remove from heat and let cool to room temperature.
Churn the Ice Cream
Pour the chilled custard into your ice cream maker and churn according to the manufacturer’s instructions. This usually takes 20-30 minutes.
When the ice cream is nearly done (it should look thick but still soft), add the blackberry sauce and chocolate mixture. Pulse or stir the machine a few more times to swirl them through without fully combining. You want streaks of blackberry and chocolate, not uniform color.
Freeze
Transfer to a freezer-safe container. Cover with parchment paper directly on the surface to prevent ice crystals from forming. Freeze for at least 4 hours or until solid.
Why Temperature Matters
Ice cream custard needs to reach 160°F to be food-safe. Use an instant-read thermometer if you have one. If you don’t, the “coats the spoon” test works – the mixture should be thick enough that a line drawn through the coating stays visible.
Chill the custard completely before churning. Warm custard takes longer to freeze and doesn’t get as creamy. Overnight in the fridge is better than 2 hours.
The ice cream itself won’t be solid at room temperature it’s supposed to be. It should scoop cleanly when at freezer temperature, which means it’s frozen but still creamy.
Variations
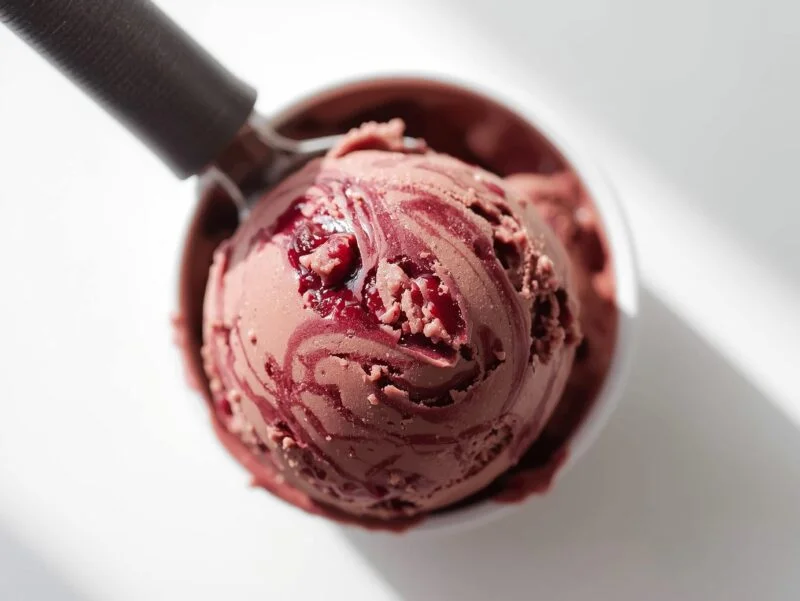
Skip the blackberry. Use the plain chocolate custard ice cream as a base. Make it with just chocolate by adding 6 ounces of melted dark chocolate to the finished custard instead of swirling it in.
Add bourbon or rum. Mix 2 tablespoons bourbon or dark rum into the finished custard before churning. The alcohol lowers the freezing point slightly, making the ice cream softer and creamier.
Use fresh raspberry instead. Raspberries work the same way as blackberries. They’re sweeter, so reduce the sugar in the sauce to 3 tablespoons.
Blackberry swirl without chocolate. Skip the chocolate. Just swirl blackberry sauce through plain vanilla custard ice cream.
Milk chocolate version. Use 4 ounces milk chocolate instead of dark. It’s sweeter and less bitter. Add ½ teaspoon vanilla extract to the chocolate when melting.
Add texture with graham cracker crumbs. Crumble ½ cup graham crackers and fold in during the final minute of churning for a blackberry-chocolate-s’mores flavor.
Storage
Homemade ice cream keeps in the freezer for up to 2 weeks in a covered container. After that, it develops ice crystals and loses creaminess.
If it freezes too hard and won’t scoop, let it sit at room temperature for 5-10 minutes before serving.
Don’t refreeze melted ice cream. Once it melts, the ice crystal structure is damaged and it won’t be as creamy when refrozen.
Equipment Notes
An ice cream maker is required. Cheap ones work fine – most home machines cost $20-50 and churn adequately. Expensive machines with built-in compressors are nicer but not necessary.
No ice cream maker? Freeze the churned mixture in a shallow pan, stirring every 30 minutes for 3 hours until it reaches ice cream texture. It won’t be as smooth as a machine version, but it works.
Egg Safety
Raw eggs carry risk of salmonella. This recipe cooks the eggs to 160°F, which is food-safe. Pasteurized eggs from the grocery store are safer than non-pasteurized if you’re concerned.
Pregnant people, young children, elderly people, and anyone immunocompromised should use pasteurized eggs or skip this recipe.
Scaling
Double the recipe for a full quart of ice cream, which yields about 8 servings. The cooking time stays roughly the same – maybe an extra minute or two for the custard.
For half the recipe, use 3-4 egg yolks, ¾ cup cream, ½ cup milk, and adjust sugar proportionally. Timing stays the same.
Common Problems
Grainy texture. The custard wasn’t chilled enough, or it was churned for too long. Chill overnight and stop churning when the ice cream looks thick but still soft.
Too hard to scoop. It’s frozen solid, which is correct. Let it sit at room temperature for 5-10 minutes before serving.
Tastes like raw egg. The custard didn’t reach 160°F or wasn’t cooked long enough. Use a thermometer next time.
Blackberry and chocolate separated. Add them at the end instead of mid-churn. They’ll stay as swirls instead of blending.
Icy texture instead of creamy. Not enough fat in the base, or churned too long. Use the full cream amount and stop churning when it’s thick but not fully frozen.
Why Fresh Blackberries Matter
Frozen blackberries work but taste less bright. Fresh berries have more acidity and flavor. Buy them as close to making this as possible.
If you’re using frozen berries, thaw them first and drain excess liquid. The juice will make the sauce too thin.
Serving
Serve in a chilled bowl. The ice cream melts faster at room temperature, so cold bowls and spoons help.
Pair with a blackberry shortcake. Serve alongside chocolate cake. Eat it straight from the container at midnight. All valid choices.
Why This Works Better Than Store-Bought
Store-bought blackberry-chocolate ice cream usually tastes like one or the other, not both. This recipe balances them. The chocolate is chocolate, the blackberry is blackberry.
You control the sugar level. You know exactly what’s in it. You can taste the difference between real blackberries and flavor compound.
It costs less than premium ice cream and tastes better than budget brands.
The Technique Works for Other Flavors
Use this same custard base for:
- Plain vanilla (just skip the blackberry and chocolate)
- Strawberry (same method as blackberry)
- Mint chocolate (add peppermint extract to the custard, swirl in chocolate)
- Salted caramel (make caramel, swirl it in at the end)
- Coffee (add instant espresso powder to the custard)
The ratio of cream to milk to eggs to sugar stays the same. Change the flavoring, keep the method.
Make It This Week
You need an ice cream maker and blackberries. Everything else is pantry items. The actual hands-on time is 20 minutes. The waiting is the hard part.
Start today. Make the custard. Chill overnight. Churn tomorrow. Freeze overnight. Eat it the day after.
Or rush it – cold water bath for the custard (30 minutes instead of 2 hours), then churn the same day. It works, just won’t be quite as creamy.
Either way, you get blackberry chocolate ice cream that tastes nothing like the tub from the freezer aisle.


