

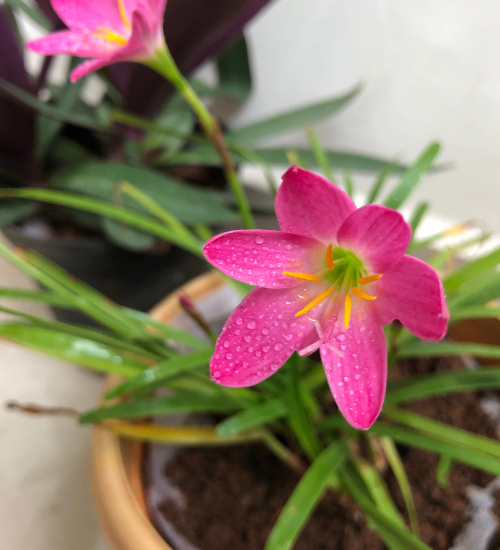
Starting flowers from seed is inexpensive and rewarding, but seedlings eventually outgrow their first containers. Roots begin circling the pot, leaves crowd one another, and the growing mix dries out faster than before. At that point, moving the plants into larger pots gives them the space they need to develop stronger roots and sturdier stems.
The process is simple, but timing and handling matter. A seedling that is moved too early may struggle because its root system is still small. A seedling that stays crowded too long can become root-bound, nutrient-starved, or weak.
This guide explains how to transplant flower seedlings into bigger pots safely, even if you are new to gardening.
When Should Flower Seedlings Be Transplanted?
Most flower seedlings are ready for a larger container when they have developed at least one or two sets of true leaves. The first leaves that appear are called cotyledons. They usually look simpler and differ from the mature leaves that develop afterward.
Look for several signs:
- Roots are visible through the drainage holes.
- The seedling dries out soon after watering.
- Several seedlings are competing in the same cell.
- Growth has slowed despite adequate light.
- The plant is leaning because the container is too small.
- The roots hold the shape of the pot when the seedling is removed.
- The seedling has two or more sets of healthy true leaves.
Not every plant needs to be moved immediately after the first true leaves appear. Some small annuals can remain in cell trays longer than larger, fast-growing flowers. The goal is to transplant before the roots become tightly tangled.
Choose the Right New Container
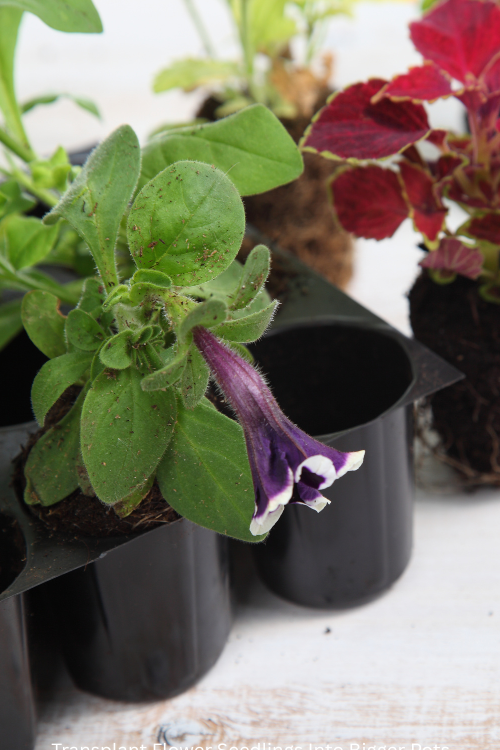
The next pot should usually be only one or two sizes larger than the current container. A small seedling does not need a huge pot.
A container that is dramatically oversized holds more wet soil around a small root system. That can slow drying and increase the chance of root problems. A pot that is about 2 to 4 inches wider than the current root ball is usually a practical choice.
Every container should have drainage holes. Decorative pots without drainage can be used as outer covers, but the seedling should remain in a container that allows excess water to escape.
| Seedling situation | Suitable next container |
|---|---|
| One seedling in a small cell | 3- to 4-inch pot |
| Several seedlings together | Separate 3- to 4-inch pots |
| Fast-growing flower with crowded roots | 4- to 6-inch pot |
| Seedling nearly ready for the garden | Gallon-size pot or final container |
Clean reused pots before planting. Rinse away old soil and remove any white mineral buildup. If a previous plant had disease or root rot, disinfect the container before using it again.
Prepare a Light, Drainable Potting Mix
Use a commercial seed-starting or general-purpose potting mix rather than garden soil. Outdoor soil can be heavy in containers, drain poorly, and contain weed seeds or disease organisms.
A suitable mix should:
- Hold some moisture without remaining soggy.
- Contain enough air space for developing roots.
- Drain freely through the bottom of the pot.
- Be loose enough for young roots to spread.
- Contain a modest amount of starter nutrition.
Moisten the mix before filling the new pot. Dry potting mix can repel water at first, causing water to run down the sides while the root ball remains dry.
Fill the container loosely. Do not pack the soil down firmly. Pressing too hard removes air pockets that roots need.
Water the Seedling Before Transplanting
Water the seedling a few hours before moving it. A slightly moist root ball holds together better than one that is dusty and dry.
Avoid transplanting when the soil is dripping wet. Extremely wet soil is heavy and can fall apart around delicate roots. The ideal texture is moist enough to hold together but not muddy.
If the seedling is in a small plastic cell, gently squeeze the sides to loosen the soil. Never pull the plant by its stem. The stem is one of the most vulnerable parts of a young plant.
How to Transplant Flower Seedlings Into Bigger Pots
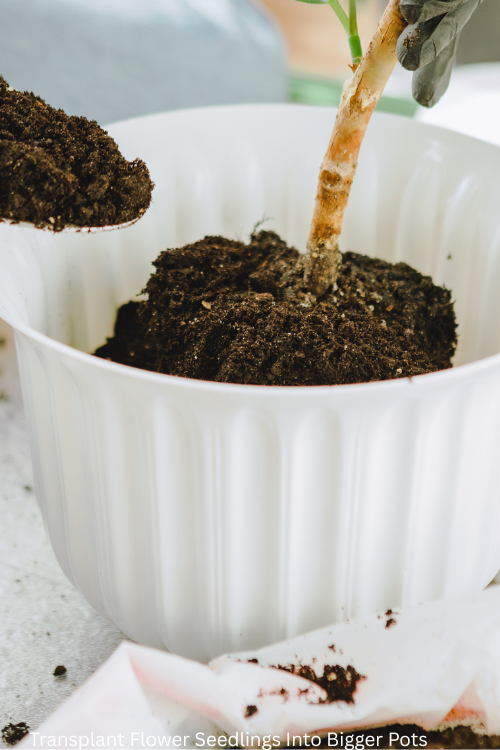
Follow these steps:
- Fill the new container with moist potting mix.
- Make a planting hole in the center.
- Hold the seedling by a leaf, not the stem.
- Tip the original container sideways.
- Slide out the root ball while supporting the soil.
- Inspect the roots without aggressively pulling them apart.
- Place the seedling at approximately the same depth it was growing before.
- Fill around the root ball with potting mix.
- Press lightly around the plant to remove large air gaps.
- Water slowly until excess moisture drains from the bottom.
Some seedlings tolerate being planted slightly deeper, but this depends on the plant. Tomatoes can produce roots along buried stems, while many flowers are better planted at their original depth. When uncertain, avoid burying the stem.
The leaves should remain above the soil. If lower leaves touch the potting mix, they may stay wet and decay.
Should You Loosen the Roots?
If the root ball is only lightly held together, leave it mostly intact. Young roots are fragile, and unnecessary handling can delay recovery.
If the roots are tightly circling the outside of the root ball, gently tease apart a few of them with your fingers. Do not shred the entire root system. The purpose is to encourage roots to move outward, not to remove all of the soil.
For severely root-bound seedlings, make two or three shallow vertical cuts along the outside of the root ball with a clean knife. This is rarely necessary for small flower seedlings and should be done carefully.
Watering After Transplanting
Water immediately after transplanting. This settles the potting mix around the roots and removes large air pockets.
Allow the container to drain fully. Do not leave it sitting in a saucer of water for long periods.
For the next several days:
- Keep the mix evenly moist.
- Check the top layer daily.
- Protect the seedling from intense afternoon sun.
- Avoid strong wind.
- Do not fertilize immediately if the potting mix already contains nutrients.
- Return the plant gradually to brighter light.
The seedling may droop temporarily. Mild wilting during the first day does not always mean the plant is dying. It is often a response to disturbed roots, lower humidity, or stronger light.
Helping Seedlings Recover
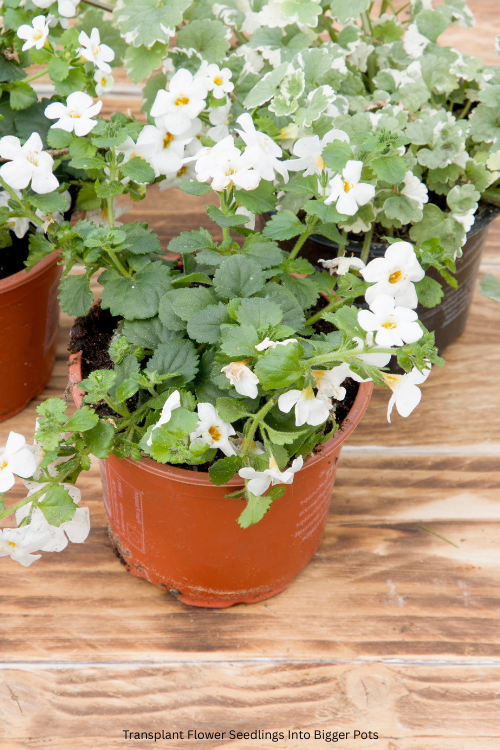
Place newly transplanted flowers in bright, indirect light or gentle morning sun. After two or three days, increase exposure gradually.
A shaded porch, protected patio, or bright windowsill can work well. Do not place a tender seedling directly into hot sunlight after it has been growing indoors. The leaves may scorch before the roots can supply enough water.
A small fan indoors can help strengthen stems, but avoid blasting a freshly transplanted seedling with strong airflow. Good air movement is useful once the plant has recovered.
Do not prune healthy leaves during recovery. Leaves provide energy while the roots reestablish themselves.
Common Transplanting Mistakes
Using a pot that is too large
Large pots can stay wet for too long. Choose a container that gives the roots room without surrounding them with a deep reservoir of unused soil.
Pulling the stem
A damaged stem may collapse later even if the seedling looks fine immediately afterward. Always handle seedlings by their leaves or root ball.
Planting too deeply
Buried stems may rot, especially in cool or wet potting mix. Follow the plant’s normal planting depth unless it is known to tolerate deeper planting.
Fertilizing too heavily
Extra fertilizer does not compensate for damaged roots. Wait until the seedling shows fresh growth, then use a diluted fertilizer if needed.
Placing the plant in harsh sun
Bright light is beneficial, but sudden exposure can cause leaf scorch and severe wilting. Harden the seedling gradually.
Watering on a calendar
Check the potting mix instead. Small containers may dry quickly, while larger pots may remain moist for several days.
When Can Transplanted Seedlings Go Outdoors?
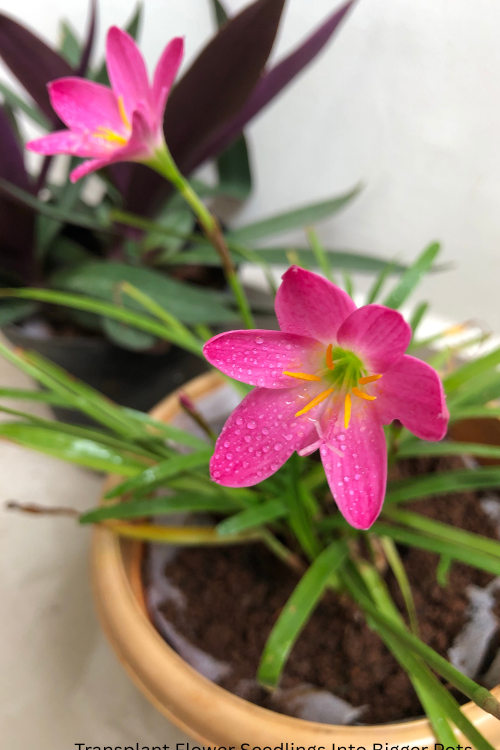
How to Transplant Flower Seedlings Into Bigger Pots
Before planting outdoor flowers, gradually acclimate them to wind, temperature changes, and direct sunlight. This process is called hardening off.
Begin with a short period outdoors in a sheltered location. Increase the time over several days, while avoiding severe wind, heavy rain, and unusually cold temperatures. Gradual exposure helps reduce transplant shock. Planting Zinnia Seedlings at the Perfect Time
The exact timing depends on the flower. Warm-season flowers should not be moved outside while nights remain too cold for their needs. Cool-season flowers can usually tolerate lower temperatures than tender annuals.
Final Checklist
Before moving a seedling into a larger pot, confirm that:
- The plant has healthy true leaves.
- The new container has drainage holes.
- The potting mix is moist but not soggy.
- The root ball is handled gently.
- The seedling is planted at the correct depth.
- The plant receives protection during recovery.
- Water drains freely after planting.
- Outdoor exposure is introduced gradually.
Learning how to transplant flower seedlings into bigger pots gives young plants a better chance to develop strong roots before the next stage of growth. Take your time, handle the root ball carefully, and let the plant recover before asking it to cope with intense sun or heavy feeding.
Last modified: October 18, 2026
