

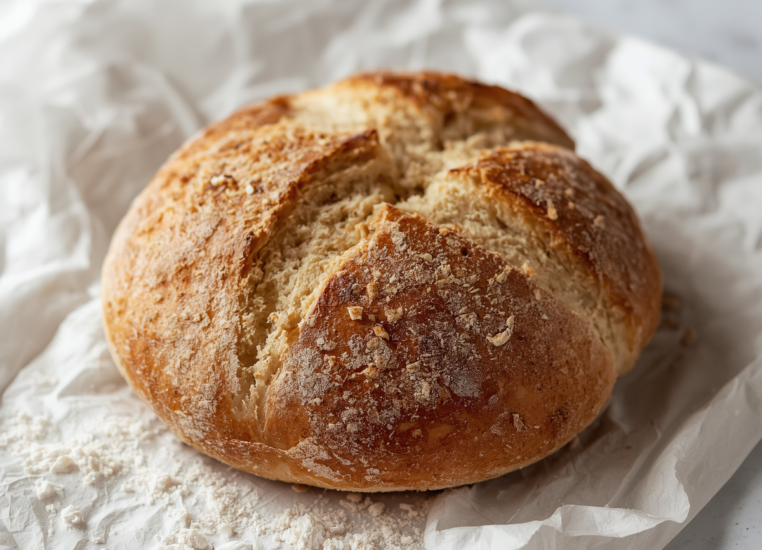
Homemade Ciabatta Bread is the Italian loaf that looks intimidating but is actually straightforward once you understand the technique.
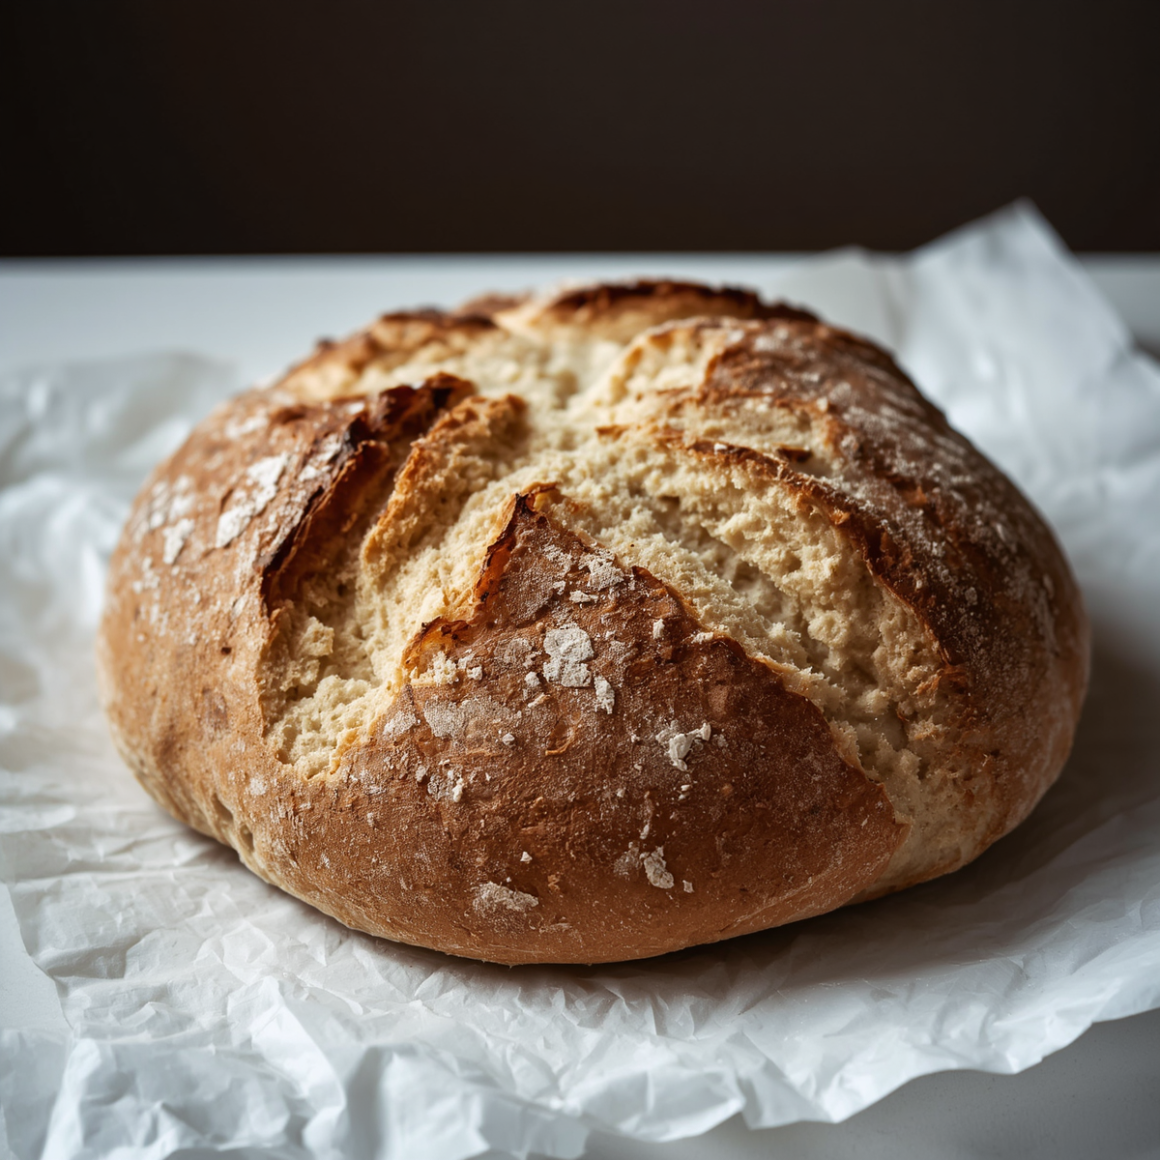
The crust is crispy and golden.
The interior is open and airy with irregular holes, real ciabatta structure. The crumb is chewy, not dense.
The flavor is subtle but complex, built over time through a long, cold fermentation.
Most home bakers skip ciabatta because they think it requires professional equipment or advanced technique. It doesn’t.
This post walks through exactly how to make Homemade Ciabatta Bread using nothing but your hands, a bowl, and your oven. The process takes two days but most of that is passive fermentation.
Active working time is under 30 minutes total.
The result is bread that costs $1-2 to make and tastes better than $6-8 bakery loaves.
Make Homemade Ciabatta Bread
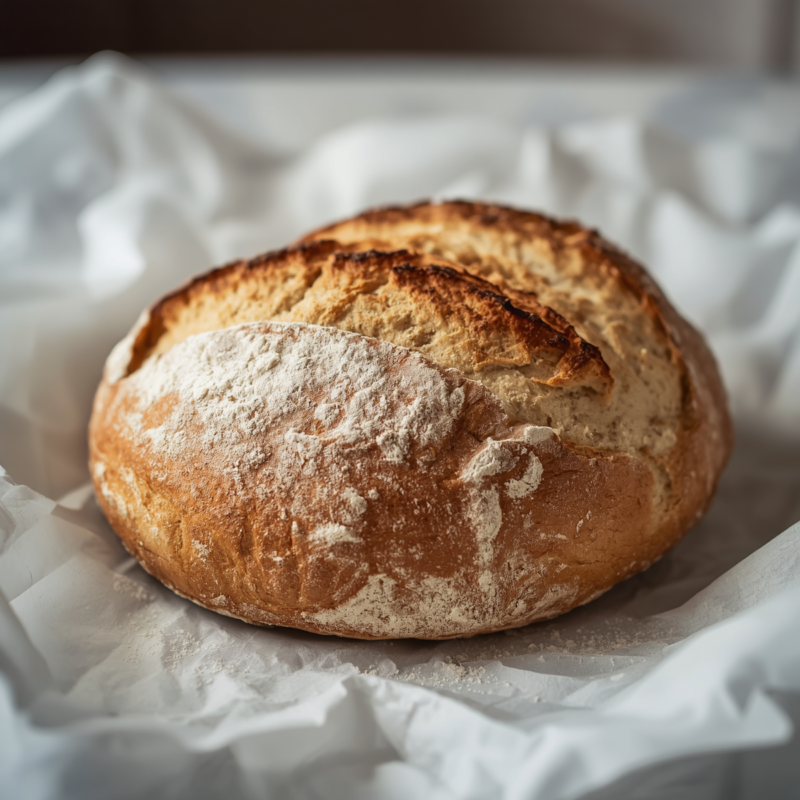
Flavor: Long fermentation creates complex taste that commercial bread doesn’t have. The slow rise develops natural acidity and depth.
Texture: A proper ciabatta has an open, irregular crumb structure with big holes. Commercial loaves are engineered for uniformity and shelf life, not quality.
Cost: One loaf costs $1-2 in ingredients. A bakery loaf costs $6-8. Same flour, same water, fraction of the price.
Customization: You control salt level, hydration, fermentation time. You can make it exactly how you want it.
Kitchen skill building: Learning ciabatta technique transfers to all bread baking. You understand fermentation, hydration, shaping, and oven spring.
The Ciabatta Method Explained
Homemade Ciabatta Bread uses a two-stage fermentation:
Stage 1 (Biga): Make a stiff pre-dough 24 hours ahead. This develops flavor and creates structure.
Stage 2 (Final dough): Mix the biga with more flour and water. Short fermentation (2-4 hours), then shape and bake.
The long, cool fermentation is what creates open crumb and complex flavor. No mixer required. No special equipment needed.
Ingredients: Complete List
Biga (made 24 hours ahead):
- 1 1/2 cups all-purpose flour (or bread flour for more structure)
- 1/2 cup water (room temperature)
- 1/4 teaspoon instant yeast (this seems small, but it’s correct, slow fermentation)
Final dough:
- Biga (from above)
- 1 cup water (room temperature)
- 2 cups all-purpose flour (or bread flour)
- 1 1/2 teaspoons salt
- 1/4 teaspoon instant yeast
For shaping and baking:
- Cornmeal or semolina flour (for dusting, prevents sticking)
- Water (for creating steam)
Equipment Needed
- Large mixing bowl (at least 4 quarts)
- Wooden spoon or silicone spatula
- Kitchen scale (optional but helpful for precision)
- Measuring cups and spoons
- Dutch oven or covered baking vessel (creates steam)
- Parchment paper
- Wire cooling rack
A kitchen scale makes this recipe easier (measuring by weight is more accurate), but cup measurements work if you’re careful.
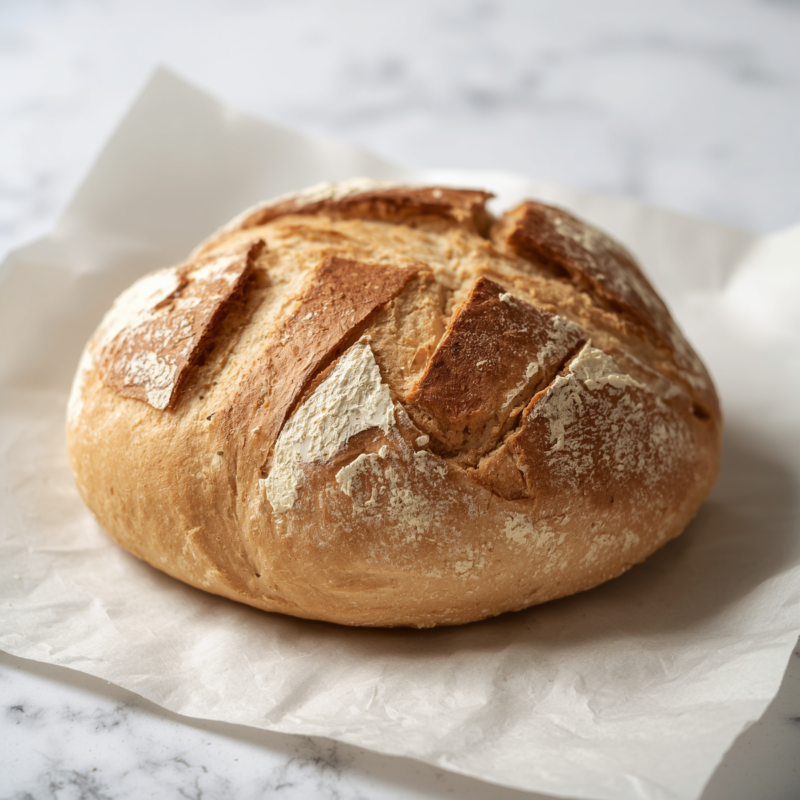
Day 1: Make the Biga (5 minutes active time)
The biga is a stiff pre-dough that sits overnight, developing flavor and structure.
Step 1: Combine biga ingredients (3 minutes)
- In a large mixing bowl, combine:
- 1 1/2 cups all-purpose flour
- 1/2 cup room-temperature water
- 1/4 teaspoon instant yeast
- Stir with a wooden spoon until no dry flour remains.
- The dough will be stiff and shaggy, not like regular bread dough.
This is intentionally stiff. The high flour-to-water ratio creates a different fermentation profile than normal dough.
Step 2: Cover and ferment (18-24 hours)
- Cover the bowl with plastic wrap or a damp towel.
- Let sit at room temperature for 18-24 hours.
The exact time depends on your kitchen temperature. Cooler kitchens = longer fermentation. Warmer kitchens = shorter fermentation. 20 hours is the sweet spot for most homes.
The biga will bubble and rise. You’ll see visible fermentation. This is correct.
Day 2: Make the Final Dough (10 minutes active time)
Step 3: Combine final dough ingredients (5 minutes)
- To the fermented biga, add:
- 1 cup room-temperature water
- 2 cups all-purpose flour
- 1 1/2 teaspoons salt
- 1/4 teaspoon instant yeast
- Stir with a wooden spoon until shaggy and all flour is incorporated.
- The dough will be very wet and sticky. This is correct, ciabatta dough is high-hydration (around 75%).
High hydration creates the open crumb structure and irregular holes.
Step 4: Bulk fermentation (2-4 hours)
- Cover the bowl with plastic wrap.
- Let ferment at room temperature for 2-4 hours.
You’re looking for visible bubbles and rise (about 50% larger). The exact time depends on room temperature. Warm kitchen = 2 hours. Cool kitchen = 4 hours.
The dough doesn’t need to double, just show clear signs of fermentation.
Step 5: Prepare for shaping (2 minutes)
- Generously dust a clean work surface with cornmeal or semolina flour.
- Line a baking sheet with parchment paper.
- Dust the parchment heavily with cornmeal.
The heavy dusting prevents sticking. Ciabatta dough is sticky, more dusting is better.
Step 6: Shape the ciabatta (5 minutes)
Shaping ciabatta is different from shaping regular bread. You’re not creating tension. You’re creating folds.
- Turn the dough out onto the cornmeal-dusted surface (don’t knead, it’s too wet).
- Using wet hands or an oiled bench scraper, gently fold the dough over itself 2-3 times.
- Shape into a rough rectangle about 12 inches long and 5 inches wide.
- The dough should look bumpy and irregular, not smooth and tight.
Ciabatta shaping is about creating structure without degassing the dough. Gentle handling is key.
Step 7: Final proof (30-60 minutes)
- Transfer the shaped dough to the prepared baking sheet.
- Dust the top with cornmeal.
- Cover loosely with plastic wrap.
- Let proof for 30-60 minutes at room temperature.
You’re looking for slight puffing and a slightly jiggly texture. The dough shouldn’t double, it should look puffy but still relatively flat.
Poke the dough gently. It should spring back slowly but not completely.
Baking Homemade Ciabatta Bread (25 minutes)
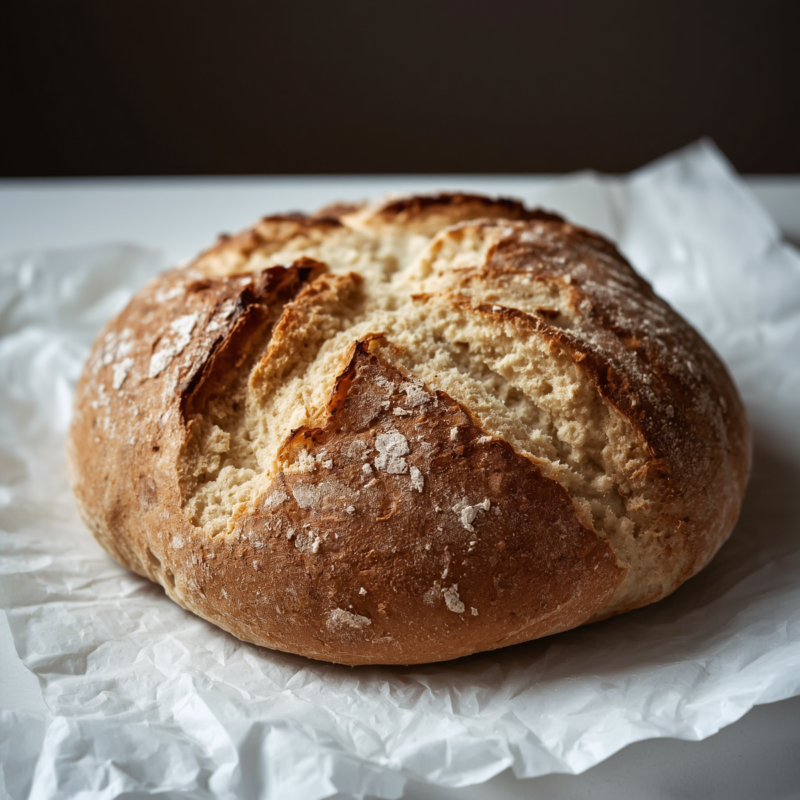
Homemade Ciabatta Bread
Step 8: Preheat the oven and Dutch oven (15 minutes)
- Place a Dutch oven (with the lid on) in your oven.
- Preheat to 475°F for 15 minutes.
The hot Dutch oven creates steam, which creates a crispy crust and open crumb. This is essential.
Step 9: Score and transfer (2 minutes)
- Carefully remove the hot Dutch oven from the oven (use oven mitts, it’s very hot).
- Gently slide the ciabatta (on its parchment paper) into the hot Dutch oven.
- Optional: Score the top with a sharp knife in a crosshatch pattern (not essential for ciabatta, but looks professional).
Step 10: Bake covered (15 minutes)
- Cover with the Dutch oven lid.
- Bake for 15 minutes.
The lid traps steam, which gelatinizes the starch on the surface, creating the crispy crust.
Step 11: Bake uncovered (10-15 minutes)
- Remove the lid.
- Bake for an additional 10-15 minutes until the crust is deep golden brown.
The internal temperature should reach 210°F when measured with an instant-read thermometer in the thickest part.
Step 12: Cool completely (1 hour)
- Remove from oven and transfer to a wire cooling rack.
- Let cool completely before slicing.
The crust will continue to crisp as it cools. Cutting warm bread results in gummy crumb, wait for complete cooling.
Yield: One ciabatta loaf, 8-12 slices depending on size.
Homemade Ciabatta Bread Troubleshooting
Crust isn’t crispy:
Cause: No steam during baking. Solution: Use a Dutch oven or create steam by placing a pan of hot water in the oven.
Crumb is dense, not open:
Cause: Dough not hydrated enough or overhandled during shaping. Solution: Use full amount of water. Handle gently when shaping. Don’t knead.
Loaf is flat, no oven spring:
Cause: Overproofed. Solution: Reduce final proof time. Dough should be puffy but still spring when poked.
Crust too hard or thick:
Cause: Too much steam or baked too long. Solution: Reduce steam time or lower temperature slightly.
Bread tastes bland:
Cause: Not enough fermentation time or wrong yeast amount. Solution: Ensure 18-24 hour biga fermentation. Don’t skip this step.
Dough is too wet to handle:
Cause: This is normal for ciabatta. Solution: Use wet hands or a bench scraper. Work quickly. More dusting of work surface helps.
Ciabatta Bread Variations
| Variation | Changes | Effect |
|---|---|---|
| Whole wheat ciabatta | Replace 1/2 cup flour with whole wheat | Nuttier flavor, slightly denser |
| Olive oil ciabatta | Add 2 tbsp olive oil to final dough | Richer flavor, more tender crumb |
| Herb ciabatta | Mix in 2 tbsp dried Italian herbs | Mediterranean flavor, aromatic |
| Seeded ciabatta | Brush with water, roll in sesame/poppy seeds before baking | Nutty texture, visual interest |
| Focaccia-style | Top with coarse salt and rosemary before baking | Thinner, crispier bread with toppings |
Cost Breakdown vs. Bakery
| Item | Homemade Cost | Bakery Cost | Servings |
|---|---|---|---|
| One ciabatta loaf | $1.50-2.00 | $6-8 | 8-12 slices |
| Cost per slice | $0.17-0.25 | $0.75-1.00 | , |
| Savings per loaf | , | $4.50-6 | , |
Make-Ahead and Storage
Day-of storage: Keep in a bread bag at room temperature for 1 day. Crust will soften slightly, this is normal.
Extended storage: Store in a paper bag for 2 days (crispy crust), or wrap in plastic for up to 4 days (softer crust).
Freezing: Wrap cooled loaf tightly in plastic wrap and foil. Freeze for up to 3 months. Thaw at room temperature for 2-3 hours.
Reviving stale crust: Spray with water and bake at 350°F for 5-10 minutes to re-crisp.
Serving
Plain: Serve with unsalted butter or olive oil.
Bruschetta: Slice, toast, top with tomatoes and basil.
Sandwiches: Split and fill with deli meats, cheese, vegetables.
Dipping: Pair with olive oil and balsamic vinegar.
Breadcrumbs: Cube and dry to make panko-style breadcrumbs.
This is Why Homemade Ciabatta Bread Works
Long, cold fermentation: Develops flavor that commercial yeast can’t create quickly.
High hydration: Creates open crumb and irregular holes, the signature of real ciabatta.
Stiff pre-dough (biga): Develops structure and acidity, improving flavor.
Steam during baking: Creates crispy crust and helps oven spring.
Simple ingredients: Just flour, water, salt, yeast. No dough conditioners or preservatives.
The technique seems complex because it involves waiting. But active working time is minimal. The oven and time do most of the work.
Note
Homemade Ciabatta Bread is the loaf that proves you’re a real baker. It’s not complicated, it’s just slow fermentation and proper technique. The open crumb, crispy crust, and complex flavor you get are impossible to buy from a commercial bakery at any price.
Make this recipe this weekend. Start the biga Friday evening, bake the loaf Saturday evening. You’ll have fresh, restaurant-quality ciabatta for Sunday breakfast.
Once you master this, you own one of the most impressive baking techniques in your kitchen. Serve it to guests and watch them be amazed that you made it at home.
Last modified: July 30, 2026
