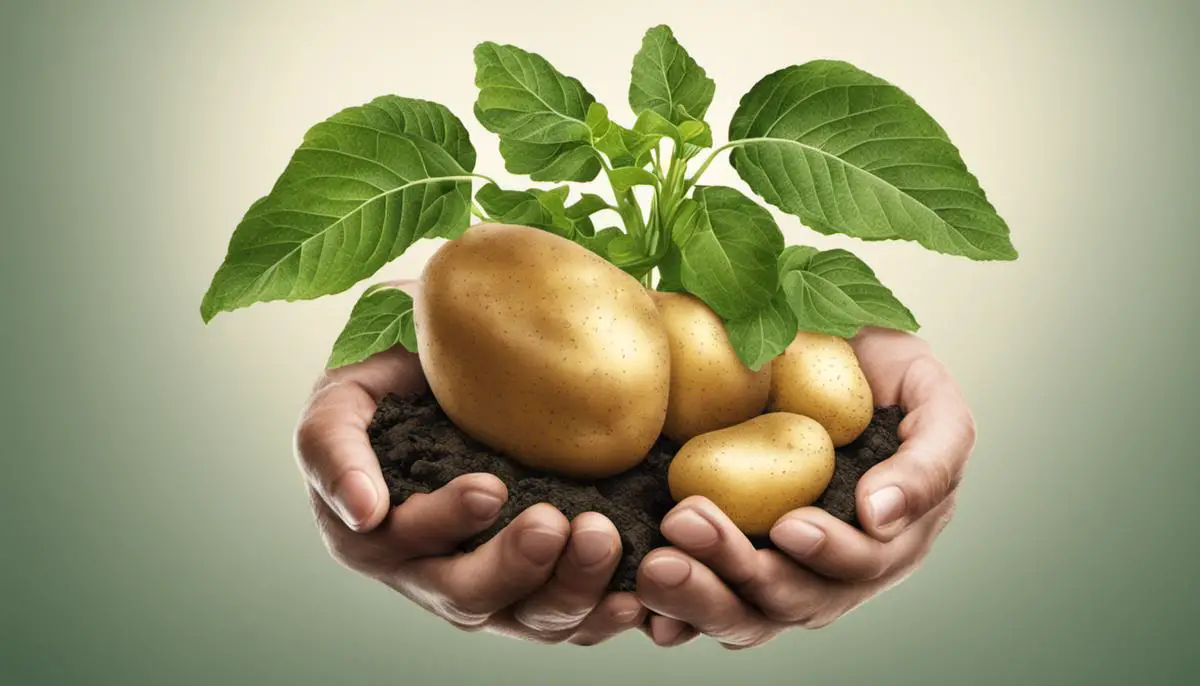
Imagine enjoying your favorite comfort food potato salad, mashed potatoes, or even french fries made from homegrown potatoes.
More than just satisfying your taste buds, it also fills you with a sense of accomplishment, knowing that you nurtured these potatoes from planting to harvest.
This introductory guide delves into the art and science of growing potatoes in buckets, a method that offers an efficient, accessible means to explore potato farming.
We uncover the basics of potato growth, from understanding their growth cycle to identifying the best varieties for bucket gardening.
Moreover, it highlights key steps in bucket preparation and potato planting, followed by insights on potato care and harvest ensuring your journey ends with a bountiful bucket of fresh, homegrown potatoes.
The Basics of Potato Growing
Potatoes go through five stages in their life cycle. It starts with the sprouting phase, where growth buds on the potato called ‘eyes’ sprout. The planting stage follows, where the sprouted potatoes are planted into soil. During the growth phase, potatoes develop stems, leaves, and roots. The flowering phase is next, where the plants flower, signaling the start of tuber formation.
The maturing phase is the stage where tubers, also known as potatoes, develop. They are ready for harvesting when the leaves and stem start to turn yellow and die. After a brief curing period, where the skin hardens, they are ready for consumption or storage.
Best Conditions for Potato Growth
For optimal growth, potatoes require specific soil, light, and temperature conditions. The ideal soil for potato growth is well-draining with a slightly acidic pH (5.8 to 6.5).
Potatoes need full sunlight for at least six hours a day. They grow best in cool temperatures, with the sweet spot between 60 and 70 degrees Fahrenheit. If the temperatures go too high (above 80 degrees), potato plants may stop forming tubers.
Water is also crucial in the potato growing process. The plants need around 1-2 inches of water per week, including rainfall. Consistent moisture helps in the formation of uniform tubers but avoid overwatering as it can cause rotten potatoes.
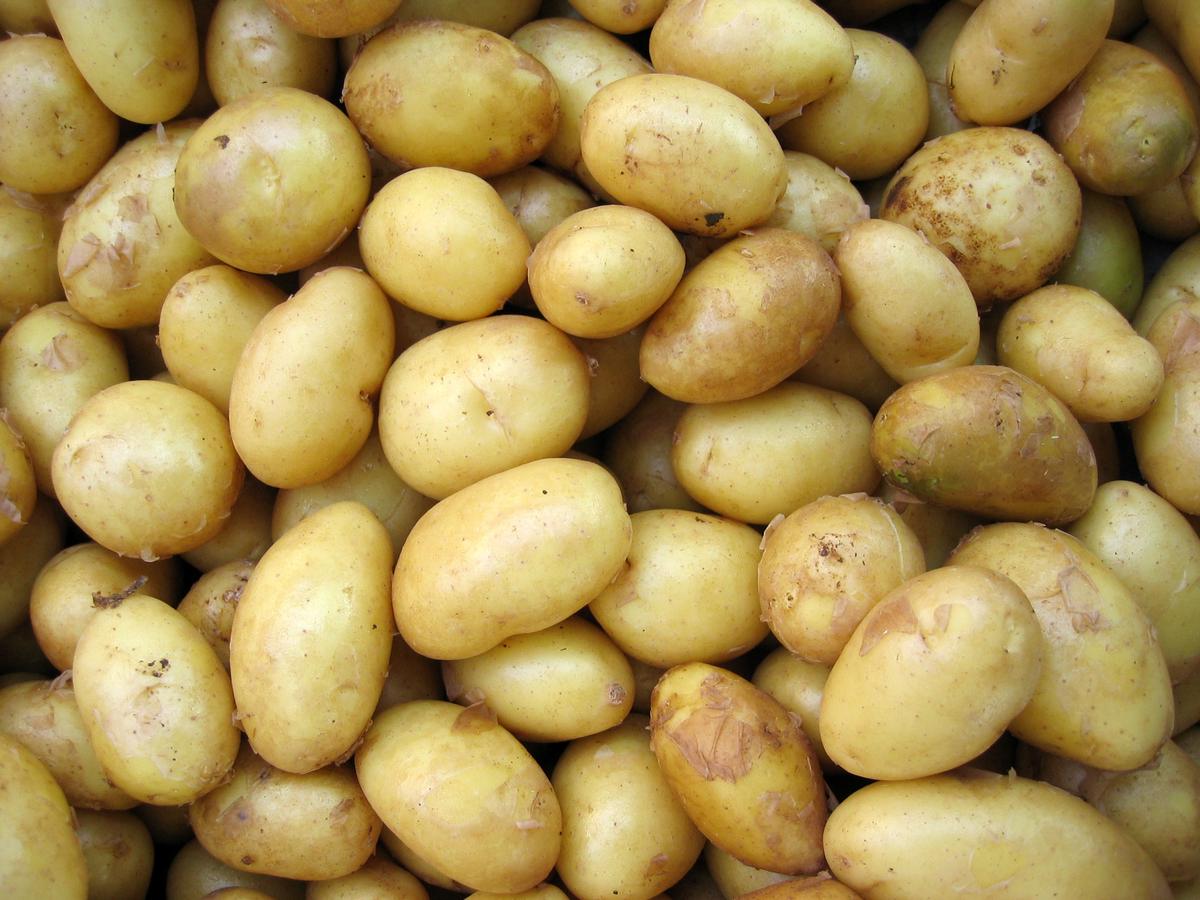
Potato Varieties for Bucket Growing
There are several potato types suitable for bucket growing. These vary in size, color, taste, and maturity time. Early potato varieties, such as ‘Red Duke of York’ and ‘Swift,’ mature in less than 90 days and are suitable for growing in buckets.
Mid-season varieties like ‘Yukon Gold’ and ‘Kennebec’ mature in 100 to 120 days. They produce a higher yield than early-season varieties and are also suitable for bucket growing. However, they require more care as the growing season is longer.
Late-season varieties, such as ‘Russet’ and ‘Katahdin,’ are not ideal for bucket growing due to their long maturity time of 120 to 135 days and the large space they require to grow. The decision on the variety to grow should be based on the care you can provide and personal taste.
Potato Growing in Buckets
Bucket Preparation and Potato Planting
Choosing the Right Bucket
When preparing for potato planting, the first crucial step is selecting an appropriate container. Choosing the right bucket can drastically impact the success of your crop.
A container that’s too small can restrict the growth of your potatoes, while one that’s too large can lead to overwatering and root rot. Ideally, you should opt for a bucket that is about 12 to 14 inches in diameter and at least 10 inches deep. This will provide your potatoes with ample room to grow, without the risk of becoming waterlogged.
Preparing the Bucket
After you’ve chosen the perfect bucket, the next step is to prepare it for planting. Start by adding drainage holes to the bottom.
Without sufficient drainage, water can pool at the bottom of the bucket, leading to oversaturation and root rot. To prevent this, use a drill or a sharp object to puncture several holes in the bucket’s base.
The type of soil you use in your potato-planting bucket is of equal importance. Potatoes prefer a well-draining soil that is rich in organic matter.
An ideal choice would be a mixture of compost and a light potting soil. The compost will provide nutrients for your potatoes, while the potting soil will allow water to drain away more readily.
Planting the Potatoes
Once your bucket is properly prepared, you can move on to planting the potatoes. The optimal planting depth for potatoes is about 4 inches.
To reach this depth, fill your prepared bucket with roughly 6 inches of your chosen soil mix. Place the potato on top of the soil, with the ‘eye’ or sprout end facing upwards. Cover it with further 2-3 inches of soil.
Spacing between potato plants in a bucket should be approximately 3 to 5 inches apart. This gives each sprout enough room to grow and allows for adequate airflow between plants. If you’re using a larger bucket, you may be able to plant multiple potatoes.
Maintaining Your Potatoes
After planting, the need to water your potatoes regularly comes into play. However, it’s important not to overwater. Moist soil is vital, but if the soil is waterlogged, the potatoes can rot. A good rule of thumb is to water when the top 1 inch of soil feels dry to the touch.
Over time, as the potato plants grow, they’ll need more room.
Once the leaves have emerged from the soil, additional soil should be added to the bucket, covering the base of the plants.
This process, known as ‘hilling,’ should be repeated every 2-3 weeks until the bucket is filled. This encourages new potato growth along the buried stems.
Growing potatoes in buckets can be a rewarding and efficient process if done correctly.

Potato Growing in Buckets
Potato Care and Harvesting
| Pest or Disease | Description | Symptoms | Management |
|---|---|---|---|
| Aphids | Small, soft-bodied insects | Stunted growth, curled leaves, honeydew | Use insecticidal soap, introduce predators |
| Colorado Potato Beetle | Striped beetles with yellow-orange eggs | Skeletonized leaves, egg clusters on leaves | Handpick beetles, use neem oil |
| Late Blight | Fungal disease | Dark, water-soaked spots on leaves | Rotate crops, use fungicides |
| Early Blight | Fungal disease | Brown spots with concentric rings on leaves | Remove infected leaves, use fungicides |
| Potato Cyst Nematode | Microscopic worms in soil | Stunted growth, yellowing, wilting | Use nematode-resistant varieties |
| Wireworms | Larvae of click beetles | Holes in potatoes, tunneling in tubers | Use bait traps, rotate crops |
| Slugs | Slimy, mollusk-like pests | Irregular holes in leaves and tubers | Remove debris, use slug traps |
| Powdery Mildew | Fungal disease | White powdery spots on leaves | Improve air circulation, use fungicides |
| Leafhoppers | Small, wedge-shaped insects | Yellowing and curling of leaves | Use insecticides, remove weeds |
| Rhizoctonia Rot | Fungal disease | Dark, sunken lesions on tubers | Avoid overcrowding, improve soil drainage |
The Basics of Bucket-Grown Potato Care
Potatoes thrive in full sun exposure, meaning they need six to eight hours of sunlight per day.
Therefore, it’s crucial to place your potato buckets in an area where they can receive ample lighting. The choice of your bucket is not trivial.
It has to be well-drained, with holes at the bottom to ensure excess water can seep out. This reduces the risk of waterlogging, which could drown and rot your potato plants.
Proper watering is vital, too. Potatoes are thirstier than most other crops; therefore, a consistent watering schedule is necessary. During the early stages of growth, lightly water the plant once a day.
Once the potato plant flowers, switch to deep watering once or twice a week, drenching the soil thoroughly each time.
In terms of temperature, potatoes prefer cooler weather. They grow best at temperatures ranging from 60 to 70 degrees Fahrenheit.
In the heat of the summer, move your buckets to a cooler, shaded area to prevent heat stress.
Understanding When to Harvest Your Potatoes
Recognizing when your potatoes are ready to harvest is key to ensuring a good crop. Usually, new potatoes are ready to harvest when the plants start to flower.
This typically occurs mid-summer, about ten weeks after planting. For mature potatoes, they will be ready after the potato tops have died back and turned yellow. This usually takes place late summer to early fall, roughly between 15 to 20 weeks after planting.
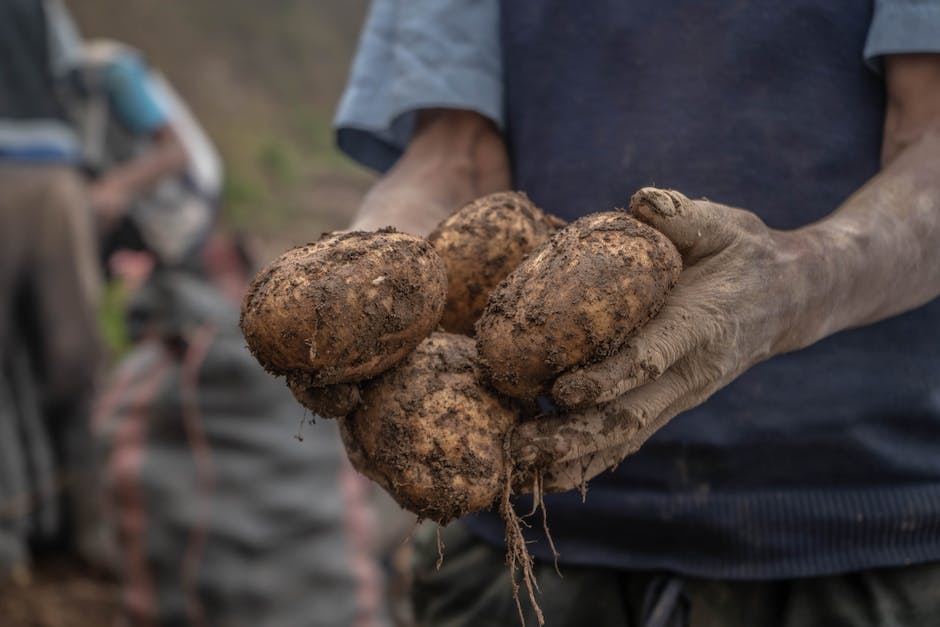
Harvesting Practices for Bucket-Grown Potatoes
When it’s harvesting time, empty the bucket into a wheelbarrow or on a tarp to sift through the soil and find your potatoes. Be gentle as you handle the soil and avoid using sharp tools that might damage the tubers.
Better yet, consider using containers with removable sides or potato grow bags which often come with a “harvest window. This funnels potatoes into a boxed compartment for easy retrieval without having to dump the entire bucket.
Remember to let your freshly harvested potatoes sit in a cool, dry place for a few days. This “curing” process hardens the potato skins, making them better suited for storage.
As you gain experience with potato growing in buckets, you’ll find the balance in caring for your plants and harvesting at the right time. This rewarding process opens up new opportunities for self-sufficiency and gardening enjoyment.
Potato Growing in Buckets
Your homegrown potato journey doesn’t have to end with a successful harvest.
Use your newfound knowledge and experiences to explore other potato varieties, experiment with different buckets and soil combinations, or even spin it into a unique, fulfilling hobby.
Every budding potato urban farmer started by quite literally getting their hands dirty and plunging into this rewarding venture.
Remember, every successful harvest not only fills your plate with tasty, nutritious potatoes but also enriches you with invaluable farming skills.
So don’t wait grab a bucket, roll up your sleeves, and start growing.