

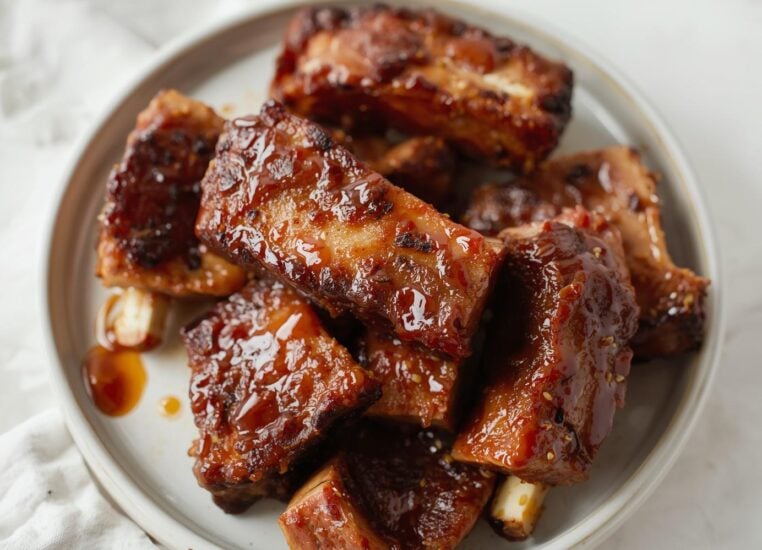
Fall-Off-The-Bone Ribs That’ll Make You a Backyard Legend.
There’s a reason pork short ribs are my favorite cut of meat to cook. They’re forgiving, they’re flavorful, and they deliver that jaw-dropping tenderness that makes people ask for seconds before they’ve even finished their first bite.
This Pork Short Ribs Recipe is the one I come back to again and again whether I’m cooking for my family on a Tuesday night or impressing guests at a summer barbecue.
I used to think perfect ribs required hours of fussing, special equipment, or some secret technique I hadn’t discovered yet. Then I learned the truth: great pork short ribs are about patience, quality ingredients, and letting the meat do the talking.
No complicated dry rubs. No mysterious glazes. Just simple, honest cooking that highlights the natural flavor of the meat.
This recipe has become my go-to, and I’ve made it dozens of times. Every single time, someone says the same thing: “These are the best ribs I’ve ever had.” Now it’s your turn to master them.
Why Pork Short Ribs Beat Every Other Cut
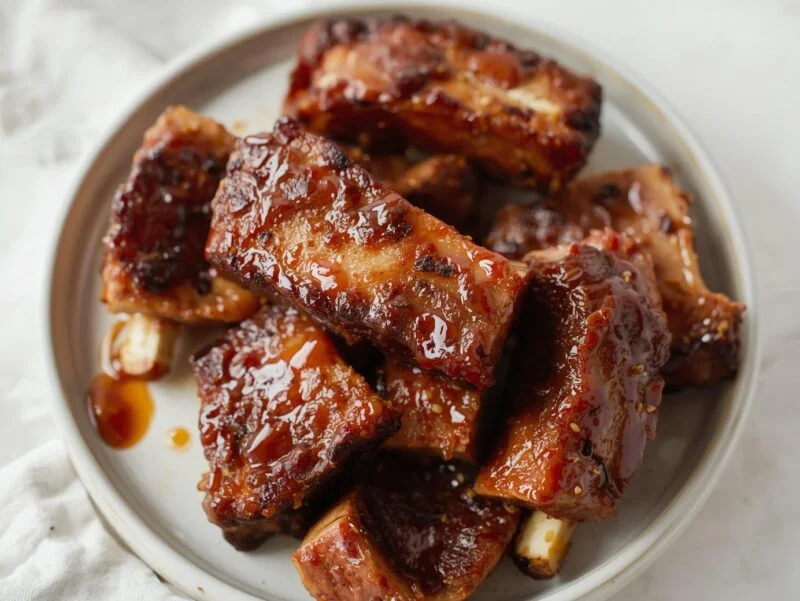
Pork Short Ribs Recipe
More tender than beef ribs. Pork short ribs have a higher fat content and a more delicate muscle structure, which means they become buttery-soft faster than beef.
Less intimidating than baby back ribs. Baby backs are smaller and can dry out if you’re not careful. Short ribs are more forgiving and have more meat per bone.
Serious flavor without serious effort. The meat-to-bone ratio is perfect for maximum flavor with minimal complexity.
Versatile cooking methods. Oven, grill, smoker, slow cooker – this recipe works everywhere.
Feeds a crowd without the price tag. Pork short ribs are often cheaper than other premium cuts, making them perfect for feeding people you love without breaking the bank.
Ingredients
For the Dry Rub:
- 3 tablespoons brown sugar (packed)
- 2 tablespoons smoked paprika
- 1 tablespoon garlic powder
- 1 tablespoon onion powder
- 1 tablespoon kosher salt
- 1 teaspoon black pepper (freshly ground is best)
- 1 teaspoon cayenne pepper (optional, for heat)
- ½ teaspoon dried thyme
- ½ teaspoon dried oregano
For the Braising Liquid:
- 1 cup beef broth (or chicken broth)
- ½ cup apple cider vinegar
- ¼ cup Worcestershire sauce
- 2 tablespoons honey
- 4 cloves garlic, minced
- 1 tablespoon soy sauce
For Assembly:
- 3-4 pounds pork short ribs (2-3 slabs, depending on size)
- 1 large onion, sliced into rings
- 2 bay leaves
Optional Finishing Glaze:
- ½ cup barbecue sauce (your favorite brand, or homemade)
- 1 tablespoon butter
- 1 tablespoon maple syrup
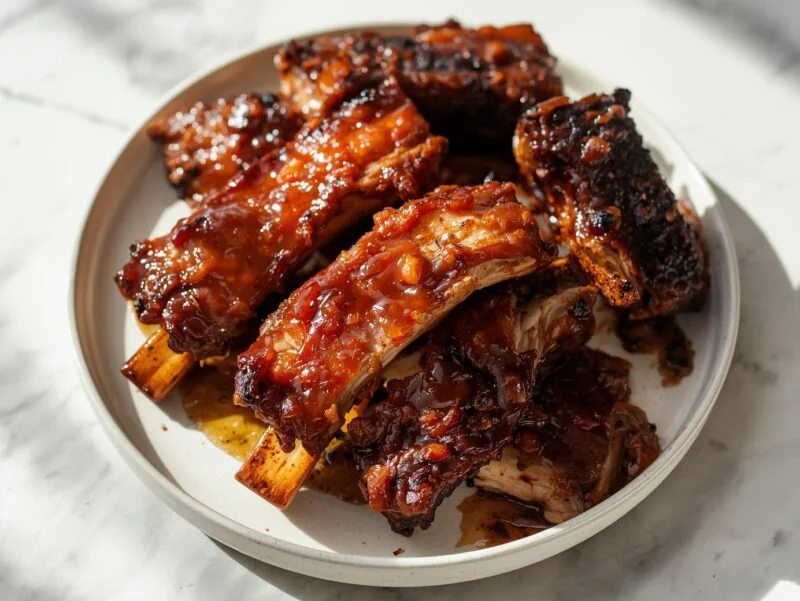
Pork Short Ribs Recipe
Step-by-Step Instructions
Step 1: Prepare Your Ribs
Remove the pork short ribs from the packaging and pat them completely dry with paper towels. This is more important than you think – dry meat browns better and develops a better crust. If there’s a thin membrane on the bone side, peel it off (or ask your butcher to do it).
Lay the ribs on a large cutting board and trim any excess fat if desired, though a little fat is where flavor lives.
Step 2: Make the Dry Rub
In a small bowl, combine the brown sugar, smoked paprika, garlic powder, onion powder, salt, black pepper, cayenne, thyme, and oregano. Stir until evenly mixed. This rub should smell incredible – that’s how you know it’s right.
Step 3: Apply the Rub Generously
Rub the entire surface of each rib rack with the dry rub – front, back, sides, everywhere. Don’t be shy. Use about 2 tablespoons per rack. Let the rubbed ribs sit at room temperature for 30 minutes while you prepare everything else. This allows the seasonings to penetrate the meat.
Pro tip: If you have time, refrigerate the rubbed ribs for up to 8 hours. Overnight is even better – the flavors go deeper.
Step 4: Prepare the Braising Liquid
While the ribs rest, whisk together the beef broth, apple cider vinegar, Worcestershire sauce, honey, minced garlic, and soy sauce in a large measuring cup. Set aside.
Step 5: Sear the Ribs (Optional but Recommended)
Heat a large cast-iron skillet or Dutch oven over medium-high heat. When it’s hot, sear the ribs meat-side down for 3-4 minutes until deeply browned. Flip and sear the bone side for another 2-3 minutes. This step develops rich flavor through the Maillard reaction – it’s worth the extra 10 minutes.
If you’re short on time, you can skip this step and go straight to braising.
Step 6: Layer for Braising
If using a Dutch oven or large baking dish, arrange the onion slices on the bottom. This creates a flavorful bed and keeps the ribs from sticking. Layer the seared ribs on top, meat-side up. Add the bay leaves.
Step 7: Add the Braising Liquid
Pour the braising liquid evenly over the ribs. It should come about halfway up the sides of the meat – not submerging them completely, but creating steam and moisture.
Step 8: Cover and Braise Low & Slow
Cover tightly with foil or a lid. Place in a preheated 300°F oven. Braise for 2.5 to 3 hours for fall-apart tenderness. The meat should be so tender it nearly falls off the bone with a fork.
For a slower cook (more tender results): Braise at 275°F for 3.5 to 4 hours.
Step 9: Check for Doneness
After 2.5 hours, pierce the thickest part of a rib with a fork. It should meet no resistance – that’s your sign they’re ready. If there’s still firmness, continue cooking for another 15-20 minutes.
Step 10: Optional Glaze and Finish
Remove the ribs from the oven. If you want a glossy, caramelized finish, brush each rack with your favorite barbecue sauce mixed with a touch of butter and maple syrup. Return to the oven uncovered for 10-15 minutes at 375°F until the glaze caramelizes.
Step 11: Rest and Serve
Let the ribs rest for 5 minutes before serving. This allows the juices to redistribute through the meat. Serve with extra braising liquid (reduce it on the stovetop first if you want it thicker) and your favorite sides.
Serving Suggestions & Pairings
Classic Sides:
- Creamy coleslaw (the acidity cuts through richness)
- Buttered cornbread (perfect for soaking up sauce)
- Baked beans (slow-cooked, naturally sweet)
- Mac and cheese (rich, comforting, crowd-pleasing)
Light Sides:
- Grilled corn on the cob
- Roasted green beans with garlic
- Simple garden salad
- Steamed broccoli
Starches:
- Mashed potatoes
- Smashed sweet potatoes
- Jasmine rice
- Polenta
Recipe Variations & Adaptations
Slow Cooker Version: Skip the searing. Layer everything in a slow cooker and cook on LOW for 6-7 hours. Same delicious results, less oven time.
Smoker Version: Apply the dry rub, smoke at 225°F for 4-5 hours until tender, then brush with glaze in the final 30 minutes.
Grill Method: Rub and sear on a hot grill, then move to indirect heat. Cover and cook for 2-3 hours, basting occasionally with braising liquid.
Spicier Version: Increase cayenne to 1½ teaspoons, add a teaspoon of hot sauce to the braising liquid, and sprinkle with red pepper flakes before serving.
Asian-Inspired: Replace Worcestershire with additional soy sauce, add 2 tablespoons of hoisin sauce, and finish with sesame seeds and scallions.
Storage & Make-Ahead Tips
In the Refrigerator: Cooked ribs keep for 4-5 days in an airtight container. Reheat gently in a 300°F oven wrapped in foil for 15-20 minutes.
Freezing: Freeze cooked ribs in a flat container with braising liquid for up to 3 months. Thaw overnight in the fridge before reheating.
Advance Prep: Rub the ribs the night before and refrigerate. Braise the next day for maximum flavor development.
Nutritional Information (Per Serving, 2 Ribs)
- Calories: 420
- Protein: 42g
- Fat: 24g
- Carbohydrates: 8g
- Fiber: 0g
- Sodium: 580mg
Estimates based on unsauced version. Glaze will add carbs and calories.
Final
This Pork Short Ribs Recipe proves that the best meals don’t need to be complicated. With a solid dry rub, patient braising, and quality ingredients, you’re creating restaurant-level ribs in your own kitchen.
Make this recipe this weekend. Watch your family’s faces when they take that first bite. Bookmark it for summer cookouts, holiday dinners, and any night you want to feel like a pitmaster.
Have you cooked pork short ribs before? What’s your favorite glaze or cooking method? Drop a comment below – I’d love to hear how yours turned out!
Last modified: July 19, 2026
