Aloe vera, often referred to as the “wonder plant,” has gained immense popularity in recent years for its incredible health benefits and versatile uses.
This succulent, known for its soothing properties and air-purifying abilities, is not only a fantastic addition to your indoor garden but also a low-maintenance plant that’s perfect for beginners.
So, we will take you through every step of growing aloe vera successfully, ensuring that you have healthy, thriving plants in your home.
Before we get into the details of aloe vera care, let’s get to know this remarkable plant a bit better.
What Is Aloe Vera?
Growing Aloe Vera
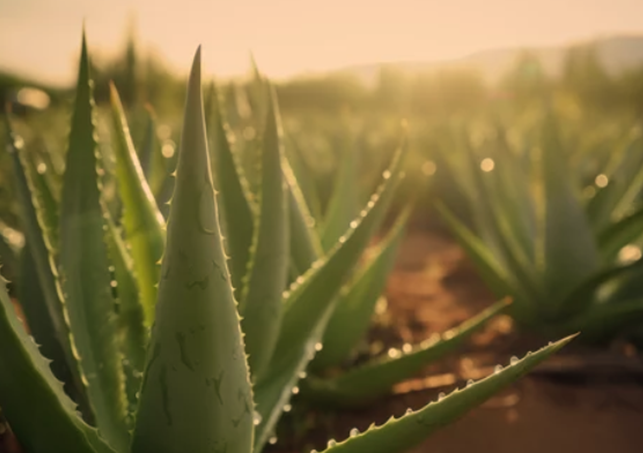
Aloe vera, scientifically known as Aloe barbadensis miller, is a succulent plant species that originates from the arid regions of the Arabian Peninsula. It belongs to the Aloe genus, which encompasses over 500 species. However, Aloe vera stands out due to its medicinal and cosmetic properties.
Types of Aloe Vera Plants
There are several varieties of aloe vera, each with its unique characteristics. In this section, we’ll explore a few popular types:
- Aloe Barbadensis Miller: The most common and widely recognized type, known for its thick, fleshy leaves and clear gel.
- Aloe Arborescens (Torch Aloe): This variety features tall, branching stems and reddish-orange flowers.
- Aloe Vera “Variegata”: Variegated aloe vera plants have striking green and white striped leaves, making them highly decorative.
- Aloe Saponaria (Soap Aloe): Named for its use in traditional soap-making, this type has slender leaves and vibrant orange flowers.
Now that you have a better understanding of aloe vera let’s explore the essentials of successfully growing and caring for these remarkable plants.
2: Choosing the Right Pot and Soil
Selecting the Ideal Pot
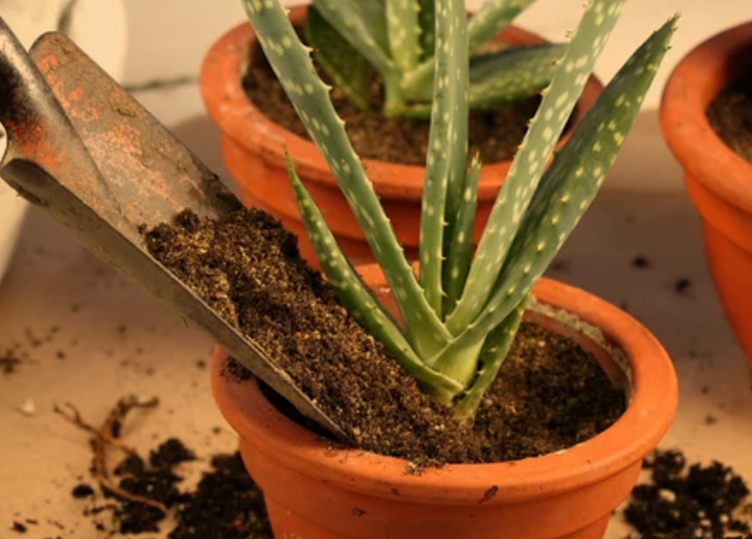
The first step in growing aloe vera is choosing the right pot. Here’s what you need to consider:
- Size: Aloe vera prefers snug spaces. Opt for a pot that’s only slightly larger than the plant’s root ball to prevent waterlogging.
- Material: Use a well-draining material like terracotta or ceramic, as they allow excess moisture to evaporate.
- Drainage Holes: Ensure that your chosen pot has adequate drainage holes at the bottom.
Creating the Perfect Aloe Vera Potting Mix
A well-draining soil mix is crucial for aloe vera’s health. You can make your own mix by combining the following:
- 50% Cactus Soil: This type of soil is designed for succulents and helps prevent root rot.
- 25% Perlite: Perlite improves drainage and aeration.
- 25% Coarse Sand: Coarse sand helps prevent soil compaction.
Mix these ingredients thoroughly to create an ideal potting mix for your aloe vera.
Adding Drainage Materials
To further enhance drainage, place a layer of small stones or gravel at the bottom of the pot before adding the potting mix. This will prevent the roots from sitting in standing water, reducing the risk of rot.
3: Proper Aloe Vera Planting
Transplanting Aloe Vera
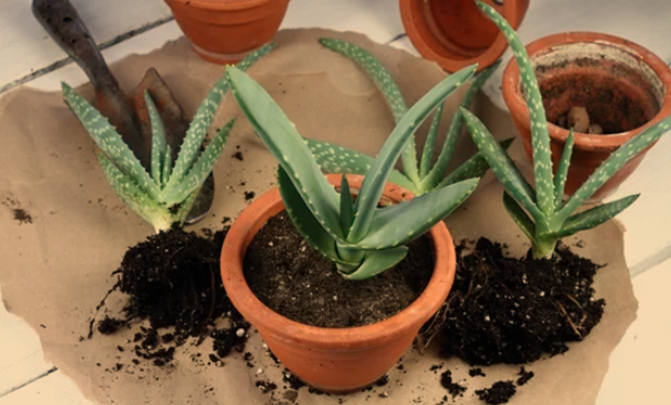
If you’re starting from scratch, you can either purchase an aloe vera plant or propagate one from a friend’s plant. When transplanting, follow these steps:
- Gently remove the aloe vera from its current pot, being careful not to damage the roots.
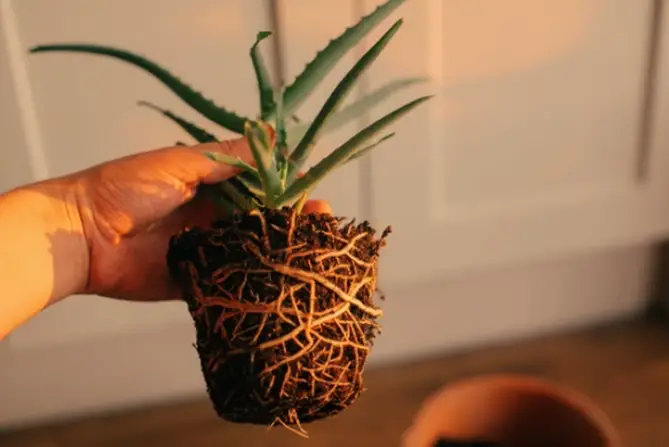
- Shake off excess soil to expose the root system.
- Place the aloe vera in the center of your prepared pot.
- Fill the pot with the potting mix until the plant is secure and at the same depth as it was in its previous container.
- Gently pat down the soil around the base of the plant to secure it.
Watering Your Aloe Vera
Once your aloe vera is potted, it’s essential to give it a good drink. However, aloe vera has unique watering needs:
- Initial Watering: After transplanting, water your aloe vera thoroughly to settle the soil and hydrate the roots. Allow excess water to drain from the pot.
- Watering Frequency: Aloe vera prefers to dry out between watering sessions. Typically, you’ll water it every 2-3 weeks during the growing season (spring and summer) and even less frequently in the dormant season (fall and winter).
- Avoid Overwatering: Overwatering is a common mistake. Always check the soil’s moisture level before watering. Stick your finger about an inch into the soil; if it’s dry, it’s time to water.
4: Aloe Vera Care and Maintenance
Growing Aloe Vera
Light Requirements for Aloe Vera
Aloe vera thrives in bright, indirect sunlight. Here are some tips for providing the right amount of light:
- Indoor Placement: Place your aloe vera near a window with filtered sunlight. Avoid direct, intense sunlight, as it can scorch the leaves.
- Outdoor Placement: If you’re growing aloe vera outdoors, choose a location with partial shade to protect it from the harsh afternoon sun.
Watering Aloe Vera Correctly
Proper watering is vital for aloe vera’s health. Here’s how to get it right:
- Frequency: As mentioned earlier, water sparingly and allow the soil to dry out between waterings.
- Watering Technique: Water at the base of the plant directly onto the soil, avoiding the leaves. Wet leaves can lead to rot and disease.
- Use a Moisture Meter: If you’re uncertain about when to water, consider using a moisture meter to gauge the soil’s moisture level accurately.
Fertilizing Aloe Vera
Aloe vera doesn’t require heavy feeding, but it can benefit from occasional fertilization during the growing season. Use a balanced, water-soluble fertilizer diluted to half strength, and apply it every 4-6 weeks.
5: Aloe Vera Propagation
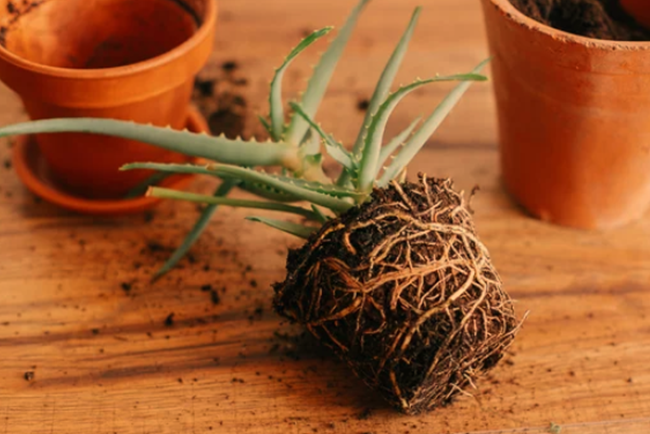
Methods of Propagation
Aloe vera is relatively easy to propagate, and you can choose from two primary methods:
- Offsets (Pups): Aloe vera naturally produces offsets, or “pups,” at the base of the plant. These can be separated and replanted to grow new plants.
- Leaf Cuttings: You can also propagate aloe vera from leaf cuttings. This method is slightly more involved but can yield excellent results.
Propagating Aloe Vera Offsets
Here’s a step-by-step guide to propagating aloe vera offsets:
- Identify a healthy offset growing at the base of the mother plant.
- Carefully remove the offset using a clean, sharp knife or shears.
- Allow the offset to air dry for a day or two to form a callous on the cut end.
- Plant the offset in a small pot with well-draining soil.
- Water sparingly and place it in indirect sunlight.
Propagating Aloe Vera from Leaf Cuttings
To propagate aloe vera from leaf cuttings, follow these steps:
- Select a healthy, mature leaf from the mother plant.
- Cut the leaf into sections, each about 2-3 inches long.
- Allow the cut ends to air dry for a day or two.
- Plant the cuttings in a well-draining potting mix, burying about an inch of the cut end.
- Water lightly and place the pot in indirect sunlight.
6: Common Aloe Vera Problems and Solutions
Dealing with Common Aloe Vera Issues
While aloe vera is a relatively hardy plant, it can encounter a few problems:
1. Root Rot: This occurs due to overwatering or poor drainage. To combat root rot, remove the affected parts of the plant, improve drainage, and reduce watering.
2. Yellowing Leaves: Yellow leaves can result from overwatering, underwatering, or too much direct sunlight. Adjust your watering schedule and provide filtered light.
3. Pest Infestations: Aloe vera can attract mealybugs, aphids, and spider mites. Treat infestations with neem oil or insecticidal soap.
4. Leggy Growth: If your aloe vera becomes leggy (elongated stems with sparse leaves), it may need more sunlight. Gradually move it to a brighter location.
5. Brown Leaf Tips: Brown tips are often a sign of underwatering or low humidity. Increase watering slightly and consider placing a tray of water near the plant.
Remember that early detection and timely action are crucial to maintaining a healthy aloe vera plant.
7: Harvesting Aloe Vera Gel
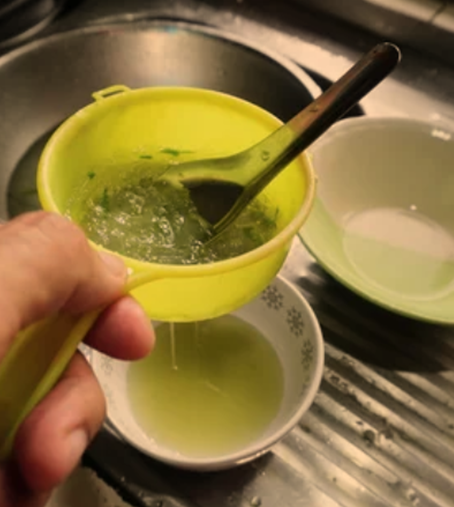
Aloe vera’s gel is renowned for its therapeutic properties and various uses in skincare and health remedies. Here’s how to harvest and preserve aloe vera gel:
Harvesting Aloe Vera Gel
- Select a mature leaf from the outer part of the plant.
- Cut the leaf near the base using a sharp knife.
- Allow the yellowish latex to drain from the cut end for a few minutes.
- Trim off the spiky edges of the leaf.
- Slice the leaf lengthwise to expose the gel.
- Scoop out the gel with a spoon or knife and collect it in a clean container.
Preserving Aloe Vera Gel
- Store the harvested gel in an airtight container in the refrigerator.
- The gel can be used for various skincare and health applications, such as treating sunburn, moisturizing skin, and promoting wound healing.
8: Aloe Vera in Home Decor
Aloe vera isn’t just a practical plant; it can also enhance your home decor. Here are some creative ways to incorporate aloe vera into your living space:
1. Stylish Pots: Choose decorative pots that match your interior design theme, such as ceramic or patterned containers.
2. Group Plantings: Create a visually appealing display by grouping several aloe vera plants of different sizes together.
3. Hanging Planters: Suspended aloe vera pots can add a unique touch to your decor and save valuable floor space.
4. Terrariums: Incorporate aloe vera into terrariums with other succulents for a mini desert garden in your home.
Conclusion
Growing aloe vera is a rewarding experience that offers numerous benefits, from its healing properties to its aesthetic appeal. Will all the tips and guidelines provided here, we hope you will be well on your way to becoming a successful aloe vera gardener/gorwer. So go ahead, bring this versatile plant into your home, and enjoy the soothing, green benefits it brings to your life.
Related Post: Aloe vera pups


