Aloe vera plants are beloved for their striking appearance, low-maintenance nature, and incredible healing properties.
These succulent wonders are a staple in many households, adding a touch of green to our living spaces while providing a wealth of benefits.
However, even the hardiest of aloe vera plants can sometimes show signs of distress, causing concern and prompting us to seek solutions to revive their former glory.
We will examine the typical causes of your aloe vera plant’s problems in this extensive guide, but more significantly, we will look at practical solutions to help it thrive again.
Whether your aloe is suffering from underwatering, overwatering, or other environmental stressors, this article will equip you with the knowledge and tools to restore your beloved plant to its optimal health.
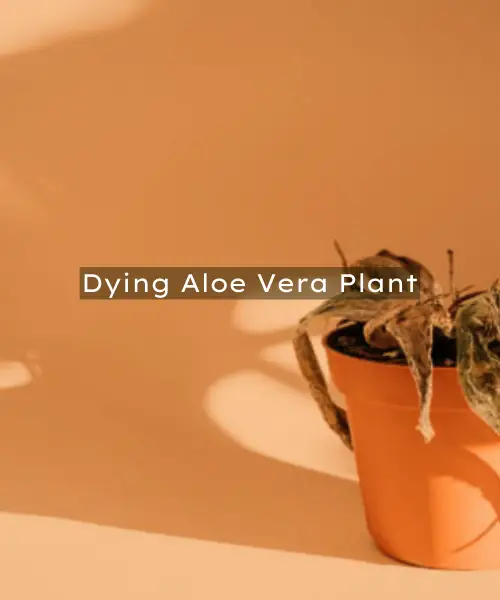
Dying Aloe Vera Plant
Signs of a Dying Aloe Vera Plant
These indicators can vary depending on the underlying issue, but some common symptoms include:
1. Wilting or drooping leaves: Healthy aloe leaves should be plump, erect, and firm to the touch. If the leaves appear limp, shriveled, or drooping, it could be a sign of underwatering or root damage.
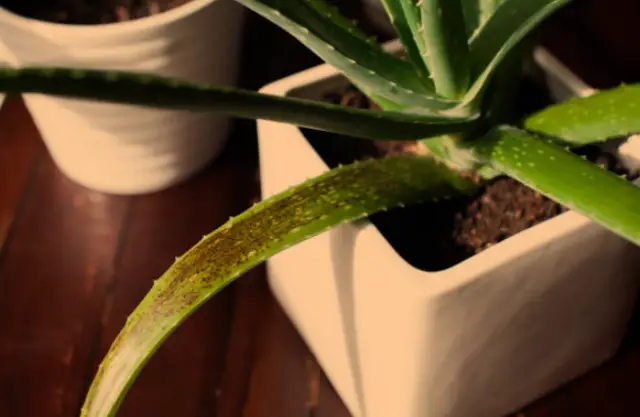
2. Yellowing or browning leaves: While aloe leaves can naturally turn yellow or brown as they age, a sudden and widespread discoloration could indicate overwatering, sunburn, or nutrient deficiencies.
3. Mushy or rotting leaves: If the leaves feel soft, mushy, or have developed black or brown spots, it’s likely a sign of overwatering or a fungal infection.
4. Stunted growth or lack of new growth: A healthy aloe vera plant should produce new leaves and pups (offsets) regularly. If you notice a lack of new growth or stunted development, it could be a sign of environmental stress or nutrient deficiencies.
5. Pest infestations: Aloe plants can be susceptible to pests like mealybugs, spider mites, and scale insects. Check for small, cottony masses, webbing, or discolored spots on the leaves and stems.
Reviving a Dying Aloe Vera Plant: Step-by-Step Guide
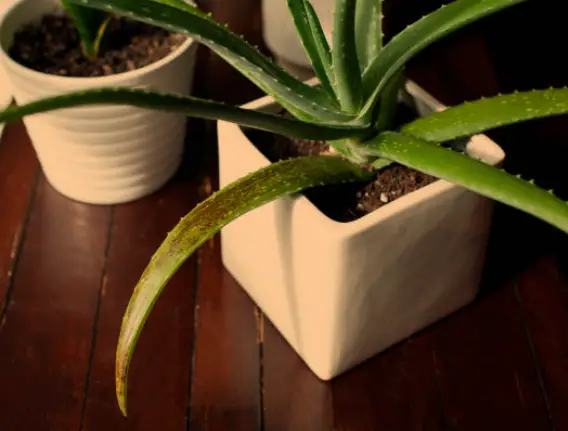
Dying Aloe Vera Plant
Once you’ve identified the signs of distress, it’s time to take action and revive your aloe vera plant. Here’s a step-by-step guide to getting your beloved succulent back on track:
Step 1: Assess the Root System
The root system is the foundation of a healthy plant, and it’s crucial to examine its condition before proceeding with any revival efforts. Gently remove the aloe vera plant from its pot and inspect the roots. Healthy roots should be firm, white or pale in color, and free from rot or discoloration.
If the roots appear brown, mushy, or have an unpleasant odor, it’s likely a sign of root rot caused by overwatering or poor drainage. In this case, you’ll need to trim away the damaged roots using a clean, sharp pair of scissors or pruners. Cut away any soft, discolored, or mushy sections until you reach firm, healthy root tissue.
Step 2: Repot with Fresh Soil
Once you’ve addressed any root issues, it’s time to repot your aloe vera plant in fresh, well-draining soil. Aloe plants thrive in a potting mix that’s specifically formulated for cacti and succulents, as it provides excellent drainage and aeration.
When repotting, choose a container with ample drainage holes at the bottom to prevent water from accumulating and causing root rot. Ensure the new pot is only slightly larger than the root system, as aloe plants prefer to be somewhat root-bound.
Step 3: Adjust Watering Practices
Improper watering is one of the most common reasons for aloe vera plant distress. Both underwatering and overwatering can have detrimental effects on the plant’s health.
If your aloe has been underwatered, the soil will be completely dry, and the leaves will appear shriveled or wrinkled. In this case, thoroughly water the plant, ensuring that the soil is evenly moistened. However, be careful not to overwater, as this can lead to root rot.
On the other hand, if your aloe has been overwatered, the soil will be saturated, and the leaves may appear mushy or discolored. In this situation, you’ll need to allow the soil to dry out completely before watering again. You can also consider improving drainage by adding perlite or coarse sand to the potting mix.
As a general rule, aloe plants should be watered when the top inch or two of soil is dry. During the growing season (spring and summer), water your aloe every 2-3 weeks, while in the dormant period (fall and winter), water it once a month or when the soil is completely dry.
Step 4: Provide Proper Light Exposure
Aloe vera plants thrive in bright, indirect sunlight. Too much direct sunlight can cause sunburn, which manifests as brown or yellow patches on the leaves. Conversely, insufficient light can lead to etiolation (stretching and weakening of the plant).
If your aloe has been receiving too much direct sunlight, move it to a location with bright, filtered light, such as near an east- or west-facing window. If it hasn’t been receiving enough light, gradually expose it to brighter conditions to avoid shocking the plant.
Step 5: Prune and Remove Damaged Leaves
Pruning away damaged or dead leaves is an essential part of the reviving process. Not only does it improve the plant’s appearance, but it also encourages new growth and prevents the spread of disease or pests.
Using clean, sharp scissors or pruners, carefully remove any yellow, brown, mushy, or heavily damaged leaves. Cut them off at the base, as close to the stem as possible, without damaging the healthy tissue.
Step 6: Manage Pest Infestations (if present)
If you’ve noticed signs of pest infestations, such as small insects, webbing, or cottony masses, it’s essential to take action to protect your aloe vera plant.
For minor infestations, you can try wiping down the leaves with a soft cloth dipped in a mild insecticidal soap solution or neem oil. This can help remove and discourage pests while being gentle on the plant.
In cases of severe infestations, you may need to use a stronger insecticide or seek professional help from a certified pest control expert.
Step 7: Provide Supplemental Nutrients (if needed)
While aloe vera plants are generally low-maintenance when it comes to fertilization, a nutrient deficiency can contribute to their decline. If your aloe hasn’t been fertilized in a while and shows signs of stunted growth or yellowing leaves, it may benefit from a gentle dose of fertilizer.
Look for a balanced, water-soluble fertilizer formulated specifically for succulents and cacti. Follow the manufacturer’s instructions carefully, as overfeeding can be just as harmful as underfeeding.
Step 8: Monitor and Adjust
Reviving a dying aloe vera plant is not an overnight process; it requires patience, careful monitoring, and adjustments as needed. Over the following weeks and months, keep a close eye on your plant’s progress and be prepared to make adjustments to its care routine if necessary.
If you notice continued decline or lack of improvement, reassess the growing conditions and consider seeking advice from a professional or experienced gardener.
Preventing Future Aloe Vera Plant Distress
Once you’ve successfully revived your aloe vera plant, it’s essential to implement preventive measures to ensure its long-term health and vitality. Here are some tips to keep your aloe thriving:
1. Proper Watering: Stick to a consistent watering schedule, watering deeply but allowing the soil to dry out between waterings. Adjust your watering frequency based on the season and the plant’s needs.
2. Well-Draining Soil: Ensure your aloe is planted in a well-draining soil mix specifically formulated for succulents and cacti. This will prevent waterlogging and reduce the risk of root rot.
3. Adequate Light: Provide your aloe with the right amount of bright, indirect sunlight. Gradually adjust its light exposure if you need to move it to a new location.
4. Pest Control: Regularly inspect your aloe for signs of pests and take prompt action if an infestation is detected. Encourage beneficial insects and practice good plant hygiene to discourage pests.
5. Pruning and Grooming: Remove any dead, damaged, or discolored leaves as soon as you notice them. This will promote new growth and improve the plant’s overall appearance.
6. Fertilization: Fertilize your aloe vera plant sparingly during the growing season with a balanced, succulent-specific fertilizer. Avoid over-fertilizing, as this can lead to nutrient burn and other issues.
7. Repotting: Repot your aloe every 2-3 years to refresh the soil and provide more room for growth. Use a well-draining potting mix and a container with ample drainage holes.
8. Environmental Control: Monitor and adjust the temperature, humidity, and airflow around your aloe plant to maintain optimal growing conditions.
The Power of Aloe Vera: Benefits and Uses
Benefits and Uses
Now that you’ve learned how to revive your dying aloe vera plant, it’s worth exploring the numerous benefits and uses of this incredible succulent. Aloe vera has been revered for centuries for its medicinal and therapeutic properties, and its popularity continues to grow in modern times.
Topical Uses:
1. Skin Healing: Aloe vera gel is renowned for its ability to soothe and heal various skin conditions, including sunburns, minor cuts, and insect bites. Its anti-inflammatory and antimicrobial properties promote faster healing and reduce the risk of infection.
2. Moisturizing: The gel from aloe leaves is a natural moisturizer that can hydrate and nourish dry, flaky skin. It’s often used in cosmetic products, such as lotions, creams, and gels, for its moisturizing and rejuvenating effects.
3. Anti-Aging: Aloe vera is rich in antioxidants, vitamins, and minerals that can help combat the signs of aging, such as fine lines and wrinkles. Its soothing and nourishing properties make it a popular ingredient in anti-aging skincare products.
Internal Uses:
1. Digestive Health: Aloe vera has been traditionally used to support digestive health. Its natural laxative properties can help regulate bowel movements and alleviate constipation. Additionally, aloe vera may help soothe and reduce inflammation in the digestive tract.
2. Immune Support: The polysaccharides and antioxidants found in aloe vera are believed to have immunomodulatory effects, supporting a healthy immune system and potentially reducing the risk of certain illnesses.
3. Blood Sugar Regulation: Some studies suggest that aloe vera may help regulate blood sugar levels, making it a potential aid for individuals with diabetes or pre-diabetic conditions.
Other Uses:
1. Plant Care: Aloe vera gel can be used as a natural plant fertilizer or foliar spray, promoting growth and resilience in other plants.
2. Hair Care: Aloe vera’s moisturizing and nourishing properties make it a popular ingredient in hair care products, helping to strengthen and condition hair strands.
3. Household Uses: Aloe vera gel can be used as a natural cleaning agent, insect repellent, and even as a soothing treatment for minor burns or irritations.
As you can see, reviving your dying aloe vera plant is not only about preserving its aesthetic appeal but also about unlocking a world of potential benefits and uses.
You can guarantee that your aloe vera plant will continue to be a lively and useful addition to your house or garden by following the instructions provided in this guide and taking preventive action.
Conclusion
Reviving a dying aloe vera plant may seem like a daunting task, but with the right knowledge and care, it is entirely achievable. By understanding the signs of distress, addressing the underlying issues, and implementing proper care routines, you can breathe new life into your beloved succulent.
Remember, patience and consistency are key. Reviving a struggling plant is a process that requires time, attention, and adjustments along the way.
With perseverance and the guidance provided in this comprehensive guide, you will soon be rewarded with a thriving, vibrant aloe vera plant that not only enhances your living space but also offers a multitude of practical benefits.

