Have you ever walked into an Italian bakery and been greeted by the heavenly aroma of freshly baked bread?
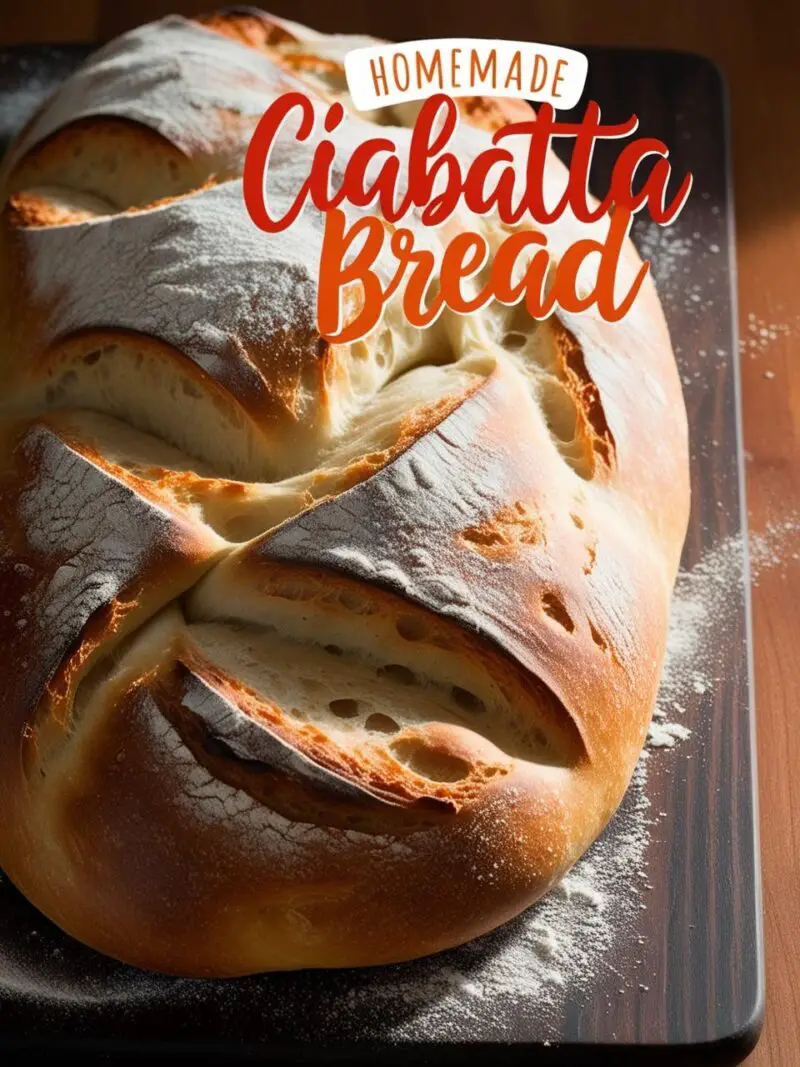
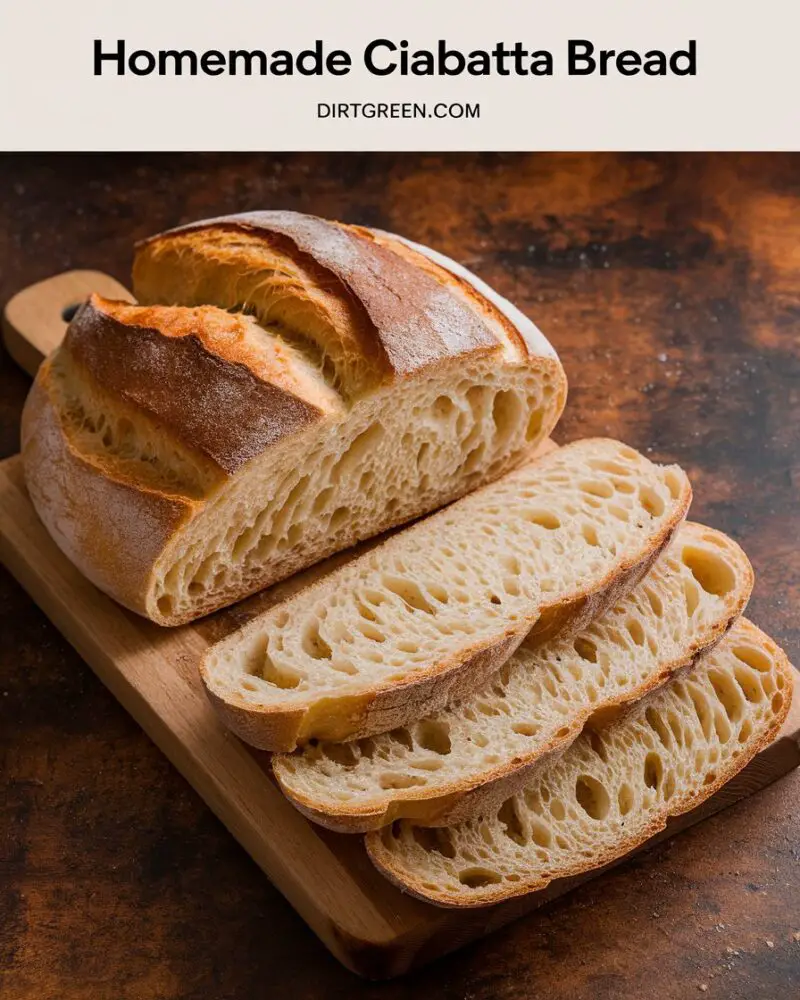
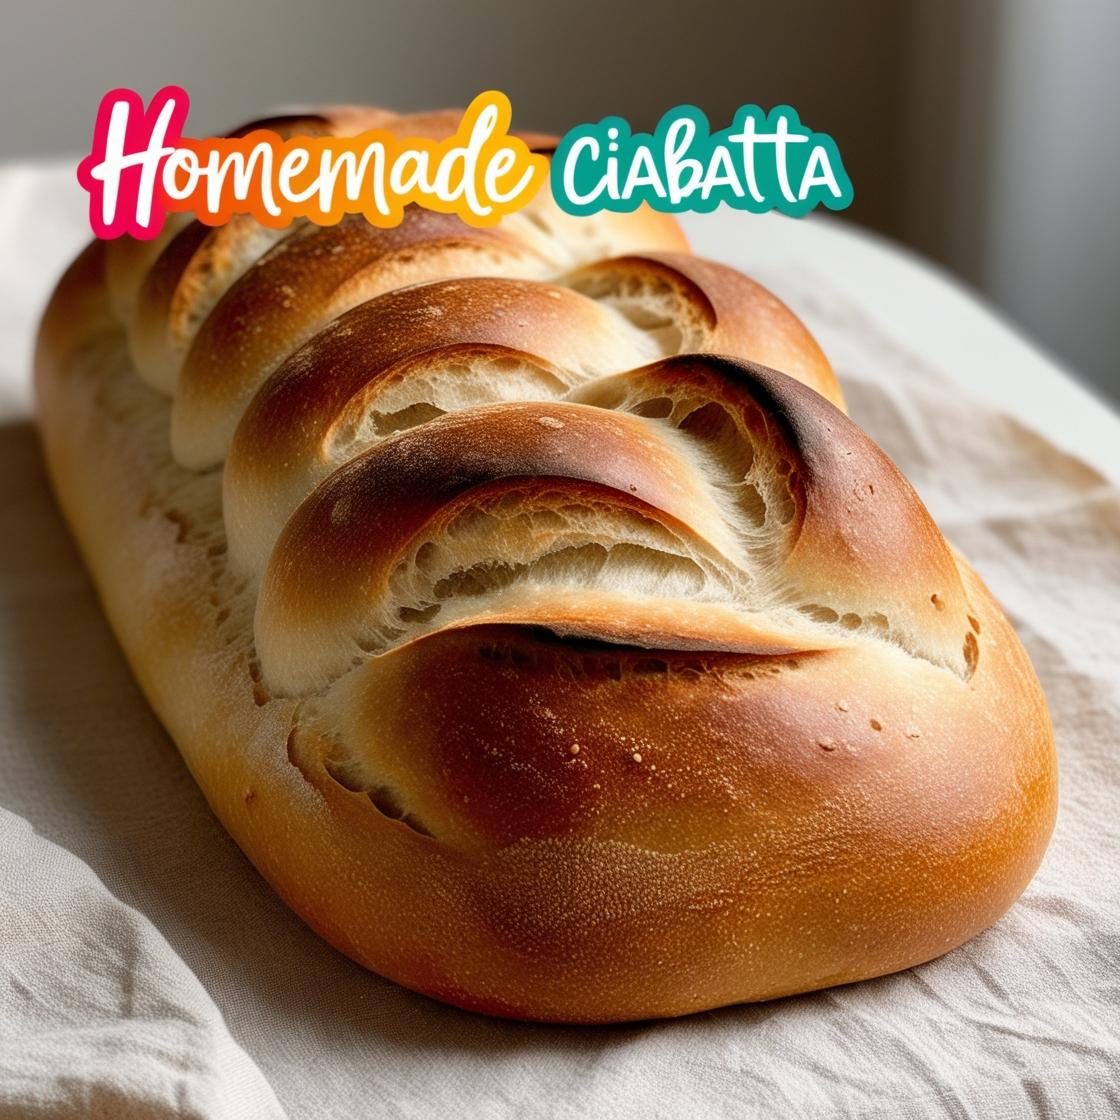
Today, we are going to learn the essential skill of making Homemade Ciabatta Bread, that rustic Italian favorite with its crispy crust and airy interior.
“Bread is the soul of a meal, and ciabatta is the heart of Italian bread-making.” – Marco Rossi, Master Baker
Key Takeaways
- Learn to make authentic Homemade Ciabatta Bread
- Master the perfect texture and crust
- Understand the importance of patience in bread-making
- Discover versatile serving suggestions
The Magic of Ciabatta
Making Homemade Ciabatta Bread isn’t just about following a recipe, it’s about creating something special with your own hands. This Italian bread, known for its “slipper” shape (ciabatta means slipper in Italian), has become a worldwide favorite.

Homemade Ciabatta Bread Recipe
Essential Ingredients
Let’s break down what you will need to create your perfect loaf:
| Ingredient | Amount | Purpose |
|---|---|---|
| Bread Flour | 500g | Creates structure |
| Water | 350ml | Develops gluten |
| Active Dry Yeast | 7g | Helps dough rise |
| Salt | 10g | Enhances flavor |
| Olive Oil | 2 tbsp | Adds richness |
“The quality of your flour will determine the quality of your bread. Choose wisely!” – Chef Anna Romano
Tools of the Trade
Before you begin your Homemade Ciabatta Bread journey, gather these essential tools:
- Large mixing bowl
- Bench scraper
- Digital kitchen scale
- Baking sheet
- Parchment paper
- Clean kitchen towel

Homemade Ciabatta Bread Recipe
The Step-by-Step Process
1. Creating Your Dough (Day 1)
Mix your ingredients until you have a sticky, shaggy dough. Don’t worry if it seems too wet this high hydration is key to those beautiful air pockets we’re after.
2. The First Rise
Let your dough rest for 12–18 hours. This long fermentation is where the magic happens, developing complex flavors and that signature texture.
“Patience is the secret ingredient in every great loaf of bread.”
3. Shaping Your Loaf
Handle the dough gently to preserve those precious air bubbles. Use plenty of flour and shape it into the classic rectangular form.
Success Tips
- Keep your dough sticky resist the urge to add too much flour
- Use room temperature water for better yeast activation
- Create steam in your oven by placing a pan of water on the bottom rack
Delicious Variations
Make your Homemade Ciabatta Bread Recipe unique by trying:
- Rosemary and sea salt topping
- Sundried tomato and olive
- Whole wheat blend (replace 25% of bread flour with whole wheat)
Serving Suggestions
Your fresh Homemade Ciabatta Bread is perfect for:
- Italian-style sandwiches
- Dipping in olive oil and balsamic
- Making the best garlic bread
- Serving alongside soups and stews
Troubleshooting Guide
Don’t get discouraged if your first attempt isn’t perfect. Here are solutions to common issues:
If your bread is:
- Too dense: Increase hydration slightly
- Too flat: Strengthen your dough through folding
- Not crusty enough: Create more steam in the oven
Frequently Asked Questions
Q: Can I use all-purpose flour instead of bread flour? A: Yes, but your bread might not be as chewy. Bread flour’s higher protein content creates better structure.
Q: How do I store my ciabatta? A: Store in a paper bag at room temperature for 2-3 days. Freeze for up to 3 months.
Q: Why is my dough so sticky? A: This is normal! Ciabatta dough should be very wet. Use a bench scraper to handle it.
Q: Can I make this without a stand mixer? A: Absolutely! Many bakers prefer hand-mixing for better control.
Final Thoughts
Making Homemade Ciabatta Bread is a rewarding journey that gets better with practice. Each loaf teaches you something new about the art of bread-making.
“The best bread is the one you make yourself, with patience, love, and a little flour on your hands.”
Remember, your first loaf might not look perfect, but it will still taste amazing. Keep practicing, and soon you’ll be making a ciabatta that rivals your local bakery’s!
Recipe Card
[Download our printable recipe card for easy reference while baking your Homemade Ciabatta Bread]
Share your Ciabatta creations with us in the comments below! We would love to see how your bread-making journey unfolds.


