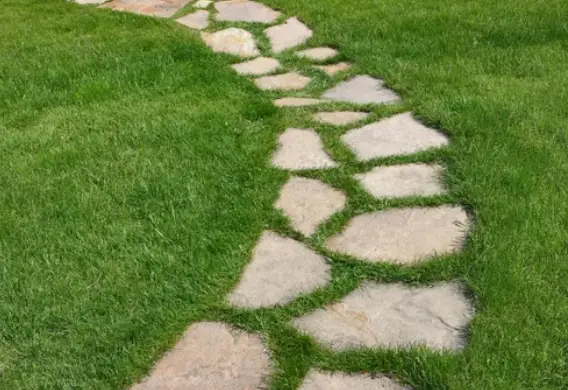
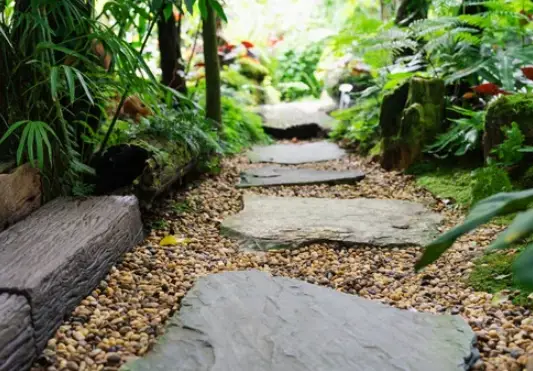
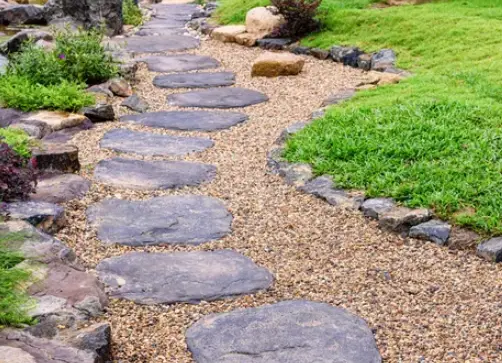
DIY Garden Stepping Stone. If you’re looking to add some character and functionality to your garden, stepping stones are a great option.
They not only provide a practical solution for walking paths, but they also add an element of creativity and style to your outdoor space.
Plus, making your own garden stepping stones is a fun and rewarding DIY project that allows you to customize the stones to your liking.
In this blog post, we’ll provide step-by-step instructions on how to make your own garden stepping stones, as well as some creative ideas for customization. So, let’s get started!
Materials needed

To make your own garden stepping stones, you will need the following materials:
- Concrete mix – You can purchase this at any home improvement store or online.
- Water – You’ll need water to mix with the concrete.
- Mold – You can purchase a pre-made mold or create your own using materials such as cardboard or plastic.
- Non-stick cooking spray – This is used to coat the mold so the concrete doesn’t stick to it.
- Decorative items – This is optional, but you can add items such as pebbles, seashells, or mosaic tiles to the top of the stepping stone for added decoration.
- Protective gear – To protect yourself while working with concrete, wear gloves, and a dust mask.
Once you have gathered all the materials, you’re ready to begin making your garden stepping stones.
Steps to make garden stepping stones

DIY Garden Stepping Stone
Here are the steps to make garden stepping stones:
- Choose a location for your stepping stones – Before you begin making your stepping stones, choose the location where you want to place them in your garden.
- Prepare the mold – Spray the inside of the mold with non-stick cooking spray to prevent the concrete from sticking.
- Mix the concrete – Follow the instructions on the concrete mix bag to mix the concrete with water. Make sure the mixture is smooth and free of lumps.
- Pour the concrete into the mold – Fill the mold with the concrete mixture, making sure to spread it evenly.
- Add decorative items – If desired, add decorative items such as pebbles, seashells, or mosaic tiles to the top of the concrete mixture.
- Smooth the surface – Use a trowel or putty knife to smooth the surface of the concrete.
- Let the stepping stone dry – Leave the stepping stone to dry for at least 24-48 hours, or until it’s completely dry and hard.
- Remove the stepping stone from the mold – Once the stepping stone is dry, carefully remove it from the mold. If it’s difficult to remove, gently tap the sides of the mold with a rubber mallet.
- Place the stepping stone in your garden – Finally, place the stepping stone in your desired location in the garden, and repeat the process to make more stepping stones as needed.
That’s it! With these simple steps, you can easily make your own garden stepping stones to add character and functionality to your outdoor space.
Tips and tricks DIY Garden Stepping Stone

Here are some helpful tips and tricks to keep in mind while making garden stepping stones:
- Use a level surface – Make sure the surface where you’re working is level, so the concrete will dry evenly.
- Experiment with different shapes – Don’t limit yourself to just round or square shapes. You can create custom molds using materials such as cardboard or plastic to make stepping stones in unique shapes.
- Use a concrete sealant – To protect your stepping stones from weather damage, consider applying a concrete sealant once they’re dry.
- Don’t overload the mold – Be careful not to add too many decorative items to the top of the stepping stone. Overloading the mold can cause it to break or the stepping stone to be uneven.
- Add color to the mix – If you want your stepping stones to be a different color, consider adding a concrete colorant to the mix.
- Clean up spills immediately – If you spill any concrete mix, clean it up immediately with water and a sponge or towel. Concrete can be difficult to clean once it dries.
- Follow safety precautions – When working with concrete, wear protective gloves and a dust mask to protect yourself from skin irritation and inhaling dust.
Creative ideas for garden stepping stones

If you want to add a creative touch to your garden stepping stones, here are some ideas to inspire you:
- Use mosaic tiles – Instead of adding pebbles or seashells to the top of your stepping stone, create a mosaic design using tiles in different colors and shapes. You can use a strong adhesive to attach the tiles to the top of the stepping stone.
- Make personalized stepping stones – Use letter stencils to create personalized stepping stones with the initials of your family members or inspirational words. You can use spray paint or paint the letters by hand using a small paintbrush.
- Create a leaf imprint – To make a natural-looking stepping stone, place a large leaf (such as a hosta leaf) on top of the concrete mixture, with the veins facing up. Press the leaf down gently, then remove it carefully once the concrete has dried.
- Make a glow-in-the-dark stepping stone – Mix glow-in-the-dark powder with the concrete mixture before pouring it into the mold. Once it’s dry, the stepping stone will glow at night.
- Use glass gems – Create a colorful stepping stone by adding glass gems to the top of the concrete mixture. You can arrange them in a pattern or mix them up for a more eclectic look.
- Add a handprint – Make a special stepping stone by adding your child’s handprint to the top of the concrete mixture. Press their hand gently into the concrete, then let it dry before removing the mold.
These are just a few creative ideas to help you make your garden stepping stones unique and personalized. With a little imagination, you can create stepping stones that are truly one-of-a-kind.
Conclusion
making your own garden stepping stones is a fun and easy DIY project that can add charm and practicality to your outdoor space.
With just a few materials and some creativity, you can create stepping stones in a variety of shapes, colors, and designs.
Whether you choose to add decorative items or personalize them with letter stencils or handprints, garden stepping stones are a great way to enhance the look and functionality of your garden.
However, if you follow the steps and tips outlined in this post, you’ll be well on your way to making beautiful and functional stepping stones that will be enjoyed for years to come.


