

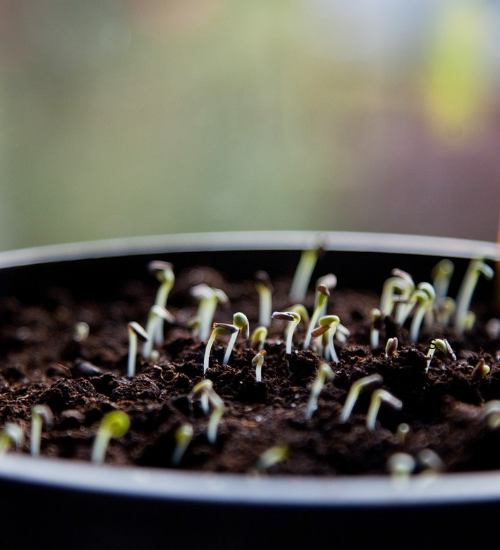
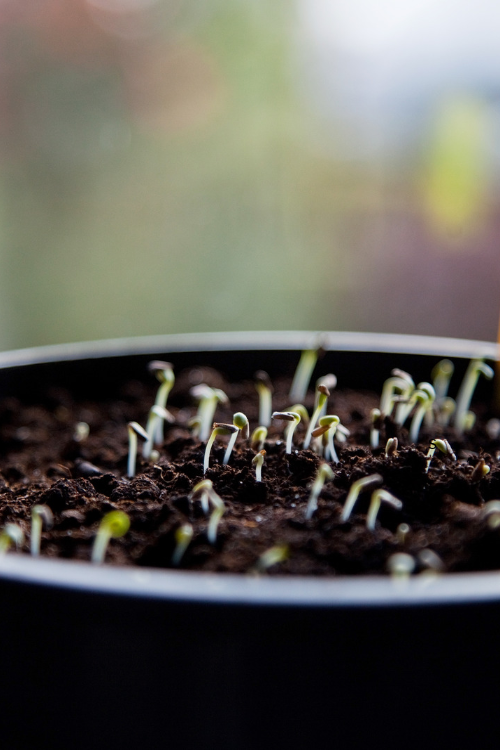
Tiny flower seeds are easy to lose and even easier to plant too deeply. A heavy layer of soil can prevent small seeds from reaching the surface, while a strong stream of water can wash them into a corner of the container.
Once you understand the relationship between seed size, planting depth, moisture, and light, how to sow tiny flower seeds without burying them becomes much easier.
Why planting depth matters
Seeds contain a limited supply of stored energy. After absorbing water, the seed begins to germinate and sends out a root followed by a shoot. If a tiny seed is buried too deeply, it may use its stored energy before the shoot reaches the surface. Great Plant Escape – Germination
Many small flower seeds are best sown on the surface or covered only with a very thin layer of fine material. This does not mean every tiny seed requires light, so always check the seed packet. However, deep planting is one of the most common reasons small seeds fail to emerge.
Flowers often grown from very small seed include:
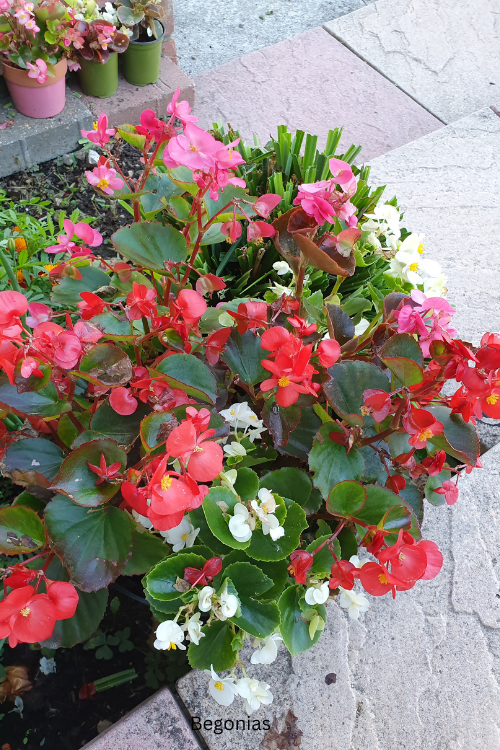
- Begonias
- Petunias
- Snapdragons
- Foxgloves
- Nicotiana
- Lobelia
- Poppies
- Digitalis
- Impatiens
- Certain native perennials
- Many wildflowers
Prepare a fine growing medium
Use a clean, fine-textured seed-starting mix. Large pieces of bark, stones, or coarse compost can create air pockets around tiny seeds and make watering uneven.
Fill the container nearly to the top, then gently press the surface. Leave a small gap below the rim so water does not overflow.
Moisten the mix before sowing. This is easier than trying to wet the surface after placing tiny seeds. The growing medium should be evenly damp but not muddy.
If the mix is dry, water it from below or use a gentle spray. Wait until excess water drains before planting.
Use a shallow container with drainage
A seed tray, plug tray, recycled yogurt container, or small pot can work as long as it has drainage holes.
Clean recycled containers before use. If the container previously held a diseased plant, use a fresh container or sanitize it properly.
Avoid very deep containers for tiny seeds unless you are growing seedlings that will remain there for several weeks. A shallow container allows you to monitor moisture more easily and reduces the temptation to keep the entire pot saturated.
Label the container before sowing. Tiny seedlings can be difficult to identify, especially when several flower types look similar after emergence.
Mix tiny seeds with a dry carrier
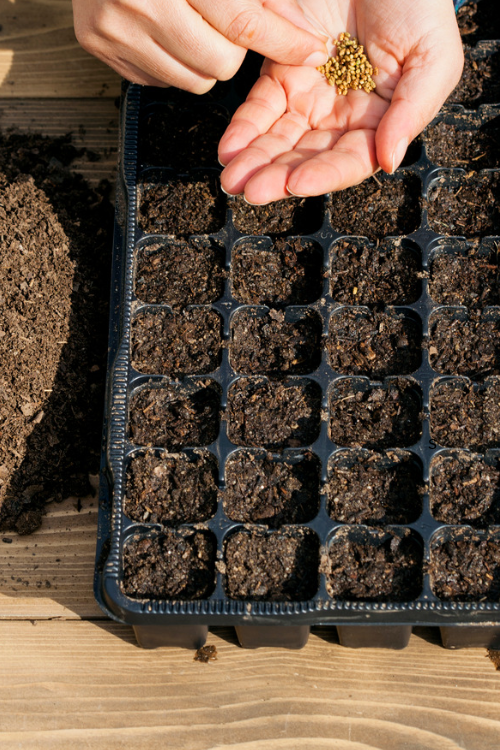
One of the easiest ways to distribute small seeds evenly is to mix them with a dry, fine carrier.
Suitable carriers include:
- Fine vermiculite
- Dry sand
- A small amount of sterile seed-starting mix
- Rice hulls
- Fine soil-free potting material
Mix a pinch of seed with several pinches of carrier. The extra material helps you see where the seeds have been placed and reduces the risk of sowing the entire packet in one spot.
For outdoor native or wildflower seed, extension guidance also describes using an inert carrier to distribute very small seeds more evenly across an area. Start a native prairie garden using seeds | Good Growing | Illinois …
Do not use wet material for this method. Moist carrier can cause seeds to clump together.
Scatter instead of dropping one seed at a time
Hold the seed-and-carrier mixture between your thumb and forefinger. Move your hand slowly across the soil surface while releasing a small amount.
For a tray, sow in rows or small sections. For a garden bed, make two passes in different directions to improve coverage.
Do not try to make every seed land perfectly. Tiny seeds often germinate in clusters, and you can thin the seedlings after they develop their first true leaves.
Press seeds gently into the surface
After scattering, press the seeds lightly against the moist growing medium. A clean flat board, the bottom of a small cup, or your fingertips can provide enough contact.
Do not push them underneath the surface. The goal is seed-to-soil contact, not deep burial.
If the seed packet recommends a light covering, sprinkle a barely visible layer of vermiculite or fine mix over the top. You should still be able to see the soil texture beneath it.
Water from below whenever possible
A watering can with a large stream can displace tiny seeds. Instead, place the container in a shallow tray of water and allow moisture to move upward through the drainage holes.
Remove the container when the surface feels evenly damp. Do not leave it sitting in water continuously.
If bottom watering is not practical, use:
- A mister
- A fine rose on a watering can
- A gentle spray bottle
- A low-pressure hose nozzle
Mist gently until the seeds are secure. Avoid repeatedly blasting the same spot.
Keep moisture consistent
Tiny seeds have shallow roots once they emerge. The surface can dry quickly, especially under strong light or warm indoor temperatures.
Check the container daily. The mix should remain lightly and evenly moist, not soaked.
If the surface dries before germination, some seeds may fail to start. If the mix stays waterlogged, oxygen levels around the seed decline and rot becomes more likely.
A clear humidity cover can slow evaporation, but it must be ventilated. Once seedlings emerge, gradually increase airflow and remove the cover before condensation remains heavy.
Provide the right temperature and light
Follow the seed packet’s germination instructions. Most cool-season and warm-season flowers have different temperature preferences.
After seedlings emerge, provide strong light immediately. A sunny windowsill may not provide enough intensity, especially during short winter days. Seedlings grown in insufficient light can become tall, thin, and weak. Illinois Extension identifies inadequate light as a common cause of leggy seedlings. What’s wrong with my seedlings? Troubleshooting seed starting problems
Place lights close enough to illuminate seedlings without overheating them. Rotate containers if light comes from one direction.
Do not put newly sown seeds in strong direct sun under a sealed plastic cover. Temperatures can rise quickly and dry the surface or damage emerging seedlings.
Thin crowded seedlings
Tiny seeds are often sown more thickly than necessary because they are difficult to handle. Once seedlings develop their first true leaves, thin them.
Remove weak or overcrowded seedlings by:
- Snipping unwanted seedlings at soil level
- Gently lifting extras with a toothpick
- Transplanting carefully if the roots separate easily
Do not pull aggressively in a crowded tray. Pulling one seedling can disturb neighboring roots.
Give each remaining seedling enough space for airflow and light. Crowding encourages weak growth and can increase disease problems.
Know when to transplant
Seedlings are usually ready to move when they have several true leaves and a root system that holds the growing medium together.
Water the tray before transplanting. Handle seedlings by their leaves rather than their delicate stems. Make a hole large enough for the roots, place the seedling at the appropriate depth, and firm the soil gently.
Some flowers dislike root disturbance, so sowing directly in the garden or using individual cells may be better.
Before moving indoor seedlings outside, harden them off gradually. Sudden exposure to full sun, wind, and temperature changes can cause leaf scorch and stem damage. Starting a Garden: Hardening Off Indoor Seedlings
Tiny seed problems and solutions
| Problem | Likely cause | Solution |
|---|---|---|
| No seedlings appear | Seeds buried too deeply | Sow on the surface or barely cover |
| Seeds washed to one side | Water stream too strong | Bottom-water or mist |
| Green fuzz on soil | Excess moisture and poor airflow | Ventilate and reduce watering |
| Seedlings are tall and thin | Insufficient light | Provide stronger, closer light |
| Surface dries daily | Container loses moisture quickly | Use a humidity cover temporarily |
| Seedlings collapse at soil level | Damping-off or excessive moisture | Improve airflow and avoid overwatering |
| Many seedlings emerge in one clump | Seeds scattered unevenly | Thin carefully after true leaves appear |
Try winter sowing for suitable flowers
Some hardy flowers and native plants can be sown outdoors in containers during winter. Winter sowing uses natural cold and moisture to help prepare certain seeds for spring germination.
It is not suitable for every flower. Some seeds need warmth, while others require a specific cold period. Check the seed packet or reliable growing guidance before trying it.
When winter sowing, protect containers from animals, label them clearly, and ensure that excess water can drain. Extension sources describe winter sowing as a practical way to start certain hardy plants outdoors while allowing natural temperature changes to assist germination. How to try winter sowing – Illinois Extension
Common mistakes to avoid
When learning how to sow tiny flower seeds without burying them, avoid these habits:
- Covering every seed with a thick layer of soil
- Watering with a powerful stream
- Allowing the surface to dry completely
- Keeping the container constantly saturated
- Placing seedlings in weak light
- Leaving humidity covers sealed after emergence
- Overcrowding seedlings
- Forgetting to label containers
- Moving seedlings outdoors without hardening off
Tiny seeds require a gentle approach, but they do not need complicated equipment. Use a fine growing medium, moisten it first, scatter seeds with a carrier, press them lightly into the surface, and water carefully.
The goal of how to sow tiny flower seeds without burying them is not to control every seed individually. It is to create a stable surface where small seeds can stay in contact with moisture, air, and, when required, light. With consistent care, even the smallest seeds can become strong flowering plants
Last modified: October 27, 2026
