
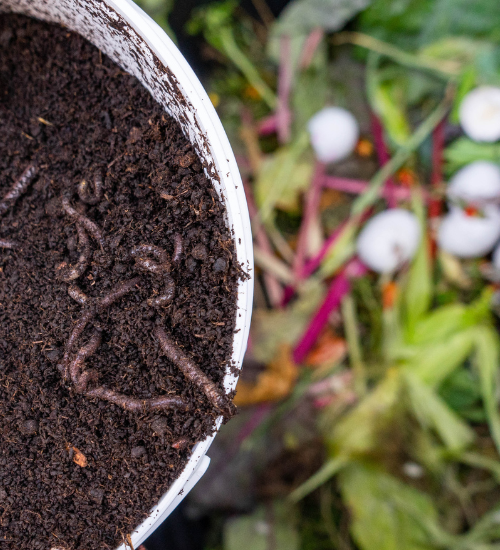
You do not need a backyard to make compost. With a properly prepared worm bin, kitchen scraps can be transformed into nutrient-rich worm castings inside an apartment, basement, laundry room, or enclosed porch.
Indoor vermicomposting is different from simply putting food waste in a covered container. Red wiggler worms live in bedding, eat small amounts of organic material, and need the right balance of moisture, air, food, and temperature. When those conditions are managed correctly, the bin should have a mild earthy smell rather than an unpleasant odor.
This beginner-friendly guide explains how to start a worm compost bin indoors and keep it healthy.
What Is Vermicomposting?
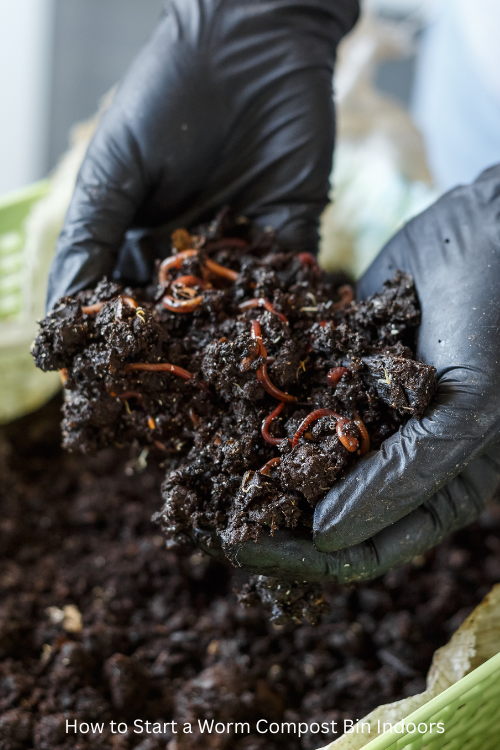
How to Start a Worm Compost Bin Indoors
Vermicomposting is the process of using worms and microorganisms to break down organic waste. The finished material, often called worm castings or vermicast, can be mixed into garden soil or used around plants.
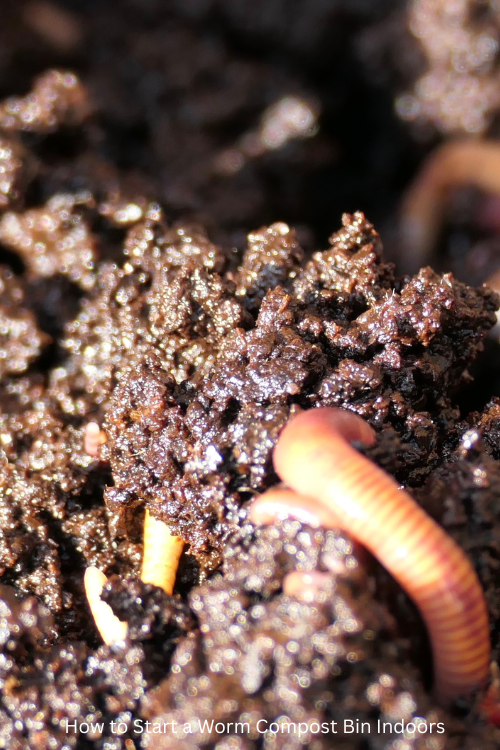
The best worms for indoor composting are usually red wigglers, scientifically known as Eisenia fetida. They are well suited to life in a confined bin and are more effective for composting than large earthworms collected from a garden. Oregon State University Extension identifies red wigglers as the common worm used for vermicomposting. Composting with worms – OSU Extension Service
Worm bins do not produce ordinary garden soil overnight. They create a dark, crumbly material made from partially decomposed organic matter and worm castings. The process is gradual, but a small bin can handle a surprising amount of kitchen waste when it is balanced properly.
Why Compost Indoors?
Indoor worm composting is useful for people who:
- Live in apartments
- Have small yards
- Garden on a balcony
- Want compost for houseplants
- Produce food scraps year-round
- Do not want to maintain a large outdoor pile
Composting turns food scraps and other organic material into a soil amendment. The Environmental Protection Agency describes home composting as an oxygen-based biological process that can produce a stable material for improving soil and supporting plant growth. Composting At Home | US EPA
A worm bin can also make you more aware of how much food your household throws away. Instead of sending vegetable peels, coffee grounds, and fruit scraps to the trash, you can return their nutrients to your plants.
Choose the Right Container
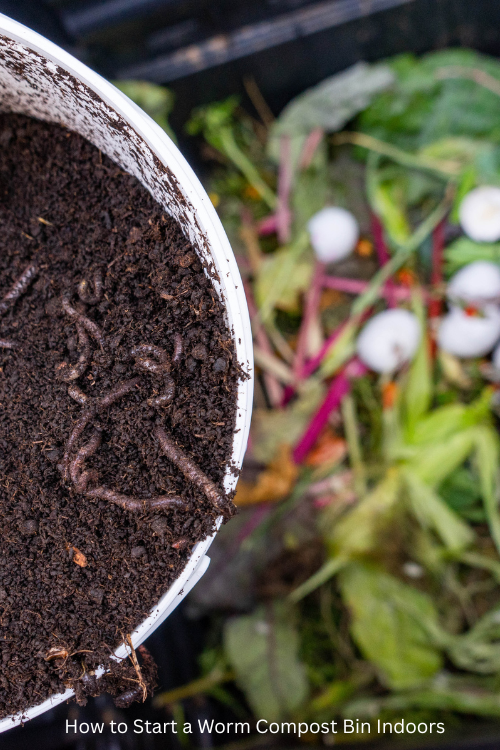
You can buy a commercial worm bin, but a simple plastic storage container can work well.
Choose a container that is:
- Opaque or dark-colored
- Strong enough to hold moist bedding
- Wide rather than extremely deep
- Easy to lift or move
- Large enough for your household’s food scraps
A shallow bin is generally better than a deep one because worms need oxygen. A container around 12 to 18 inches deep is practical for many beginners, although the ideal size depends on how much food waste your household produces.
Drill small air holes near the upper sides and drainage holes in the bottom. Cover the holes with breathable mesh if fruit flies or other insects become a problem.
The bin should have a lid, but it should not be sealed airtight. Worms and the microorganisms in the bedding need air.
Place the bin somewhere protected from extreme temperatures. A pantry, utility room, basement, or shaded indoor corner may work. Avoid locations next to heaters, furnaces, radiators, or air-conditioning vents.
Prepare the Bedding
Bedding gives worms a place to live and helps balance wet food scraps. Suitable materials include:
- Shredded plain cardboard
- Uncoated paper
- Aged leaves
- Coconut coir
- Torn newspaper
- A small amount of finished compost
Avoid glossy paper, heavily colored paper, and cardboard coated with plastic or wax.
Tear the bedding into small pieces and soak it in water. Then squeeze it until it feels damp but not dripping. The texture should resemble a wrung-out sponge.
Fill the bin loosely with several inches of bedding. Do not pack it down tightly. Worms need air pockets to move through the material.
A small amount of garden soil or finished compost can introduce helpful microorganisms and grit. Do not add a large amount of heavy soil, because it can make the bin compacted and difficult to manage.
Add the Worms
Purchase red wigglers from a reputable composting supplier, bait shop, or local gardening organization. Avoid digging ordinary earthworms from your yard. They usually do not thrive in indoor worm bins.
Start with a modest quantity rather than overloading the container. The worms need time to adjust to their new environment. Place them on top of the bedding and allow them to move downward on their own.
Keep the lid on and leave the bin undisturbed for a few days before adding much food. This gives the worms time to settle and reduces the chance of overfeeding.
A healthy worm bin should not smell rotten. It should have a damp, earthy scent.
What to Feed Compost Worms
Worms can eat many common plant-based kitchen scraps, including:
- Apple and pear cores
- Banana peels
- Melon rinds
- Lettuce
- Carrot peels
- Cucumber ends
- Pumpkin scraps
- Cooked vegetables without oil
- Coffee grounds in moderation
- Plain tea leaves
- Crushed eggshells
Cut large pieces into smaller sections. Smaller scraps break down faster and are easier for worms and microorganisms to process.
Feed small amounts at first. Bury the scraps beneath the bedding in different areas of the bin. Covering the food helps control odors and discourages flies.
Do not add more food until most of the previous feeding has begun to break down. Overfeeding is one of the most common causes of odor, pests, and poor airflow.
What Not to Feed Worms
Avoid placing these items in a beginner worm bin:
- Meat
- Fish
- Dairy products
- Greasy foods
- Oily sauces
- Salty foods
- Large amounts of citrus
- Garlic and onions in excess
- Pet waste
- Diseased plant material
- Glossy paper
- Plastic or synthetic materials
Small amounts of citrus may not destroy a bin, but large quantities can make the bedding too acidic. Rich, oily, salty, or animal-based foods are more likely to create odors and attract unwanted pests.
When in doubt, keep the diet simple. Vegetable scraps, fruit scraps, coffee grounds, plain tea leaves, cardboard, and crushed eggshells are enough for most household bins.
Maintain the Correct Moisture Level
Moisture is essential, but a soggy bin can quickly become anaerobic and smelly.
Check the bedding every week. It should feel like a damp sponge. If it is too dry, mist it lightly with water or add moistened cardboard. If it is too wet, mix in dry shredded cardboard and leave the lid slightly open for improved airflow.
Liquid pooling at the bottom is a warning sign. Add dry bedding and gently loosen compacted areas with a hand fork or gloved fingers.
Do not stir the bin aggressively. Worms prefer a stable environment, and excessive disturbance can stress them.
Control Odors and Fruit Flies
A properly maintained worm bin should have little odor. Bad smells usually indicate too much food, too much moisture, poor ventilation, or compacted bedding.
To correct an odor problem:
- Stop adding food temporarily.
- Remove any visibly rotten material.
- Add dry shredded cardboard.
- Loosen the bedding gently.
- Check that air holes are not blocked.
- Bury future food more deeply.
- Feed smaller portions.
Fruit flies are usually attracted to exposed food. Always cover scraps with bedding. You can also freeze food scraps before adding them; freezing softens the material and may reduce the chance of introducing insect eggs.
Keep the bin away from ripening fruit bowls and clean any spilled food around the container.
Manage Temperature and Light
Red wigglers generally prefer moderate indoor temperatures. Keep the bin away from freezing conditions and extreme heat.
Do not place it in direct sunlight. A dark container helps protect the worms from light and temperature swings.
If the bin becomes too warm, move it to a cooler room and add dry bedding if the contents are wet. If the bin becomes cold, the worms may slow down and eat less. This is normal, but avoid placing the container directly beside a heater.
Worms naturally avoid light, so they usually remain in the bedding when the bin is covered. If worms are constantly trying to escape, check the moisture, temperature, acidity, and food levels.
When and How to Harvest Worm Castings
Depending on the size of the bin and feeding routine, usable castings may develop over several months.
There are two simple harvesting methods.
Move Food to One Side
Push the existing material to one side of the bin. Add fresh bedding and food to the empty side for several weeks. Most worms will migrate toward the new food.
Once the old material contains very few worms, remove it and use it in the garden or around plants.
Use a Light Harvest
Dump the contents onto a protected surface under a bright light. Form the material into small piles. Worms will move away from the light and toward the center of each pile.
Remove the outer layers gradually until mostly worms and unfinished bedding remain. Return the worms and remaining material to the bin.
Do not expect every worm to be separated. A few worms or cocoons in the finished castings are harmless and may continue working in the soil.
How to Use Worm Castings
Worm castings are concentrated, so you usually do not need a thick layer.
Use them to:
- Top-dress houseplants
- Mix into container soil
- Improve raised beds
- Add around vegetable plants
- Blend into seed-starting mixes
- Support balcony gardens
For potted plants, mix a modest amount into the upper layer of soil or blend it with potting mix. Avoid using pure castings as the only growing medium because plants still need structure, drainage, and air around their roots.
Worm castings are a soil amendment, not a complete substitute for sunlight, water, proper drainage, or plant-specific nutrients.
Common Beginner Problems
The Bin Smells Bad
The bin is probably too wet, overfed, or poorly ventilated. Add dry bedding, stop feeding temporarily, and improve airflow.
The Worms Are Dying
Check for extreme temperatures, excessive moisture, compacted bedding, or unsuitable food. Remove acidic, oily, or spoiled material.
There Are Too Many Flies
Bury food completely, reduce feeding, and cover exposed scraps with bedding. Clean the area around the container.
The Worms Are Not Eating Much
Worms may need time to adjust. They also eat less when temperatures are low or when food pieces are too large. Cut scraps smaller and avoid adding more food before the previous material has broken down.
The Bedding Is Too Dry
Add water slowly and mix in damp cardboard. Avoid pouring a large amount of water into one spot.
Conclusion
Learning how to start a worm compost bin indoors is easier when you begin with a simple setup and feed conservatively. Use a ventilated container, damp bedding, red wigglers, small amounts of plant-based food, and regular checks for moisture.
The most important rule is to avoid overfeeding. A healthy worm bin should be calm, slightly damp, and earthy-smelling. With patience, your kitchen scraps can become a useful soil amendment for houseplants, containers, raised beds, and backyard gardens.
Editorial source notes: Recommendations are consistent with guidance from the U.S. Environmental Protection Agency, Oregon State University Extension, and Penn State Extension. Composting with worms – OSU Extension Service
Last modified: October 11, 2026
