Far more than a fixture in your pantry, the humble potato undergoes a transformative journey from new sprout to nourishing staple, presenting an exciting opportunity for culinary and gardening enthusiasts alike. This narrative unfolds the mystical life of sprouted potatoes, unveiling a process that dates back to our ancestors yet remains relevant in modern kitchens and gardens. Whether you’re a parent seeking an engaging activity with your children or simply a curious individual exploring the realm of sprouting, this guide aims to provide a deeper understanding of the lifecycle of a potato plant, highlight the nutritional benefits of freshly harvested potatoes, and share practical advice for growing your own potatoes at home.
Sprouted Potatoes
When it comes to matters of the kitchen and pantry, with food items being hoarded for a rainy day or for convenience’s sake, we occasionally overlook one item. But it’s high time we give it the attention it deserves: the humble sprouted potato.
There’s a great deal of debate among parents and home cooks alike about whether sprouted potatoes are safe to eat. The truth might surprise you, so let’s get right to it.
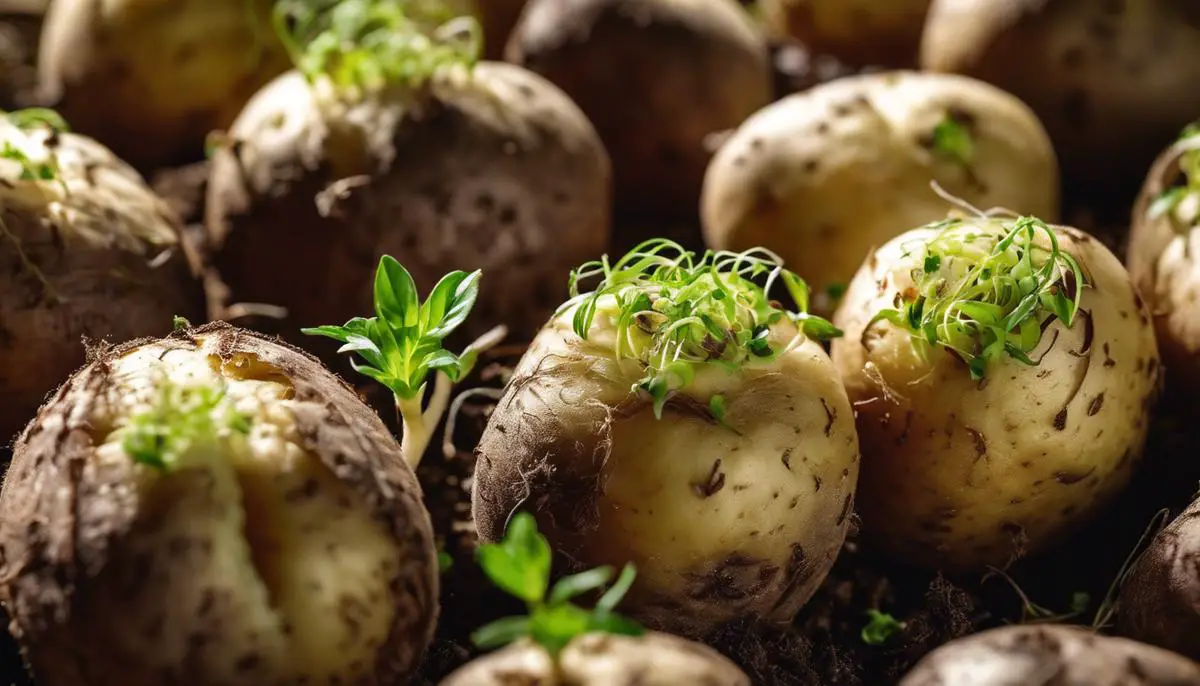
Firstly, know that sprouts are a signal that your potato is indeed doing what it’s naturally designed to do – grow. Potatoes are survivalists, with sprouts being their way of ensuring continued growth. Sprouting is a sign that your potato is past its prime, but it doesn’t necessarily mean it’s harmful.
Nevertheless, you should exercise some caution. Sprouted potatoes can contain higher levels of solanine, a natural toxin found in all parts of the potato plant. High levels of solanine can lead to nausea, headaches, and, in severe cases, neurological problems. On a positive note, solanine is concentrated in the eyes, sprouts, and green parts of the potato. Therefore, removing these particular areas can reduce the risk significantly, making them safe to consume.
However, if the sprouted potato is also soft, wrinkled, or rotten, that’s a different story. It’s best to throw them out since they’ve likely gone bad and won’t do your family’s tummies any good.
Here’s a good rule to follow: When in doubt, trust your senses. Inspect the texture, firmness, smell, and whether there’s a green tint to the skin. If anything seems “off,” it’s better to be safe than sorry and dispose of it.
To avoid sprouting, remember that cold, dark, well-ventilated places are best for potato storage. The refrigerator is not recommended as it can increase the potatoes’ sugar content, affecting their taste and cooking performance.
The conversation around sprouted potatoes is undoubtedly complex, filled with elements of science, health, and practical kitchen wisdom. Knowing and understanding the variables at play allows for well-informed decisions to keep the family healthy and the kitchen running smoothly. After all, the essence of homemaking lies in nurturing and nourishing loved ones, and knowledge is a very critical ingredient to that end.

Initiating the Planting Process
Planting Your Sprouted Potatoes: A Primer
Now that we’ve tackled the concerns around sprouted potatoes, delving into the science behind solanine, and sharing some handy tips for storage, it’s time to explore an interesting avenue. Instead of hastily discarding sprouted potatoes, how about turning them into edible plants? Wondering where to start? Here are some easy, step-by-step instructions to guide you on your journey to growing your very own potato plants at home. By following these steps, you’ll not only find a productive use for those sprouting starchy vegetables but also add a touch of nature to your household and teach the kids about gardening and life cycles. So, get ready for some engaging, hands-on home gardening!
Step 1: Sort Out Your Potatoes
Choose the sprouted potatoes that seem most suitable for planting. Look for firmness as well as hearty and healthy sprouts. If your potato seems too soft or squishy, or the sprouts are brown and shriveled, it’s best to compost it. Remember, healthy beginnings pave the way for thriving plants!
Step 2: Cut and Dry
Depending on the size of your potato and the number of sprouts, you can cut it into several pieces, with each piece having at least one or two sprouts. After cutting, these chunks need to dry out for a few days. This process, known as ‘curing’, allows a protective skin to form over the cut surface, preventing rot and disease.
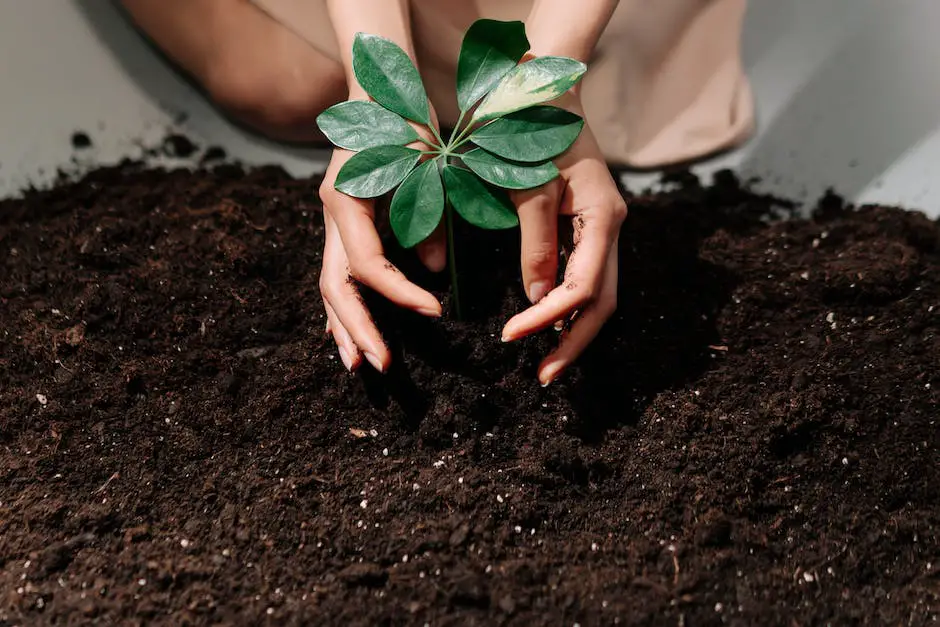
Step 3: Prepare the Soil
In the meantime, prepare your planting ground. Whether you’re using garden beds or containers, it’s important to ensure proper drainage so your potatoes don’t sit in water. Mix in plenty of organic compost into your soil to provide essential nutrients for your growing plants. A light, loose soil is ideal, as it allows for easy growth and expansion.
Step 4: Plant Your Potatoes
Now it’s time to plant. Bury your cured potato chunks about 4 inches deep in the soil, making sure that the sprouts are facing upwards. If planting multiple sprouts, space them about a foot apart to allow room for growth.
Step 5: Care and Patience
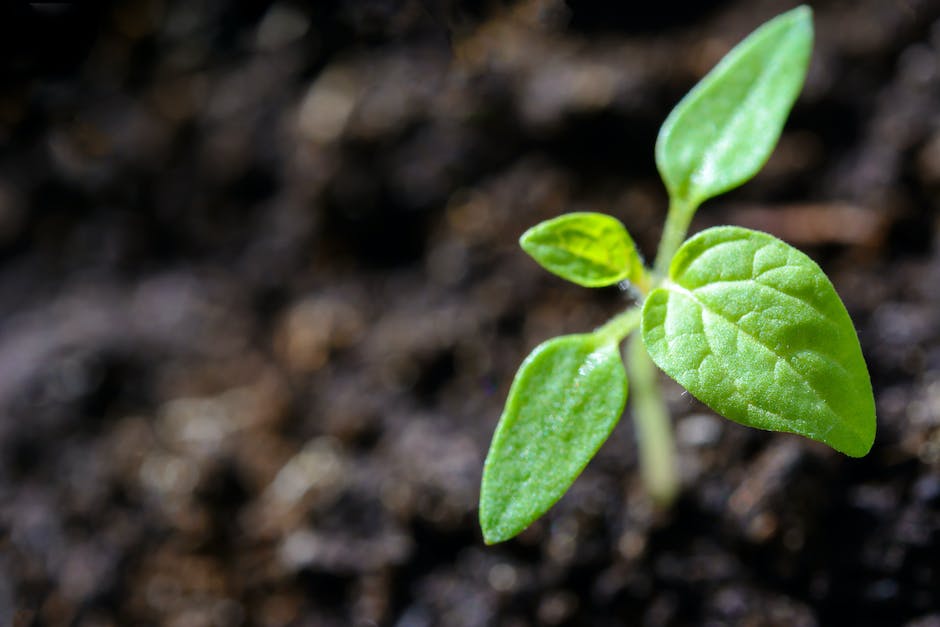
Give your newly planted sprouts plenty of water, but don’t waterlog the soil. Being patient helps because potatoes need time to grow. Monitor your plants and wait for the green shoots to appear. As they grow, you might want to add more soil around the base to encourage further growth; this is known as ‘hilling’.
Step 6: Harvest Time
Generally, in 3–4 months, your homegrown potatoes will be ready for harvest. Once the foliage has died back, you can gently dig around in the soil to harvest your homegrown potatoes. Remember to handle them gently to avoid any bruises.
Embracing this form of practical, everyday gardening won’t just give you homegrown vegetables but also help reduce kitchen waste. Plus, it’s an excellent opportunity to involve your kids in an enriching and educational hobby. So go ahead, roll up your sleeves, let the soil stain your hands, and embark on your family’s potato-growing adventure. Happy planting!
Maintaining and Growing the Potato Sprout
Looking after sprouted potatoes isn’t just about maintaining their edibility; sprouted spuds can be buoyantly turned into plant beauties that can adorn our kitchen gardens. This not only signifies the nurturing green thumb among us adults but also presents an engaging and fun activity with the young ones. So, let’s roll our sleeves up and traverse the gardening path by turning sprouted potatoes into flourishing greens.
Sorting suitable sprouts for planting goes beyond just choosing the cutest potato; it’s more about observing each specimen. Firmness is the key criterion; shy away from potatoes that express shriveling, excessive softness, or any sign of mold.
Once chosen, sprouted potatoes should be cut into chunks, each with at least two sprouts (or eyes). It’s a good practice to superficially air-dry them for a day or two, allowing the surface to harden. This creates a protective layer on the potato chunk, reducing the risk of it rotting in the soil.
Next comes prepping the plot. A well-drained, sunny area is beneficial for our potatoes’ growth. The soil’s pH should ideally lean towards the acidic side, around 5.5 to 7.0, a condition that minimizes the risk of potato scab, a common potato ailment. A good tilling up to about 12 inches deep would do wonders for making room for the sprouts to grow.
Planting potato chunks needs a little finesse. They should be planted cut-side down, about three to four inches deep, and spaced about 12 inches apart for optimum growth. A light covering of soil should be appropriate for our potato buds.
Maintaining potato growth requires a combination of consistent watering, occasional fertilizing, and being on the lookout for potato pests. Hilling, or adding more soil around the stem base, once the shoots achieve 8 inches, will encourage yields and also prevent any potato turned green from sunlight exposure, which makes them inedible.
After a few months of tending (usually 70–120 days, but be patient; it’s worth the wait), voila, we have homegrown potatoes. Gently dig around the potato plant to harvest these hidden gems without damaging them.
Growing our produce brings a sense of sustainability, reduces kitchen waste, and, above all else, makes for a fascinating and educational hobby. While nurturing our potatoes, we create an opportunity for our kids to understand plant growth, thus adding a dash of green education to their playful memories.
Giving our sprouts a second life not only rejuvenates us but also gives a new purpose to the humble potato. Ignite that green spark in the kitchen today, and let’s march towards a healthier lifestyle together!
Sprouted Potatoes
Harvesting and Consuming
Knowing When and How to Harvest Our Homegrown Potatoes
Now that we’ve covered how to manage sprouted potatoes and how to plant them, let’s dive directly into the delightful and rewarding journey of harvesting our homegrown potatoes. Harvesting potatoes is a simple process, and the timing is crucial to enjoying this earthy delicacy to its fullest.
Typically, new potatoes, or baby potatoes, are ready for harvest 2-3 weeks after the plants have finished flowering. These are small and tender, making for a delightful addition to summer salads. For larger, main-crop potatoes, you’ll have to wait until the plants’ foliage has wilted and died back, which could occur sometime in mid- to late-fall depending on your region’s climate.
To harvest, gently dig around the plants using a pitchfork or a shovel, ensuring not to bruise or cut the potatoes. This magical moment of unearthing your homegrown potatoes is almost like a treasure hunt, which can be an exciting activity to share with kids. Once harvested, let them lie in a cool, dark place to cure for up to two weeks. This curing process allows the skins to harden, thus prolonging their storage life.
Learning how to nurture a sprouted potato into a thriving plant and subsequently harvesting your very own potatoes offers a wonderful sense of accomplishment. This hands-on experience can also be a tool for teaching children about growth cycles, nurturing, and patience.
Lessening Kitchen Waste and Promoting a Healthier Lifestyle
By learning how to rejuvenate sprouted potatoes into flourishing plants, not only are we cutting down on kitchen waste, but we’re also contributing to a more sustainable lifestyle. The benefits of growing our own produce are multilayered. The taste of fresh, home-grown produce is unparalleled. Plus, we’re reducing carbon emissions from transport, controlling the quality and type of fertilizers and pesticides used, and having our children learn about nature and responsibility firsthand.
In essence, sprouted potatoes present a fantastic opportunity. Instead of chucking them out, we can convert them into an edible plant and relish the fruits (or, in this case, tubers) of our labor. Adopting such practices can lead us to live more sustainably while bonding with our family and instilling invaluable lessons in our children. So, let’s roll up our sleeves, get our hands a little dirty, and embark on this delightful gardening journey together!

As you embark on your potato-growing journey, remember that the process involves more than just harvesting and enjoying your produce. It’s about understanding nature, determining its rhythms, and nurturing life. Learning to nurture a simple sprouted potato into healthy, edible produce is an adventure filled with hands-on lessons about responsibility, patience, and the beauty of life cycles. This practical guide serves not just as a tutorial but also as an opportunity to bond with your children, participate in nature’s magic, and appreciate the earth’s generosity. The tangible reward of flavorful, home-grown potatoes just happens to be a delightful bonus!

