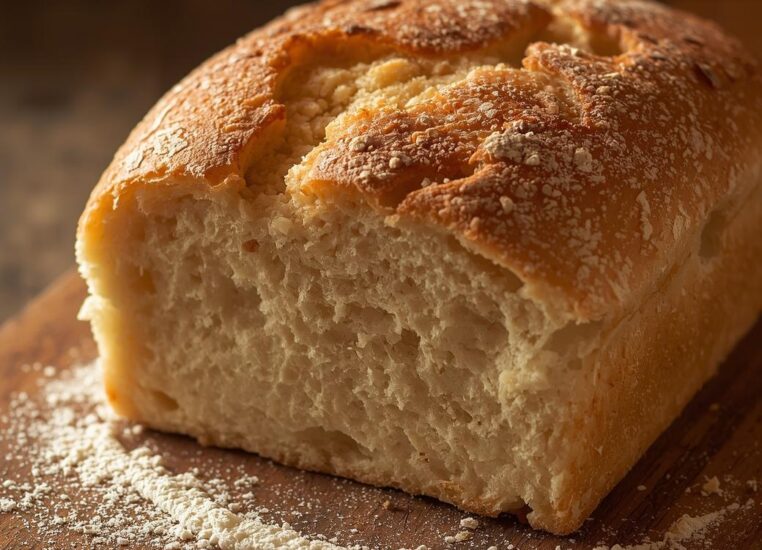
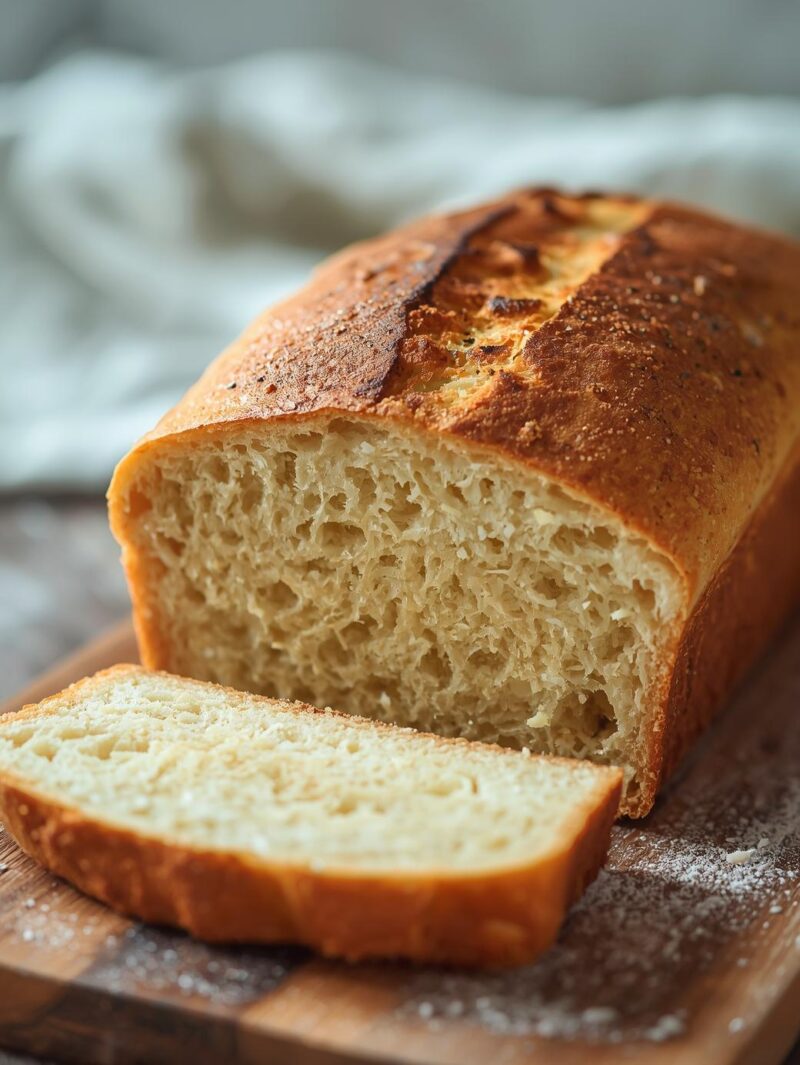
Did you know the global bread market is set to hit $718 billion by 2027?
This shows how much people love bread. And the best part?
You can make your delicious homemade bread with just a few simple steps.
Making a warm, crusty loaf from scratch might seem hard, but it’s actually very rewarding.
We will show you how to make a tasty homemade bread that’s great for beginners.
We will cover everything from the tools you need to common mistakes.
You will learn how to bake bread that will wow your loved ones.
Get ready to become a skilled baker and enjoy the amazing smell of fresh bread in your kitchen.
What Makes This Basic Homemade Bread Perfect for Beginners
Making your own homemade bread can seem hard, but this recipe is easy to start with.
It has simple steps and needs only basic tools. This makes it perfect for beginners.
Equipment You’ll Need
This recipe needs just a few basic tools. You’ll need a mixing bowl, a spoon or a dough hook, a floured surface for kneading, and a loaf pan.
You don’t need any fancy tools, making it great for beginners.
Bread Making Basics
This recipe teaches the basic bread-making steps.
You’ll learn to proof yeast, knead dough, and let it rise. These steps help you understand bread-making basics.
Time and Effort Requirements
This recipe takes a bit of time and effort. But, you can make it in under 3 hours.
Most of that time is for rising and baking. It’s doable even for busy home bakers.
This beginner-friendly bread recipe is a great start for home bakers.
It focuses on the basics and guides you every step of the way.
This helps beginners make their delicious bread with confidence.
Simple Ingredients for Your First Loaf
Making basic homemade bread is easy and doesn’t need fancy ingredients.
You only need a few common things from your pantry. Knowing what each ingredient does will help you get better at making bread.
Essential Ingredients for Basic Homemade Bread
- Flour: All-purpose flour is the base of most bread, giving it structure and body.
- Yeast: This key ingredient makes the bread rise and gives it a light texture.
- Water: The right amount of water makes the dough come together, letting the yeast work its magic.
- Salt: A bit of salt boosts the flavor and helps the yeast grow.
- Sugar: Sugar feeds the yeast, making the bread rise more and adding a hint of sweetness.
- Oil or Butter: Adding oil or melted butter makes the bread soft and tender.
With these simple homemade bread ingredients, you can make a tasty, simple bread recipe even if you’re new to baking.
The trick is to measure everything right and follow the recipe carefully. This way, you’ll get great results every time.
“Baking bread is one of those universal human skills that connects us all.”
Step-by-Step Mixing and Kneading Process
Learning to make bread starts with mixing and kneading the dough.
This step is key to a great loaf. Let’s explore the essential steps for perfect homemade bread.
Proper Mixing Techniques
Start by mixing dry ingredients like flour, yeast, and salt in a big bowl.
Then, add wet ingredients like water, oil, or milk slowly. Stir until it’s a shaggy dough. This step mixes ingredients well and starts gluten development.
How to Knead Like a Pro
- Put the dough on a floured surface. Push it away with your heel, then fold it back.
- Turn the dough a quarter turn and repeat. This builds strong gluten strands.
- Knead for 10 minutes until it’s smooth and elastic. It should pass the “windowpane test” – stretch thin without tearing.
Visual Cues for Perfect Dough
Watch for these signs as you knead:
- The dough should be smooth and even, without lumps or dry spots.
- It should feel slightly tacky but not too sticky.
- When poked, it should spring back slowly, not stay indented.
With these bread mixing techniques and kneading bread dough tips, you are ready to make perfect homemade bread. Practice makes perfect, so keep at it!
Basic Homemade Bread Rising and Proofing Guide
Learning how to make bread rise and proof is key to getting it just right. Let’s explore the essential steps for perfect bread dough rising and proofing.
To start, let the dough rest in a warm, draft-free spot. This helps the yeast work and the dough to grow.
Keep the temperature between 75-85°F (24-29°C) for the best results. Use a clean, damp towel or plastic wrap to cover it, so a skin doesn’t form.
When the dough has doubled in size, after 30-60 minutes, it’s time for proofing. Proofing lets the dough rise again, improving its texture and taste.
Gently punch down the dough to get rid of big air pockets, then shape it into your preferred loaf or roll.
Put the shaped dough in a lightly greased baking pan or on a parchment-lined baking sheet.
Cover it and let it proof for another 30-60 minutes, until it’s about 1.5 times its original size. Watch the dough closely during this time, as too much proofing can make it dense and flat.
Following these bread dough rising and proofing homemade bread tips, you will be on your way to baking a light, airy, and flavorful loaf.
The secret is to give the yeast the best conditions to turn your dough into a beautifully risen masterpiece.
Baking Temperature and Timing Tips
Getting your homemade bread just right is key. Focus on the baking temperature and timing to achieve perfection.
The best baking homemade bread temperature is between 375°F and 425°F, with 400°F being ideal.
This range helps the crust turn golden and the inside cook evenly.
Oven Preparation Methods
Preheat your oven to the right temperature before baking.
Using a baking stone or steel can enhance the crust. If you don’t have these, a regular baking sheet will do.
Signs Your Bread Is Done
Figuring out if your bread baking temperature is right can be tricky. Here are signs your bread is done:
- The crust should be a deep golden brown color.
- The internal temperature of the bread should reach 190°F to 205°F when measured with a food thermometer.
- The bread should sound hollow when you tap the bottom.
Cooling and Storage Guidelines
Let your bread cool completely before slicing.
This step helps the inside cook fully and the crust set.
Store your bread in an airtight container at room temperature for up to 5 days. For longer storage, freeze your bread to keep it fresh for months.
Troubleshooting Common Beginner Mistakes
Baking homemade bread is rewarding, but beginners face challenges.
You might run into common issues that are easy to fix. Here are some tips to help you overcome these problems and get great results.
Dealing with Dense, Heavy Loaves
If your bread is dense and heavy, it might be from over-kneading or not proofing enough.
Make sure you don’t overmix and let the dough rise well before baking. This helps create a light, airy texture.
Uneven Rising and Lopsided Loaves
Uneven rising or lopsided loaves often come from dough imbalance or bad shaping.
Knead the dough well and shape it evenly before the final rise. Also, proofing in a greased, straight-sided pan helps keep the shape.
Preventing Over-Baked or Under-Baked Bread
Getting the perfect bake is tricky, but you can get it right with a few tweaks.
If your bread is too dark or dry, try baking at a lower temperature for longer.
If it’s not done, bake at a higher temperature for less time. Use a thermometer to check the loaf’s internal temperature.
By fixing these common issues, you’ll make delicious homemade bread every time. Remember, every baking try is a chance to learn. With patience and practice, you’ll become a pro at making bread.
Conclusion
Congratulations on mastering the art of making basic homemade bread!
You’ve learned the essential equipment, techniques, and steps to create a delicious loaf from scratch.
This skill lets you enjoy the homemade bread benefits and explore the world of basic bread making success.
Now, you can customize your bread with different flours, seasonings, and shaping techniques.
The possibilities are endless, and each loaf you bake shows your creativity and growing expertise.
The joy of homemade bread comes from kneading, proofing, and seeing simple ingredients turn into a warm, freshly baked masterpiece.
As you keep baking, try new recipes, experiment with different methods, and share your creations.
The joy of biting into a slice of your homemade bread is unmatched.
You will feel proud of your accomplishments.
Enjoy the process, face challenges, and relish the delightful results of your baking skills.
FAQ
What makes this basic homemade bread recipe perfect for beginners?
This recipe is great for new bakers. It needs only basic tools, simple ingredients, and easy-to-follow steps. Even if you’ve never baked before, you can still make a delicious loaf.
What equipment do I need to make this basic homemade bread?
You will need a big mixing bowl, a strong spoon or dough hook, and a floured surface for kneading. Also, a baking sheet or loaf pan is necessary. You don’t need any special tools, making it easy for anyone to try.
How much time and effort does it take to make this basic homemade bread?
It takes about 2-3 hours from start to finish. But, you only need to actively work for a short time. The dough needs two kneading sessions and two rises. This lets you relax while the bread rises.
What are the simple ingredients needed for this basic homemade bread?
You’ll need flour, yeast, salt, water, and a bit of oil or butter. These common items make a tasty loaf. It’s a classic recipe that’s sure to please.
How do I properly mix and knead the bread dough?
Mix the dough until it’s shaggy, then knead until it’s smooth and elastic. Watch for signs like it becoming less sticky. This helps you know when it’s ready.
How do I ensure my bread dough rises and proofs properly?
Keep the dough warm and away from drafts. Let it double in size first, then punch it down. Let it be proof again until it’s almost doubled. This step is key for a good texture and flavor.
What’s the best way to bake this basic homemade bread?
Preheat your oven and prepare your baking vessel. Bake until it’s golden and the inside is hot. Let it cool completely before slicing for the best taste and texture.
How can I troubleshoot any issues that may arise when baking this basic homemade bread?
If your bread is dense, doesn’t rise evenly, or is overcooked, don’t worry. Our troubleshooting guide can help. It will show you how to fix these problems and make perfect loaves in the future.


