Olives are one of the first cultivated trees; olive-growing evidence is over 8,000 years old.
While olive trees are used to warm Mediterranean climates, you can grow specific varieties indoors with the right conditions provided.
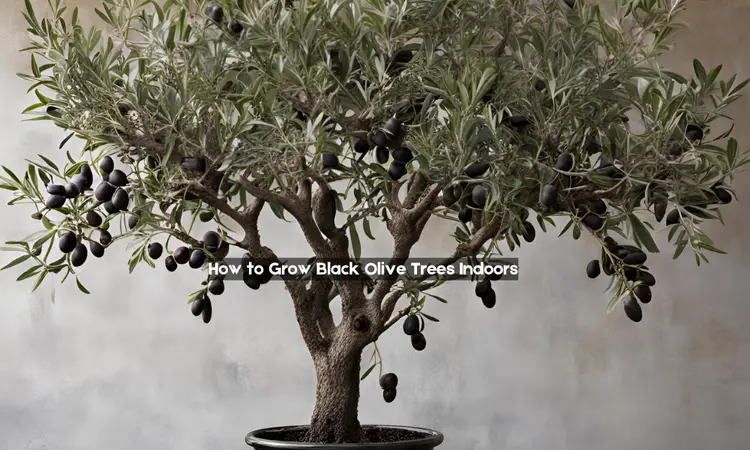
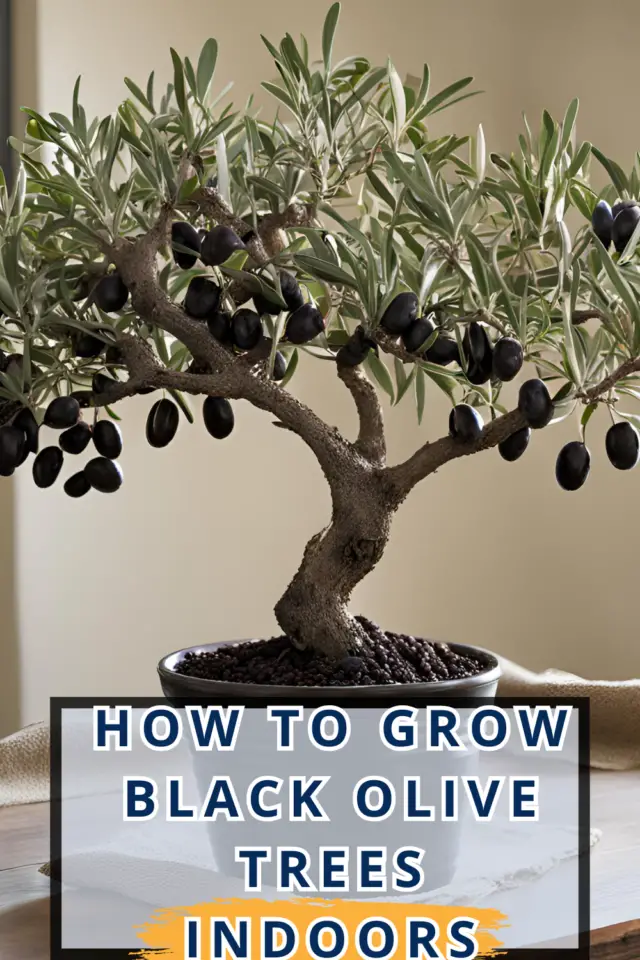
Indoor olive tree cultivation offers the appearance of its silvery-green foliage and, if lucky, your olive harvest, no matter where you live.
This guide will give you everything you need to know about picking, planting, and caring for indoor olive trees.
All it takes is a little bit of patience and the proper techniques, and you can grow these ancient trees right inside your home.
Choosing Olive Varieties for Growing Indoors
Not all olive tree cultivars are equally suited for indoor growing. You will want to choose compact types that do not grow too large in size. Here is a list of some of the best cultivars for growing indoors:
| Variety | Maximum Height Indoors | Notes |
|---|---|---|
| Arbequina | 6-10 feet | One of the most popular for indoors, it is a heavy producer of small olive fruits |
| Little Ollie | 4-6 feet | Excellent dwarf variety, heavy yields of edible olives |
| Willow Leaf | 8-12 feet | Beautiful weeping foliage, moderate olive production |
| Picholine | 6-8 feet | Ornamental with fruitless flowers, no olive mess |
An Indoor Environment that is Environmentally safe
Olive trees are native to the Mediterranean, and therefore, they will require, at a minimum, 6–8 hours of direct sunlight if grown inside. Sparse foliage and little or no fruit production occur with inadequate light.
If you can’t provide all the sunlight exposure from windows, you must back that up with a high-intensity grow light. Position it 6–12 inches above the tree, and keep it for 12–16 hours each day.
Temperature
Olives prefer their day temperatures to be around 65–80°F and their night temperatures to be about 50–60°F. Do not let them get colder than 45 °F or warmer than 90 °F. In winter, provide an auxiliary heat source with a small space heater.
Moisture
An indoor olive tree will appreciate moderate humidity in the range of 40–50%.
For arid air inside your home, especially during winter when heating systems can deplete humidity levels, you may want to run a humidifier near the tree.
This means that airflow can be maximized with small fans oscillating daily for some hours. Good airflow helps to prevent fungal diseases.
Water and Fertilizer Needs
Indoor olive trees require a little attention with watering. The soil must be allowed to dry slightly before re-watering; however, the tree cannot dry thoroughly.
Signs It’s Thirsty:
- Allow soil to dry down to 2 inches of depth
- Leaves begin to look in a gloomy state
Symptoms of overwatering:
- Soil that remains wet almost to saturation
- Leaves dropping
- Fungal growth on the upper layer of the soil
Most olive trees that are generally 2–6 feet tall require 1-2 cups of water every 5-7 days in the hot months, less frequently during the winter.
Adjust watering schedules according to the requirements of the tree.
Fertilize your olive tree every two to three months during the growing season in spring and summer with half-strength, all-purpose liquid fertilizer or slow-release types in its category.
Prune lightly at the beginning of spring to carry out the shaping and remove dead or damaged growth.
Older trees require moderate pruning every few years to control their size.
Fruit and Pollination
Many olive varieties are self-fertile and do not need a separate pollinator tree to set fruit. Still, planting two trees of different cultivars can increase fruit production.
Indoor olive trees will, for the most part, fruit in the third or fourth year of planting and, now and then, still much later. Fruit mainly ripens from fall to winter, depending on the variety.
Olives are green when they are young and turn purple-black when mature.
Be aware: ripening olives can be messy indoors and on floors.
The bottom of potted trees should have pebble trays, or other trays, for fruit to drop into.
Harvest olive flowers to ensure that the tree does not become a mess with its fruit and instead puts all its energy into the growth of its leaves.
Pests and Diseases Very few pest and disease problems are associated with indoor olive trees if adequate cultural care is carried out.
Compared to outdoor olive trees, however, the following possible concerns should be watched for:
Pests
- Spider mites: fine webbing and stippling of the leaves
- Scale insects—resembling tiny brown protrusions on the stems—swarms of small, white, flying bugs
Infectious
- Leaf spot fungus results in yellow spots or blotches on leaves
- Brown, mushy roots brought about by overwatering: root rot.
Take a quick follow-up with insecticidal soap, neem oil, or other acceptable treatments for pest infestations.
Prune out the diseased growth, and make sure the soil dries between waterings to prevent fungal diseases.
Olive Tree Growing Tips Overview Growing olive trees in the house is slow and requires intense treatment, but the miniature Mediterranean can be enjoyed in the living room.
Now, here’s a quick review of some of the primary keys to success:
- Choose dwarf, compact varieties such as Arbequina or Little Ollie
- Exposure to maximum sun: 6 hours or more daily
- Select a well-draining medium and avoid overwatering.
- Maintain a temperature of 50–80 °F
- Fertilize every 2-3 months during the growing season
- Look for pests like spider mites or fungal issues
- Anticipate making olive oil; expect disaster and a lot of mess that may result from fermentation
Advanced Olive Tree Training Techniques
Over time, as your indoor olive tree grows and matures, more advanced techniques of training and pruning can help exercise the necessary control over size and shape. These practices help the plant remain healthy and pleasing in the household environment.
Espalier With the espalier technique, olive trees have branches growing flat against either a trellis or wires. This creates a decorative two-dimensional form, reducing the footprint of the tree.
To espalier an olive tree:
- Attach vertical wires to a sunny wall so that the distance between the cables is 6 to 12 inches.
- When new shoots appear, tie them horizontally against the wires using plant ties.
- Prune off all growth that does not conform to your flat pattern.
- The branches, over time, will take the permanent espalier shape.
Pleaching
Pleasing is another method whereby the lateral branches of two or more trees or stems are entirely interwoven to create a very attractive braid form with a canopy effect.
- Start with a multi-stem olive tree or plant several closely spaced trees.
- As the lateral branches grow, weave them into the alternating over-under pattern between the stems.
- Use plant ties or a graft to secure the braided branches.
- Prune off any unruly shoots and reach the new growth.
Air-Layering for Propagation
Air-layering can be used to produce offspring trees from an existing olive.
- Shallowly cut the underside of a stem about 1/3 into the branch.
- Dust the wound with rooting hormone and pack it with moist sphagnum moss.
- Wrap the mossed area with the plastic, both ends well sealed, to establish a humid environment.
- Roots will eventually form.
- When the new roots fill the mossed area, cut off the area severely to collect the new plant. This means that you can produce genetically similar progeny olive trees from your original specimen!
Fruit Habits and Harvesting
Indoor olive trees may begin fruiting 3–4 years after planting, though it often takes 6 years or more to get substantial harvests. A mature, 6-foot tree can potentially yield 10–25 lbs of fruit annually.
Most olive varieties are technically biennial bearers, meaning they have a heavy crop one year followed by a light crop the next. However, this alternating pattern often fails to occur reliably on indoor trees due to the controlled environment.
Curing Fresh Olives
Unlike olives purchased from the grocery store, freshly-picked olives are intensely bitter and inedible until cured. There are several traditional methods to remove the bitterness:
Water Curing
1. Slit each olive to the pit and submerge in water, changing daily for 6–8 weeks.
2. This causes the nutrient breakdown and leaching of the bitter oleuropein.
3. Finish by brining or marinating the de-bittered olives.
Lye Curing
1. Submerge olives in a food-grade lye solution for 8–12 hours.
2. Rinse thoroughly and soak in water for 8–10 days, changing daily.
3. This rapid process also removes the bitter compound.
4. Finish by brining in a salt-water solution for 2+ weeks.
Salt Curing
1. Pack olives in salt in alternating layers for 6+ weeks.
2. The salt draws out moisture along with the bitterness.
3. Rinse and refurbish in fresh brine solution to finish.
Conclusion
Growing olive trees indoors allows you to bring a piece of the Mediterranean into your home, no matter where you live.
While it requires some specialized care, the rewards of enjoying the beautiful silvery foliage and potentially harvesting your own fresh olives make it an extremely rewarding pursuit.
You can effectively cultivate olive trees as rewarding indoor specimens by choosing the ideal compact kind, offering adequate sunlight and warmth, utilizing well-draining soil mixes, and applying appropriate watering and fertilizing techniques.
Don’t be afraid to get creative with advanced training techniques like espalier or pleaching as the tree matures.
These methods create visually stunning shapes while controlling the tree’s size.
You can even try air-layering to propagate genetically identical new trees from your original olive.
Be prepared for the tree to go through an annual dormancy period in the winter.
Replicating the olive’s seasonal cycles indoors by adjusting light, temperature, water, and nutrients will keep it healthy and fruiting abundantly year after year.
With patience and attentive care, your indoor olive can potentially produce an annual crop of fresh olives for curing through traditional methods like water, lye, or salt processes.
Imagine savoring your own homegrown and home-cured olives—a taste of the Mediterranean that’s truly satisfying!
While not the easiest indoor plant, olive trees richly reward your efforts with their unique beauty, fragrances, and potentially bountiful harvests.
Do not be afraid to start small with a compact cultivar, and be mindful of its requirements.
With practice, these old trees could prove to be a very fruitful and significant addition to your indoor garden haven.