There’s something truly magical about holiday baking, and I am absolutely thrilled to share one of my favorite seasonal recipes with you today.
This Eggnog Magic Cake has become my signature dessert during the Christmas season, combining the rich, nostalgic flavor of eggnog with the fascinating science of a “magic” cake.
What makes it magical?
One simple batter transforms during baking into three distinct layers a dense bottom, custard middle, and light cake top.
I’ve perfected this recipe over several holiday seasons, and it never fails to impress guests who are amazed when I cut into it to reveal those perfect layers!
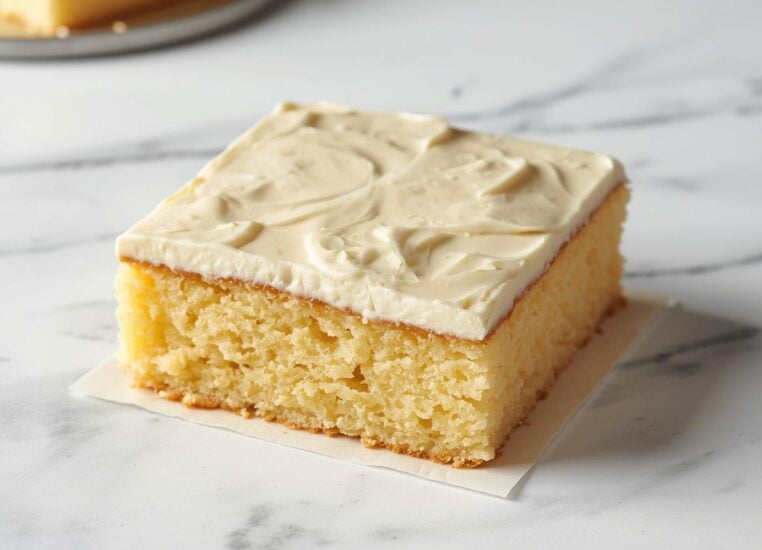
Eggnog Magic Cake with its three magical layers

What Is Magic Cake?
Magic cake is one of those desserts that seems to defy kitchen logic.
You mix up one batter, pour it into a pan, and somehow during baking, it separates into three distinct layers.
The bottom layer becomes dense and almost fudgy, the middle transforms into a creamy custard, and the top bakes into a light, airy cake.
The science behind this involves the different densities of the ingredients settling during a low, slow bake.
What makes this eggnog version special is how perfectly the rich, spiced flavor of eggnog complements the varying textures.
The nutmeg and rum notes shine through each layer differently, creating a complex flavor experience that’s perfect for holiday entertaining.
I’ve been making this cake for five years now, and it’s become the most requested dessert at our family gatherings because, as my cousin says, “it’s like getting three desserts in one!”
Ingredients
I always recommend gathering all your ingredients before starting.
This recipe requires some precision, and having everything measured and ready makes the process much smoother.
The key to success is using room temperature ingredients, especially the eggs and eggnog, because they blend better and help create those distinct layers.
| Ingredient | Amount | Notes |
| Eggs | 4 large | Room temperature, separated |
| Confectioners’ Sugar | 1½ cups | Plus extra for dusting |
| Unsalted Butter | ½ cup (1 stick) | Melted and cooled |
| All-Purpose Flour | 1 cup | Regular or gluten-free blend |
| Prepared Eggnog | 2 cups | Lukewarm, not cold |
| Dark Rum | 3 tablespoons | Optional, can substitute with more eggnog |
| Vanilla Extract | 1 teaspoon | Pure, not imitation |
| White Distilled Vinegar | ⅛ teaspoon | Helps stabilize egg whites |
| Ground Nutmeg | To taste | Freshly grated is best |
Ingredient Tips: You can use store-bought or homemade eggnog.
If you prefer a non-alcoholic version, simply replace the rum with additional eggnog and add 2 teaspoons of rum extract for flavor.
The vinegar might seem unusual, but it helps stabilize the egg whites, which is crucial for the proper formation of layers.
Equipment
- 8×8 inch square baking pan
- Electric mixer (stand or hand mixer)
- Large mixing bowl
- Medium mixing bowl for egg whites
- Measuring cups and spoons
- Rubber spatula
- Whisk
- Cooling rack
I’ve found that using the right equipment makes a big difference with this recipe.
A good quality 8×8 inch pan with straight sides gives the cake the best shape, and an electric mixer is essential for properly whipping the egg whites to stiff peaks.
Step-by-Step Instructions
Now that we have all our ingredients and equipment ready, let’s dive into making this magical eggnog cake.
I’ve broken down the process into clear steps to ensure your success.
The most important thing to remember is not to panic when you see the final batter it will look very runny with floating bits of egg white, but this is exactly what creates those magical layers!
| Step | Instructions |
| 1. Preparation | Preheat your oven to 325°F (165°C). Butter an 8×8 inch baking pan and set aside. Warm the eggnog in the microwave in 15-second increments until lukewarm (not hot). |
| 2. Prepare Egg Whites | Separate the eggs, placing whites in one bowl and yolks in another. Add the white vinegar to the egg whites and beat on high speed until stiff peaks form. Set aside. |
| 3. Mix Base Batter | In a separate bowl, beat the egg yolks and confectioners’ sugar until pale and fluffy. Add the melted (cooled) butter and mix until well combined. |
| 4. Add Dry Ingredients | Gradually add the flour to the egg yolk mixture while mixing on low speed, allowing it to fully incorporate. |
| 5. Add Liquid Ingredients | Add the rum and vanilla to the warmed eggnog. With the mixer on low, slowly pour this mixture into the batter, allowing it to incorporate gradually. The batter will be very liquid at this point – this is normal! |
| 6. Fold in Egg Whites | Gently fold the beaten egg whites into the batter one-fourth at a time. Don’t overmix – small lumps of egg white are expected and necessary for the magic to happen. |
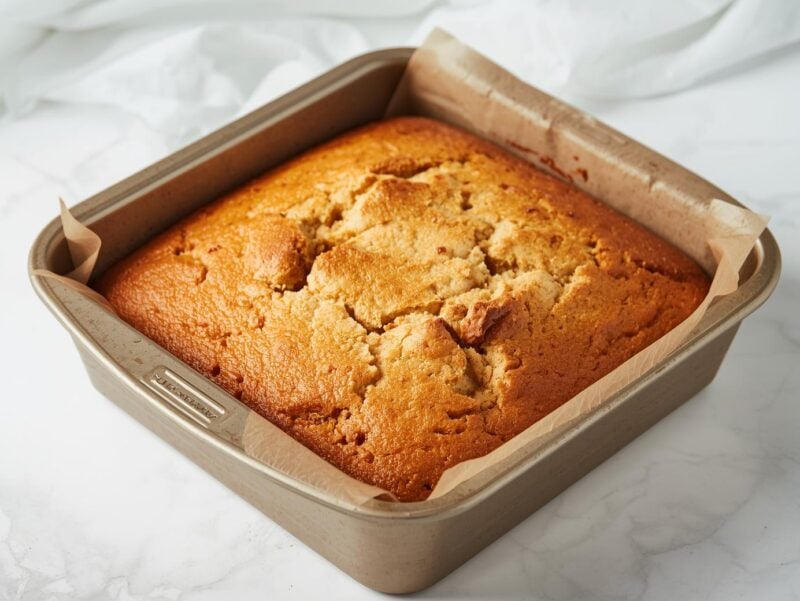
| 7. Bake | Pour the batter into the prepared pan and bake for 50-55 minutes. The top should be golden brown, and the cake may still have a slight jiggle in the center when done. |
| 8. Cool | Allow the cake to cool completely on a wire rack (about 3 hours) or cool for 30 minutes then refrigerate for at least 1 hour before serving. |

Gently folding egg whites into the batter – small lumps are normal!
Important Note: After folding in the egg whites, your batter will look strange – like a swampy mess with floating egg white lumps. This is exactly how it should look! The magic happens during baking when these components separate into distinct layers.
Tips for Perfect Eggnog Magic Cake
Do’s
- Use room temperature ingredients for best results
- Beat egg whites until truly stiff peaks form
- Fold egg whites gently to maintain air bubbles
- Allow the cake to cool completely before cutting
- Refrigerate for at least an hour for cleaner slices
- Use freshly grated nutmeg for the best flavor
Don’ts
- Don’t overmix when folding in egg whites
- Don’t use cold eggnog straight from the refrigerator
- Don’t open the oven door during the first 40 minutes
- Don’t panic when the batter looks watery
- Don’t try to double the recipe in a larger pan
- Don’t serve immediately after baking
The first time I made this cake, I nearly threw the batter out because I was convinced I’d made a mistake. It looked so watery! But I trusted the process, and when I cut into that cooled cake to reveal perfect layers, I felt like a kitchen magician.
Common Issues
Why didn’t my cake form three distinct layers?
The most common reasons are: egg whites weren’t beaten to stiff enough peaks, ingredients weren’t at room temperature, or the oven temperature was too high. Magic cake requires a low, slow bake at 325°F to allow proper separation.
My cake seems too jiggly in the center. Is it undercooked?
Some jiggle is normal due to the custard middle layer. The cake should have a golden brown top and slight movement in the center when done. It will set further as it cools. If the top isn’t browned after 55 minutes, you can bake for 5-10 minutes more.
Can I make this cake ahead of time?
Absolutely! In fact, this cake tastes even better after being refrigerated overnight. The flavors deepen and the layers set more firmly. Just cover it well with plastic wrap and refrigerate for up to 3 days.
Can I freeze Eggnog Magic Cake?
I don’t recommend freezing this cake because the custard layer can change texture when thawed. It’s best enjoyed fresh or within a few days of baking.
Serving Your Eggnog Magic Cake
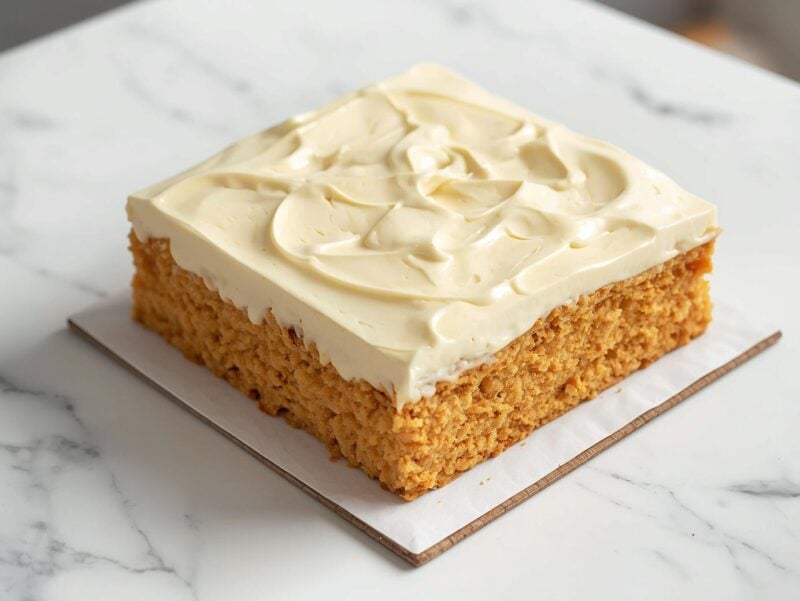
Eggnog Magic Cake makes a stunning centerpiece for your holiday dessert table
After all your hard work, it’s time to enjoy this magical creation! I love serving this cake as the grand finale to a holiday meal. The presentation is part of the magic – guests are always amazed when they see the three distinct layers. Here are my favorite ways to serve and enhance this special dessert:
Presentation Ideas
- Dust the top generously with confectioners’ sugar just before serving
- Add a sprinkle of freshly grated nutmeg for color and aroma
- Serve on festive holiday plates with a small dollop of whipped cream
- Garnish with a cinnamon stick or star anise for extra holiday flair
- Cut with a warm, clean knife for the cleanest slices that show off the layers
Perfect Pairings
This Eggnog Magic Cake pairs beautifully with:
- A small glass of eggnog (spiked or not)
- Hot coffee or espresso
- Spiced tea or chai
- A glass of dessert wine like Sauternes or Ice Wine
- Vanilla bean ice cream for a temperature contrast
Storage and Make-Ahead Tips
| Storage Method | Instructions | Duration |
| Room Temperature | Not recommended due to custard layer | N/A |
| Refrigerator | Cover tightly with plastic wrap | Up to 3 days |
| Freezer | Not recommended | N/A |
| Make-Ahead | Bake 1-2 days before serving | Flavors improve overnight |
Because of the custard layer, this cake must be refrigerated.
The good news is that the flavor actually improves after a day in the refrigerator as the eggnog and spices have time to meld.
I often make this cake the day before a holiday gathering, which not only allows the flavors to develop but also frees up my oven on the day of the event.
Nutrition Information
| Nutrient | Amount Per Serving | % Daily Value* |
| Calories | 213 kcal | 11% |
| Total Fat | 4g | 5% |
| Saturated Fat | 2g | 10% |
| Cholesterol | 106mg | 35% |
| Sodium | 58mg | 3% |
| Total Carbohydrates | 34g | 11% |
| Dietary Fiber | 1g | 4% |
| Sugars | 24g | – |
| Protein | 6g | 12% |
*Percent Daily Values are based on a 2,000 calorie diet. Your daily values may be higher or lower depending on your calorie needs.
This nutrition information is based on 9 servings from an 8×8 inch pan. Actual values may vary depending on specific ingredients used.
This enchanting Eggnog Magic Cake transforms one simple batter into three distinct layers when baked. With the festive flavors of eggnog, nutmeg, and a hint of rum, it’s the perfect holiday dessert that’s sure to impress!
Prep Time: 15 minutes
Cook Time: 55 minutes
Cooling Time: 3 hours
Total Time: 4 hours 10 minutes
Servings: 9 squares
Calories: 213 kcal per serving
Author: Your Name
Final Thoughts
There’s something truly special about bringing magic to your holiday table, and this Eggnog Magic Cake does exactly that.
I love watching guests’ faces when they take their first bite and discover the three distinct layers that formed from one simple batter.
It’s a dessert that feels fancy but doesn’t require advanced baking skills – just a bit of patience and trust in the process.
The rich eggnog flavor, warm spices, and hint of rum create a dessert that embodies the holiday spirit.
I’ve made this cake for five Christmas seasons now, and it’s become one of our most cherished traditions.
Whether you’re hosting a grand holiday gathering or simply want to treat your family to something special, this Eggnog Magic Cake is sure to become a favorite in your recipe collection too.
If you try this recipe, I’d love to hear how it turned out for you!
Did your cake form those magical layers?
Did you try any of the variations? Share your experience in the comments below!